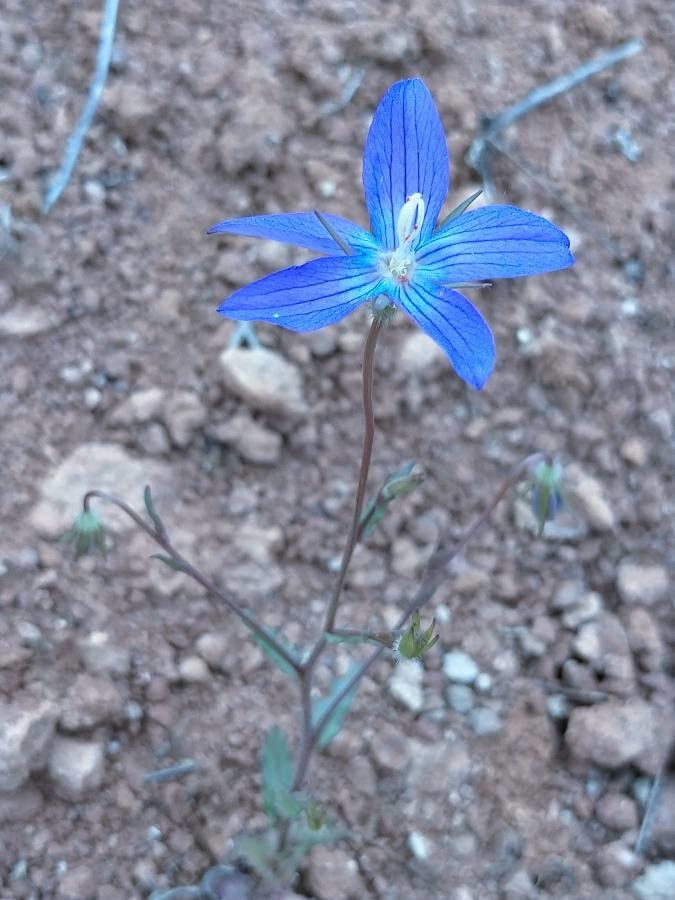
Hello there, fellow garden enthusiasts! It’s so lovely to have you pull up a chair and chat about one of my favorite little treasures: Campanula decumbens. If you’re looking for a charming, low-growing bellflower that spills beautifully over rocks or edges of a border, this one is a gem. Its dainty, lavender-blue blooms are a real treat, and multiplying it is a wonderfully rewarding way to fill your garden or share its charm with friends. Now, is it a walk in the park for a brand new gardener? For most propagation methods, I’d say it’s moderately easy, with a little patience and attention to a few key details.
The Best Time to Start
When it comes to getting new Campanula decumbens plants going, the sweet spot is definitely late spring to early summer. This is when the plant has finished its initial flush of spring growth and is actively putting on new shoots. These young, flexible stems are full of life and have the best chance of rooting successfully. Waiting until the plant is actively growing means you’re working with the most vigorous material.
Supplies You’ll Need
To get our little bellflowers started, you’ll want to gather a few things:
- A sharp, clean pair of pruning shears or a craft knife: For taking our cuttings. We want a nice, clean cut.
- Small pots or seed trays: Clean ones are crucial to prevent disease. About 3-4 inch pots work well.
- A good quality potting mix: I like to use a well-draining blend. A mix of equal parts peat moss (or coir), perlite, and a little sterile potting soil is perfect. You can also find specialized cutting mixes that work wonders.
- Rooting hormone (optional but recommended): A powder or gel will help encourage faster root development.
- A watering can with a fine rose or a spray bottle: For gentle watering.
- A plastic bag or clear dome: To create a mini-greenhouse effect.
- Labels and a permanent marker: To keep track of what you’ve planted!
Propagation Methods
Campanula decumbens is quite cooperative when it comes to propagation. I find stem cuttings to be the most reliable and productive method.
Stem Cuttings
- Take your cuttings: Select healthy, non-flowering stems that are about 3-4 inches long. Make a clean cut just below a leaf node (the point where a leaf attaches to the stem). This is where the magic happens, as roots tend to form readily there. You can take several cuttings from a single healthy plant.
- Prepare the cuttings: Gently remove the lower leaves from your cuttings. You want to leave just a couple of leaves at the top. If the leaves are very large, I’ll sometimes trim them in half horizontally to reduce water loss.
- Apply rooting hormone (if using): Dip the cut end of each stem into your chosen rooting hormone. Tap off any excess.
- Plant your cuttings: Fill your small pots with your prepared potting mix. Make a small hole in the center with your finger or a pencil. Gently insert the cut end of the stem into the hole, ensuring the leaf node is below the soil surface. Firm the soil around the cutting.
- Water gently: Water thoroughly but gently from the bottom if possible, or use your fine rose watering can. You want the soil to be moist, not waterlogged.
- Create a humid environment: Place a clear plastic bag over the pot, using a few stakes to keep it from touching the leaves, or pop the pot into a propagator with a dome. This traps humidity, which is essential for cuttings to root.
- Provide the right conditions: Place your pots in a bright location but out of direct sunlight. A warm spot is beneficial.
The “Secret Sauce” (Pro Tips)
Here are a few things I’ve learned over the years that really give cuttings a boost:
- Don’t let the leaves touch the water: If your cuttings are in water propagation (which is less common for this particular plant but possible), and I sometimes try it with a few), make sure the leaves aren’t submerged. They’ll rot quickly if they are! With stem cuttings in soil, this means ensuring excess leaves are stripped.
- Bottom heat is your friend: If you have space and can invest, a seedling heat mat placed under your pots can significantly speed up root formation. It mimics the warmth of spring soil.
- Sterilization is key: I cannot stress this enough. Cleanliness prevents a world of problems, especially fungal diseases on tender new cuttings. Wash your pots, wash your tools, and wash your hands!
Aftercare & Troubleshooting
Once your cuttings have successfully rooted – you’ll know this when you see new growth appearing at the tip and they resist a gentle tug – it’s time to give them a little extra care.
- Gradual acclimatization: Slowly reduce the humidity by opening your plastic bag a little more each day over a week. This helps them adjust to the drier air of your home or garden.
- Watering: Continue to keep the soil consistently moist, but avoid overwatering. Allow the top inch of soil to dry out slightly between waterings for the newly potted plants.
- Fertilizing: Once they’ve established several sets of new leaves, you can begin feeding them with a diluted liquid fertilizer (about half strength) every 2-3 weeks.
Now, what if things don’t go as planned? The most common culprit is rot. If your cuttings turn black and mushy, it’s usually a sign of too much moisture and not enough air circulation. This is where that well-draining soil and careful watering come into play. If a cutting just seems to wilt and never recovers, it might be that it didn’t root, or perhaps didn’t get enough light or humidity. Don’t be discouraged; propagation is an experiment, and some failures are part of the learning process.
A Encouraging Closing
Propagating Campanula decumbens is a delightful journey, and seeing those tiny roots develop is truly a joy. Be patient, keep a close eye on your little charges, and don’t be afraid to try again if a batch doesn’t make it. Every gardener has had their share of propagation setbacks! Enjoy the process, and soon you’ll have a whole collection of these charming bellflowers to brighten your garden and share with others. Happy gardening!
Resource:
https://identify.plantnet.org/k-world-flora/species/Campanula%20decumbens%20A.DC./data