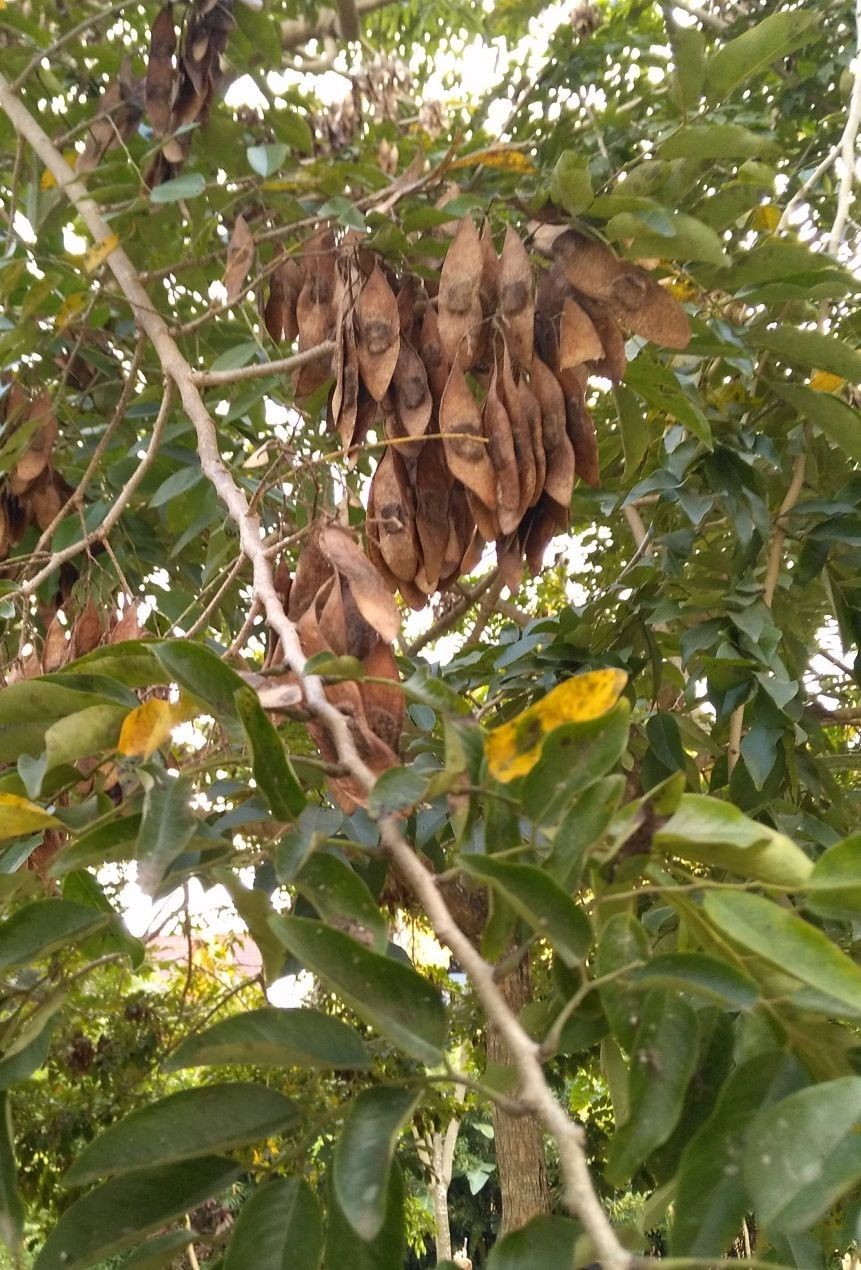
Oh, Dalbergia hupeana! What a beauty. If you’re anything like me, you’ve been captivated by its delicate, almost fern-like foliage and the promise of subtle, yet lovely, blooms. Growing your own little piece of this exquisite plant is such a satisfying endeavor. It’s not the absolute easiest plant for a complete beginner, but with a little care and patience, I promise you can absolutely do it.
The Best Time to Start
For the highest success rate, I find that late spring or early summer is your golden window. This is when the plant is in its active growth phase, buzzing with energy. It’s ready to push out new growth and, crucially, develop those vital roots. Waiting until after the initial flush of spring growth has softened a bit, but before the intense heat of midsummer, is usually perfect.
Supplies You’ll Need
Before we get our hands dirty, let’s gather our tools:
- Sharp, clean pruning shears or a razor blade: Crucial for making clean cuts.
- Potting mix: A well-draining mix is key. I often use a blend of equal parts peat moss, perlite, and a little bit of compost. You can also buy specific houseplant or succulent mixes that work well.
- Small pots or containers: Clean pots with drainage holes are a must.
- Rooting hormone (optional but recommended): This can give your cuttings a real boost. Look for one that’s specifically for stem cuttings.
- Clear plastic bag or propagation dome: To create a humid environment.
- Watering can or spray bottle: For gentle watering.
- Labels and a marker: To keep track of what you’ve planted and when!
Propagation Methods
Dalbergia hupeana can be successfully propagated through stem cuttings. This is generally the most straightforward method for home gardeners.
Stem Cuttings:
- Select a healthy stem: Look for a piece of stem that is semi-hardwood, meaning it’s not brand new and floppy but also not old and woody. About 4-6 inches long is a good starting point.
- Make the cut: Using your clean shears or razor, make a clean, angled cut just below a leaf node. These nodes are where roots are most likely to form.
- Prepare the cutting: Strip off the lower leaves, leaving just 2-3 leaves at the top. If your top leaves are very large, you can even cut them in half horizontally to reduce water loss.
- Apply rooting hormone: Dip the cut end of the stem into your rooting hormone powder or gel, tapping off any excess.
- Plant the cutting: Moisten your potting mix slightly. Make a small hole with your finger or a pencil and gently insert the cutting. Firm the soil gently around the base of the stem to ensure good contact.
- Create humidity: Water the pot lightly. Then, cover the pot with a clear plastic bag or place it under a propagation dome. Make sure the leaves don’t touch the plastic bag. If you’re using a bag, you can use skewers to prop it up.
- Place in bright, indirect light: Find a warm spot that receives plenty of bright, indirect light but no direct sun, which can scorch the delicate cuttings.
The “Secret Sauce” (Pro Tips)
Here are a few tricks I’ve learned over the years that can really make a difference:
- Bottom heat is your friend: For faster root development, especially if your home is a bit cooler, placing your pots on a heat mat designed for plants can significantly speed things up. It mimics the warmth of spring soil.
- Don’t drown them: When watering, it’s better to err on the side of under-watering than over-watering. Let the top inch of soil dry out slightly between waterings. Soggy soil is a fast track to rot.
- Air circulation is crucial: Even though we’re creating humidity, it’s good practice to lift the plastic bag or open the dome for a few minutes each day to allow for fresh air exchange. This helps prevent fungal issues.
Aftercare & Troubleshooting
Once you see new growth emerging from the top of your cutting, that’s a fantastic sign that roots have formed! You can gently tug on the cutting – if there’s resistance, it’s rooting.
- Gradual acclimation: Once roots are established, start slowly acclimatizing your new plant to normal household conditions by gradually increasing the time the bag or dome is off.
- Continued watering: Keep the soil consistently moist but not soggy.
- Light and warmth: Continue to provide bright, indirect light and a warm environment.
What if things don’t go as planned?
- Rotting: If the stem turns black and mushy, it’s succumbed to rot. This is usually due to too much moisture and poor air circulation. Don’t get discouraged; just try again with a fresh cutting and adjust your watering.
- No growth: Sometimes cuttings just don’t take. This can happen! Factors like the age of the cutting, the temperature, or even the time of year can play a role.
A Encouraging Closing
Growing new plants is all about observation and learning. Don’t get discouraged if your first few attempts aren’t perfect. Each cutting is a little experiment, and the joy of seeing those tiny roots emerge and a new plant unfurl is truly special. Be patient with yourself and your little green babies, and enjoy the rewarding journey of propagation! Happy gardening!
Resource:
https://identify.plantnet.org/k-world-flora/species/Dalbergia%20hupeana%20Hance/data