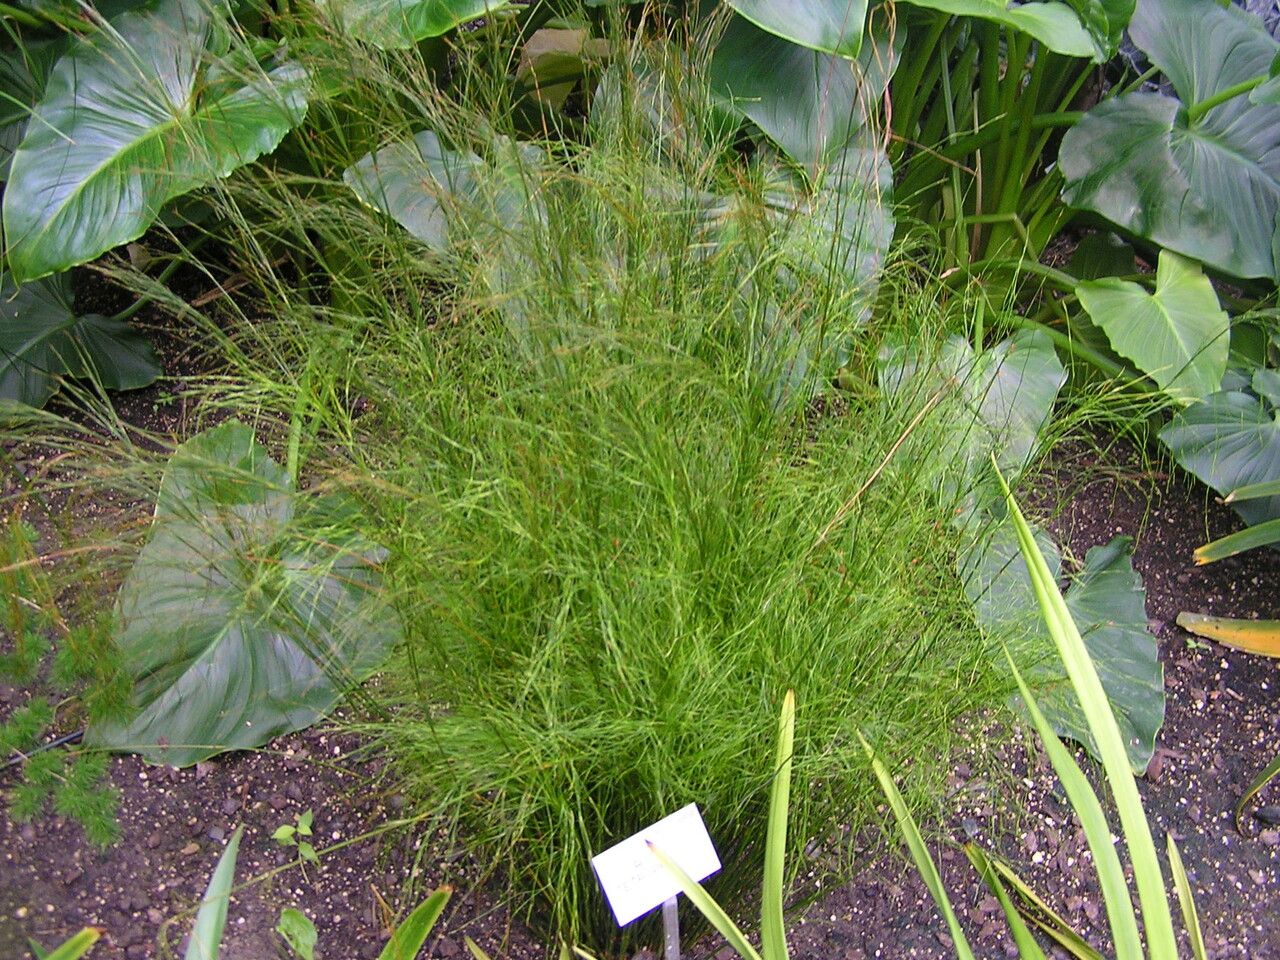
Hey there, fellow garden enthusiasts! Today, I want to chat about a plant that truly brightens up my garden and is surprisingly rewarding to share: Baloskion tetraphyllum, or the beautiful Wedding Grass as it’s often called. Its delicate, arching stems and graceful form make it a real showstopper, especially when it catches the breeze. For those of you who love to expand your plant family without breaking the bank, propagating this beauty is a fantastic path. And good news – it’s not overly difficult, making it a great project for beginners and seasoned gardeners alike!
The Best Time to Start
When it comes to getting the best results with Baloskion tetraphyllum, timing is key. I’ve found that the absolute sweet spot for propagation is late spring to early summer, right after the initial growth spurt has happened. You want the plant to be actively growing, but not stressed by intense heat or cold. Looking for firm, vigorous stems is your best bet.
Supplies You’ll Need
Gathering your tools beforehand makes the whole process much smoother. Here’s what I usually have on hand:
- Sharp pruning shears or a clean knife: For making clean cuts.
- A well-draining potting mix: I like a blend of equal parts perlite and peat moss or coco coir. For division, the native soil amended with compost works well too.
- Small pots or trays: With drainage holes, of course!
- Rooting hormone (optional but helpful): Especially for stem cuttings. I prefer the powder form for ease.
- Watering can or spray bottle: For gentle watering.
- Plastic bags or a propagator: To create a humid environment.
- Labels: It’s easy to forget what you planted and when!
Propagation Methods
Let’s dive into how we can create more of these lovely plants.
1. Division (My Personal Favorite!)
This is, by far, the easiest and most successful method for Baloskion tetraphyllum.
- Dig it up: In late spring or early summer, carefully dig around the perimeter of your established plant. Gently lift the entire clump from the ground.
- Separate the clumps: You’ll see that the plant naturally forms multiple sections or crowns. You can use your hands to gently pull these apart. If they are really stubborn, a spade or even a clean trowel can help tease them apart. Aim for sections that have a good amount of roots and a few healthy shoots.
- Replant: Immediately replant your divisions in their new homes. Whether that’s back in your garden, in pots, or given to a friend, plant them at the same depth they were before.
- Water well: Give them a good soak right after planting to help settle the soil and reduce transplant shock.
2. Stem Cuttings
This method requires a bit more patience, but it’s incredibly satisfying when those first roots appear.
- Take cuttings: Select healthy, non-flowering stems from your mature plant. Using your sharp shears, make a cut just below a leaf node (where a leaf attaches to the stem). Aim for cuttings that are about 4-6 inches long.
- Prepare the cuttings: Gently remove the leaves from the bottom half of the cutting. If you’re using rooting hormone, dip the cut end into the powder, tapping off any excess.
- Plant the cuttings: Fill your small pots with your prepared potting mix. Make a pilot hole with your finger or a pencil, then insert the cutting. The leaf nodes you removed should be below the soil surface.
- Create humidity: Water the soil lightly. Then, cover the pots loosely with a plastic bag or place them in a propagator. Make sure the leaves aren’t touching the plastic if possible.
- Placement: Put the pots in a bright location out of direct sunlight. It’s also beneficial to provide bottom heat, perhaps by placing the pots on a heat mat designed for seedlings. This encourages root development.
The “Secret Sauce” (Pro Tips)
After years of tweaking and tinkering, I’ve learned a few things that can really boost your success rate.
- Don’t rush it when dividing: Sometimes, the root ball can be quite dense. What I like to do is get my hands in there and gently work sections apart. If there’s a particularly tough spot, I’ll gently wiggle a knife or spade through it, being careful not to hack too aggressively. Patience here pays off!
- Keep it humid for cuttings: Those stems are going to dry out fast without roots to support them. That plastic bag or propagator is your best friend here. I’ll even give the leaves a light misting with water every couple of days to keep them plump and happy.
- Bottom heat truly makes a difference: For stem cuttings, especially, providing gentle bottom heat from a seedling mat can significantly speed up root formation. It mimics the warmth from the soil surface that encourages roots to emerge.
Aftercare & Troubleshooting
Once your new Baloskion tetraphyllum has established roots (which you might see in a few weeks for divisions, or several weeks to months for cuttings), it’s time for them to begin their independent lives.
For divisions, water them regularly until they seem to be settling in. Don’t let them completely dry out, but avoid waterlogging them. For cuttings that have developed roots, gradually introduce them to less humid conditions by opening the plastic bag a little more each day over a week. Then, you can try watering from the bottom of the pot – this encourages roots to grow downwards.
The most common sign of trouble is rot. If your cuttings start to look mushy or discolored, it’s usually a sign of too much moisture and not enough airflow. If you see this, remove the affected cutting immediately and adjust your watering. For divisions, if they are wilting excessively, it could be transplant shock. Continue to water gently and they should perk up within a week or two.
A Encouraging Closing
Propagating plants like Baloskion tetraphyllum is such a rewarding journey. It’s a way to connect with nature, expand your garden, and share a little bit of green joy with others. Don’t be discouraged if your first attempt isn’t perfect. Each plant, and each experience, teaches you something new. So, grab your tools, find a sunny spot, and enjoy the process of nurturing new life. Happy gardening!
Resource: