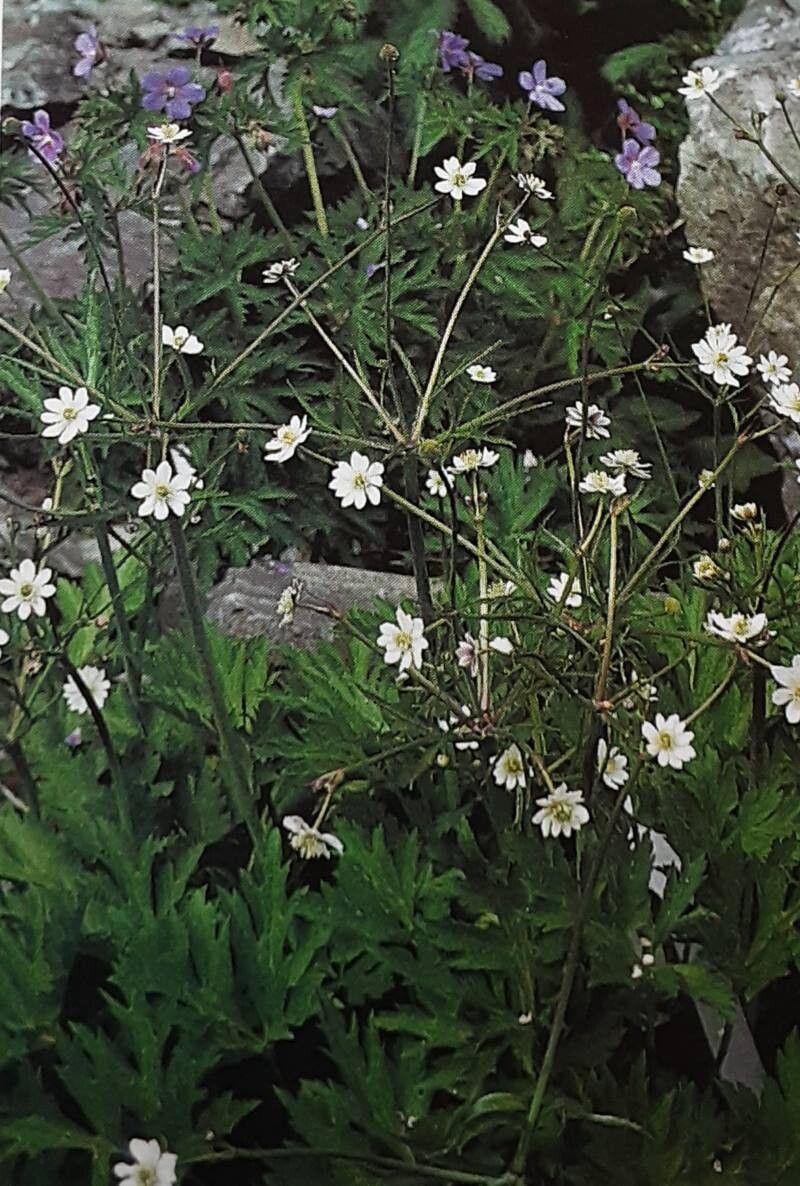
Hello, fellow garden enthusiasts! I’m so excited to chat with you today about a real gem in the garden: Anemone cylindrica, or the long-headed anemone. If you’re looking for a native wildflower that’s both charming and a bit of a quiet achiever, this is your plant. Its delicate white flowers, often with those lovely golden-yellow stamens, bring a touch of airy elegance to any border or meadow. And the best part? Doubling your pleasure by propagating it yourself is incredibly rewarding. Is it a beginner-friendly project? Honestly, it’s quite manageable, especially if you follow a few tried-and-true methods.
The Best Time to Start
When it comes to propagating Anemone cylindrica, spring is your golden ticket. Think of it as nature’s cue to get growing! Waiting until after your plants have finished their spring bloom, or as they’re just starting to fade, is generally the sweet spot. This is when they’re full of vigor and ready to channel that energy into new beginnings.
Supplies You’ll Need
Gathering your tools before you begin makes the whole process much smoother. Here’s what I like to have on hand:
- Sharp pruning shears or a clean knife: For making precise cuts.
- Seed-starting mix or a well-draining potting mix: A blend of peat moss, perlite, and vermiculite works wonders.
- Small pots or trays: With drainage holes, of course!
- Rooting hormone (optional but helpful): Especially if you’re a bit nervous about root development.
- A watering can with a fine rose: For gentle watering.
- A small trowel or dibber: For planting.
Propagation Methods
Anemone cylindrica can be propagated in a couple of reliable ways. Let’s dive into the ones I find most successful.
Division: This is hands-down the easiest and most successful method, especially for established plants.
- Timing is Key: Again, spring is ideal, just as new growth emerges, or in the fall after flowering.
- Gentle Excavation: Carefully dig up your Anemone cylindrica plant, trying to disturb the roots as little as possible. I like to use a garden fork for this, getting it in a good distance from the main crown.
- Inspect and Separate: Gently brush away excess soil. You’ll likely see distinct clumps or crowns connected by fleshy rhizomes. Look for areas where you can see healthy leaf buds or emerging shoots.
- Make Your Cuts: Using your clean pruning shears or knife, carefully separate the clumps. Ensure each division has at least one or two healthy eyes (buds) and a good portion of roots. Don’t be afraid to be decisive here; a clean cut encourages quicker healing.
- Pot Them Up: Plant each division in its own pot filled with your well-draining mix. Make sure the top of the crown is just at the soil surface. Water thoroughly.
Seed Starting (for the patient gardener!): While division is quicker, growing from seed is a rewarding long-term project.
- Gather Seed: Let the seed heads mature on the plant. Once they dry and turn brown, you can collect the fuzzy seeds.
- Stratification (The Waiting Game): Anemone cylindrica seeds typically require a period of cold, moist stratification to germinate. Mix the seeds with a little damp sand or peat moss in a plastic bag and store it in the refrigerator for 6-8 weeks.
- Sowing: After stratification, sow the seeds on the surface of your seed-starting mix in pots or trays. Light is not required for germination, so you can gently press them into the soil.
- Maintain Moisture: Keep the soil consistently moist but not waterlogged. A light misting from your watering can is perfect.
- Patience is a Virtue: Germination can be slow and erratic, sometimes taking several weeks or even months. Don’t give up too soon!
The “Secret Sauce” (Pro Tips)
Here are a couple of things I’ve learned over the years that really make a difference:
- Don’t Over-Bury: When dividing or sowing seeds, remember that newly forming roots don’t like to be buried too deep. Keep those crown buds just peeking out or very lightly covered. This encourages them to reach for the light and prevents them from rotting.
- Think Humidity, Not Drowning: For divisions, once potted, I like to give them a gentle watering and then cover the pot with a clear plastic bag or place it in a mini-greenhouse. This creates a humid environment that helps them establish roots without drying out, but ensure there’s some airflow to prevent fungal issues.
Aftercare & Troubleshooting
Once your divisions or seedlings have started to show good root development (you might see them peeking from the drainage holes), it’s time to transition them to slightly larger pots or their permanent garden spot. Keep them well-watered, especially during dry spells, but always ensure the soil drains freely.
The most common issue you’ll encounter is rot. This is almost always due to overwatering or poor drainage. If you see mushy stems or a foul smell, it’s a bad sign. In this case, it’s probably best to discard the affected plant and learn from the experience. It’s a tough lesson, but one that teaches us the importance of listening to our plants and their needs!
A Encouraging Closing
Propagating Anemone cylindrica is a wonderful way to expand your collection and share these beautiful blooms. Be patient with the process, especially if you’re starting from seed. Gardening is a journey, and every sprout, every new root, is a small victory. Enjoy the quiet satisfaction of nurturing new life in your garden. Happy propagating!
Resource:
https://identify.plantnet.org/k-world-flora/species/Anemone%20cylindrica%20A.Gray/data