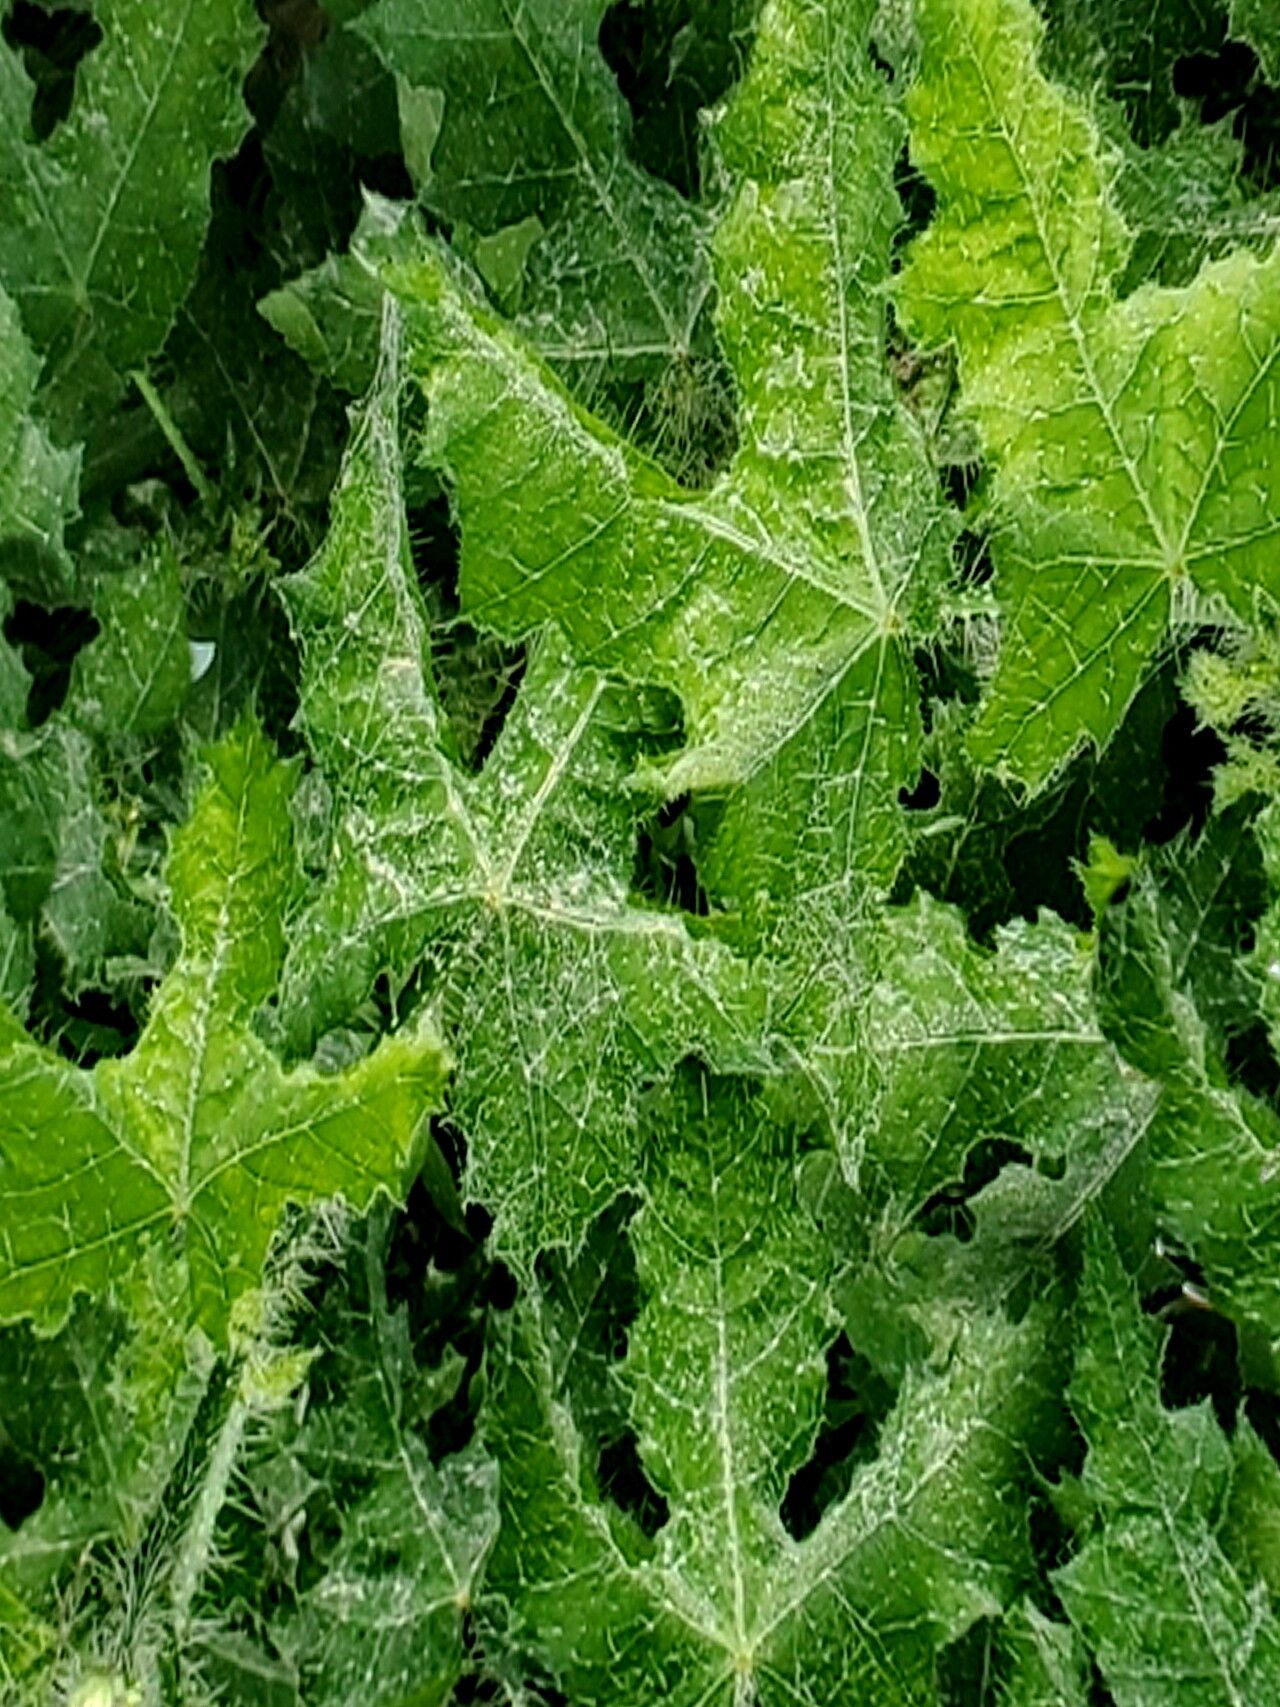
Let’s talk about a true Texas treasure: Texas Native Honeypot (Cnidoscolus texanus). If you’ve ever seen this beauty gracing a garden, you know why it’s so captivating. Its large, hand-shaped leaves are a statement in themselves, and the clusters of delicate, white flowers are simply enchanting. Plus, they’re such a magnet for our native pollinators! I’ve been growing and propagating these for years, and let me tell you, sharing this plant with others is one of the most rewarding parts of gardening. And the good news? For those of you just starting out, you’ll be happy to hear that Texas Honeypot is surprisingly beginner-friendly when it comes to propagation.
The Best Time to Start
When you’re looking to expand your Honeypot collection, your best bet is to do it during the active growing season. Think late spring through summer. This is when the plant is full of vigor, has plenty of energy to put into developing new roots, and is less likely to be stressed by the process. You can also take cuttings in early fall, but you might find root development is a bit slower as the plant prepares for cooler weather.
Supplies You’ll Need
Before we dive in, let’s gather our tools. Having everything ready makes the whole experience smoother.
- Sharp Pruning Shears or a Knife: For clean cuts that heal well.
- Rooting Hormone Powder or Gel (Optional but recommended): This really speeds up root formation.
- Well-Draining Potting Mix: I like a blend of perlite, peat moss, and compost. Cactus mix also works beautifully.
- Small Pots or Seedling Trays: With drainage holes, of course!
- A Spray Bottle: For misting your cuttings.
- Trowel or Small Shovel: For filling pots.
- Gloves: The sap can be a bit irritating to some folks.
Propagation Methods
Texas Honeypot is wonderfully versatile, and for me, the easiest and most successful method is through stem cuttings.
Here’s how I do it:
- Select Your Cuttings: On a healthy, mature plant, choose a stem that’s at least 6-8 inches long. Look for a piece that’s firm and has active growth, but not flowering. You want to avoid very old, woody stems.
- Make the Cut: Using your sharp shears or knife, make a clean cut just below a leaf node. Nodes are those little bumps on the stem where leaves emerge. This is where the magic of rooting happens!
- Prepare the Cutting: Gently remove the lower leaves from the stem, leaving just a couple at the top. This prevents them from rotting in the soil. If you’re using rooting hormone, dip the cut end into it, following the product’s instructions.
- Planting Time: Fill your small pots with your well-draining potting mix. Make a small hole in the center with your finger or a pencil.
- Insert the Cutting: Firmly push the cut end of your prepared stem into the hole, ensuring at least one leaf node is buried beneath the soil surface. Gently firm the soil around the stem.
- Water Lightly: Give your cuttings a gentle watering to settle the soil. Don’t drench them. I like to mist the leaves too, just to give them a bit of humidity.
- Create a Mini Greenhouse: To keep humidity levels high, you can cover the pot with a clear plastic bag or place it in a propagator. Just make sure the leaves don’t touch the plastic if possible, as this can encourage rot.
- Location, Location, Location: Place your pots in a bright spot, but out of direct, harsh sunlight. A north-facing window or dappled shade is perfect.
For those who are curious, you can also try water propagation. Simply place your cuttings in a jar of water, again making sure to remove lower leaves. Change the water every few days and place it in bright, indirect light. You should see roots emerge within a few weeks. Once the roots are a couple of inches long, you can transplant them into soil. It’s a fun way to watch the process!
The “Secret Sauce” (Pro Tips)
Here are a couple of my tried-and-true tricks that really boost success:
- Bottom Heat is Your Friend: Texas Honeypot, being a warm-season lover, absolutely thrives with a little warmth from below. Placing your pots on a heating mat designed for seedlings can significantly speed up root development, especially if your ambient temperatures are a bit cooler.
- Don’t Overwater: This is probably the biggest mistake beginners make. The cuttings have no roots to absorb water, so they hate sitting in soggy soil. Keep the soil consistently moist but not waterlogged. It’s better to let them dry out just a tad between waterings than to drown them.
Aftercare & Troubleshooting
Once you start to see signs of new growth – tiny leaves unfurling or perhaps a gentle tug on the stem revealing resistance – you know roots are forming! This is the exhilarating part. At this point, you can gradually reduce the humidity by removing the plastic cover or opening the propagator vents. Continue to keep them in bright, indirect light and water them as needed.
Now, what if things go wrong? The most common culprit for cuttings failing is rot. You’ll see the stem turn mushy and black. This is usually a sign of too much moisture and not enough airflow. If you spot rot, it’s best to discard the affected cutting to prevent it from spreading. Sometimes, cuttings just don’t take, and that’s okay too! Gardening is a journey of learning from every plant.
A Encouraging Closing
Propagating your own Texas Native Honeypot is a wonderfully satisfying endeavor. It connects you more deeply with these amazing plants and allows you to share their beauty with friends and fellow gardeners. Be patient with the process; some cuttings will root quickly, while others might take their sweet time. Just keep a watchful eye, offer them bright light and just the right amount of moisture, and you’ll be rewarded with new life. Happy propagating!
Resource:
https://identify.plantnet.org/k-world-flora/species/Cnidoscolus%20texanus%20(Müll.Arg.)%20Small/data