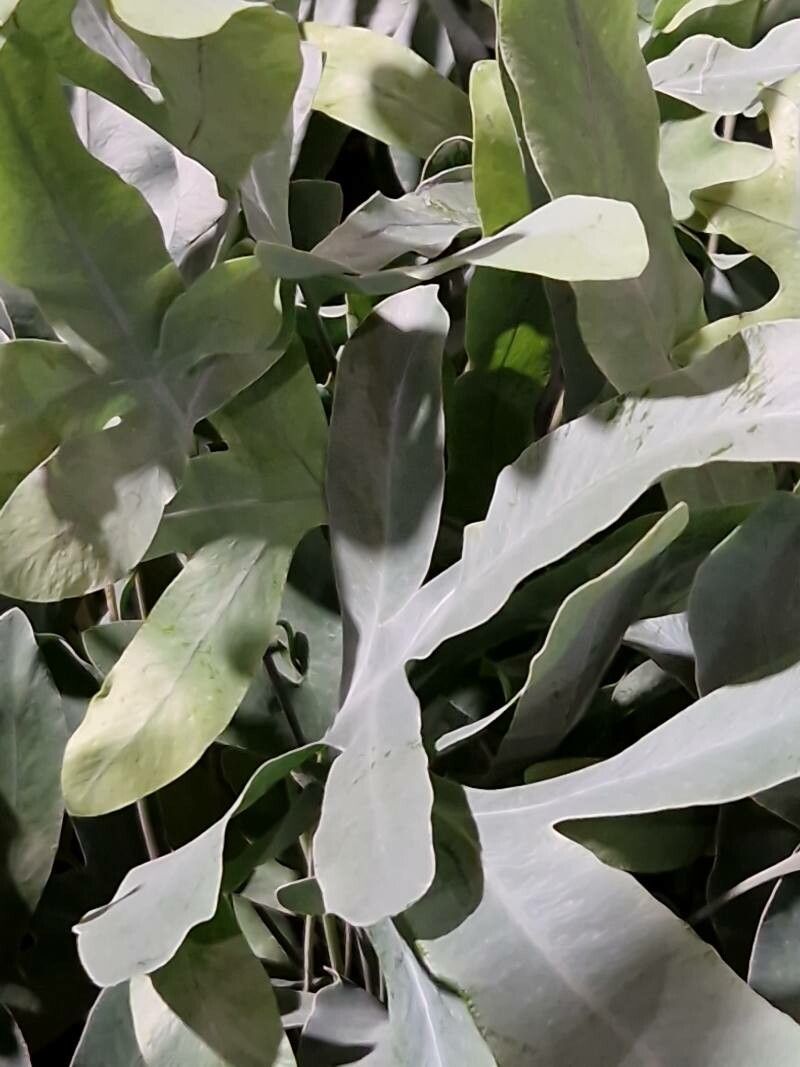
Hey there, fellow plant lovers! You know, there’s something incredibly satisfying about coaxing new life from an existing plant. It’s like a little bit of magic, right? Today, we’re diving into the wonderful world of Phlebodium aureum, also known as the Golden Rabbit’s Foot Fern or the Bear’s Paw Fern. Its frilly, somewhat fuzzy fronds and that intriguing rhizome make it a real standout in any indoor jungle. And guess what? Propagating it is totally achievable, even if you’re just starting out on your plant parenthood journey!
When is it the Best Time to Start?
My experience tells me the sweet spot for propagating Phlebodium aureum is definitely spring or early summer. This is when the plant is really hitting its stride, putting out new growth after its winter rest. You’ll see lots of plump new rhizomes forming, which are our prime candidates for new babies. Trying to propagate when the plant is stressed or dormant is just asking for disappointment. Patience is key here!
Supplies You’ll Need:
Before we get our hands dirty, let’s gather our tools. Having everything ready makes the process so much smoother.
- Sharp, clean pruning shears or a knife: For making those precise cuts. Sterilize them with rubbing alcohol to prevent disease.
- Well-draining potting mix: Think a blend of potting soil, perlite, and a bit of orchid bark. This is crucial for preventing root rot.
- Small pots or seed trays: Whatever you choose, make sure they have drainage holes!
- Clear plastic bags or a propagation dome: To create a humid microclimate.
- Watering can with a fine rose or a spray bottle: For gentle watering.
- (Optional) Rooting hormone: While not strictly necessary for Phlebodium, it can give cuttings a little boost.
Propagation Methods: Let’s Get Growing!
Phlebodium aureum is a rhizomatous fern, which means its primary method of propagation is through dividing its underground stems. It’s quite straightforward!
Division: The Tried and True Method
This is by far the easiest and most successful way to make more golden ferns.
- Gently remove your Phlebodium from its pot. If it’s been in there a while and is root-bound, you might need to gently coax it out by squeezing the sides of the pot.
- Inspect the rhizomes. These are the thick, fuzzy, creeping stems that you see on the surface of the soil or just below. Look for sections that have healthy growth points – tiny new fronds or developing roots.
- Carefully separate the rhizomes. You can often tease them apart with your hands. If a rhizome is very stubborn, use your clean pruning shears or knife to make a clean cut, ensuring each division has at least one good growth point and some roots.
- Pot up each division. Plant each new piece in its own small pot filled with your well-draining potting mix. Make sure the rhizome is just at or slightly above the soil surface, and the roots are tucked in.
- Water gently. Give them a good, but not drowning, drink.
- Create humidity. Cover the pots with a clear plastic bag or place them under a propagation dome. This is super important for ferns as they love humidity!
Stem Cuttings (Less Common, More Experimental)
While less common for Phlebodium, you can try taking sections of the rhizome that have a frond attached.
- Find a healthy rhizome section with a developing frond.
- Make a clean cut with your sterilized shears, ensuring the section has at least an inch of rhizome and the base of a frond.
- Optional: Dip the cut end in rooting hormone.
- Plant the cutting in your well-draining mix, with the rhizome just at the surface.
- Water and cover to maintain high humidity, just as you would with divisions. This method takes longer and has a lower success rate, but it’s fun to experiment!
The “Secret Sauce” (Pro Tips)
Here are a couple of things I’ve learned over the years that really make a difference:
- Don’t bury the fuzzy rhizomes too deep! These guys are meant to snake along the surface. Burying them can lead to rot. Think of them like little furry caterpillars needing to breathe.
- Bottom heat is your friend. If you have a seedling heat mat, placing your pots on it can really speed up root development and give those baby ferns an extra boost. It mimics the warmth they’d get in their native habitat.
Aftercare & Troubleshooting
Once your new Phlebodium divisions have roots (this can take anywhere from a few weeks to a couple of months), you can start to gradually acclimate them to normal conditions.
- Remove the plastic bag or dome for a few hours each day, slowly increasing the time until they are fully exposed.
- Keep them in bright, indirect light.
- Mist them regularly if your home is dry, but avoid letting water sit on the fronds for too long.
- Watch for signs of trouble. The most common issue is rot, which will show up as mushy, brown stems or rhizomes. This is usually a sign of too much moisture and not enough airflow. If you see this, pull the affected piece immediately, check the remaining ones for moisture, and ensure good drainage and airflow. Yellowing fronds can sometimes mean it’s adapting, but if it persists, it might be a sign of dehydration or too much direct sun.
Happy Propagating!
There you have it! Propagating Phlebodium aureum is a wonderful way to multiply your green collection and share the joy with friends. Be patient, observe your new plants, and don’t be afraid to experiment. Every gardener has a bit of trial and error, and that’s all part of the fun. Happy growing!
Resource:
https://identify.plantnet.org/k-world-flora/species/Phlebodium%20aureum%20(L.)%20J.Sm./data