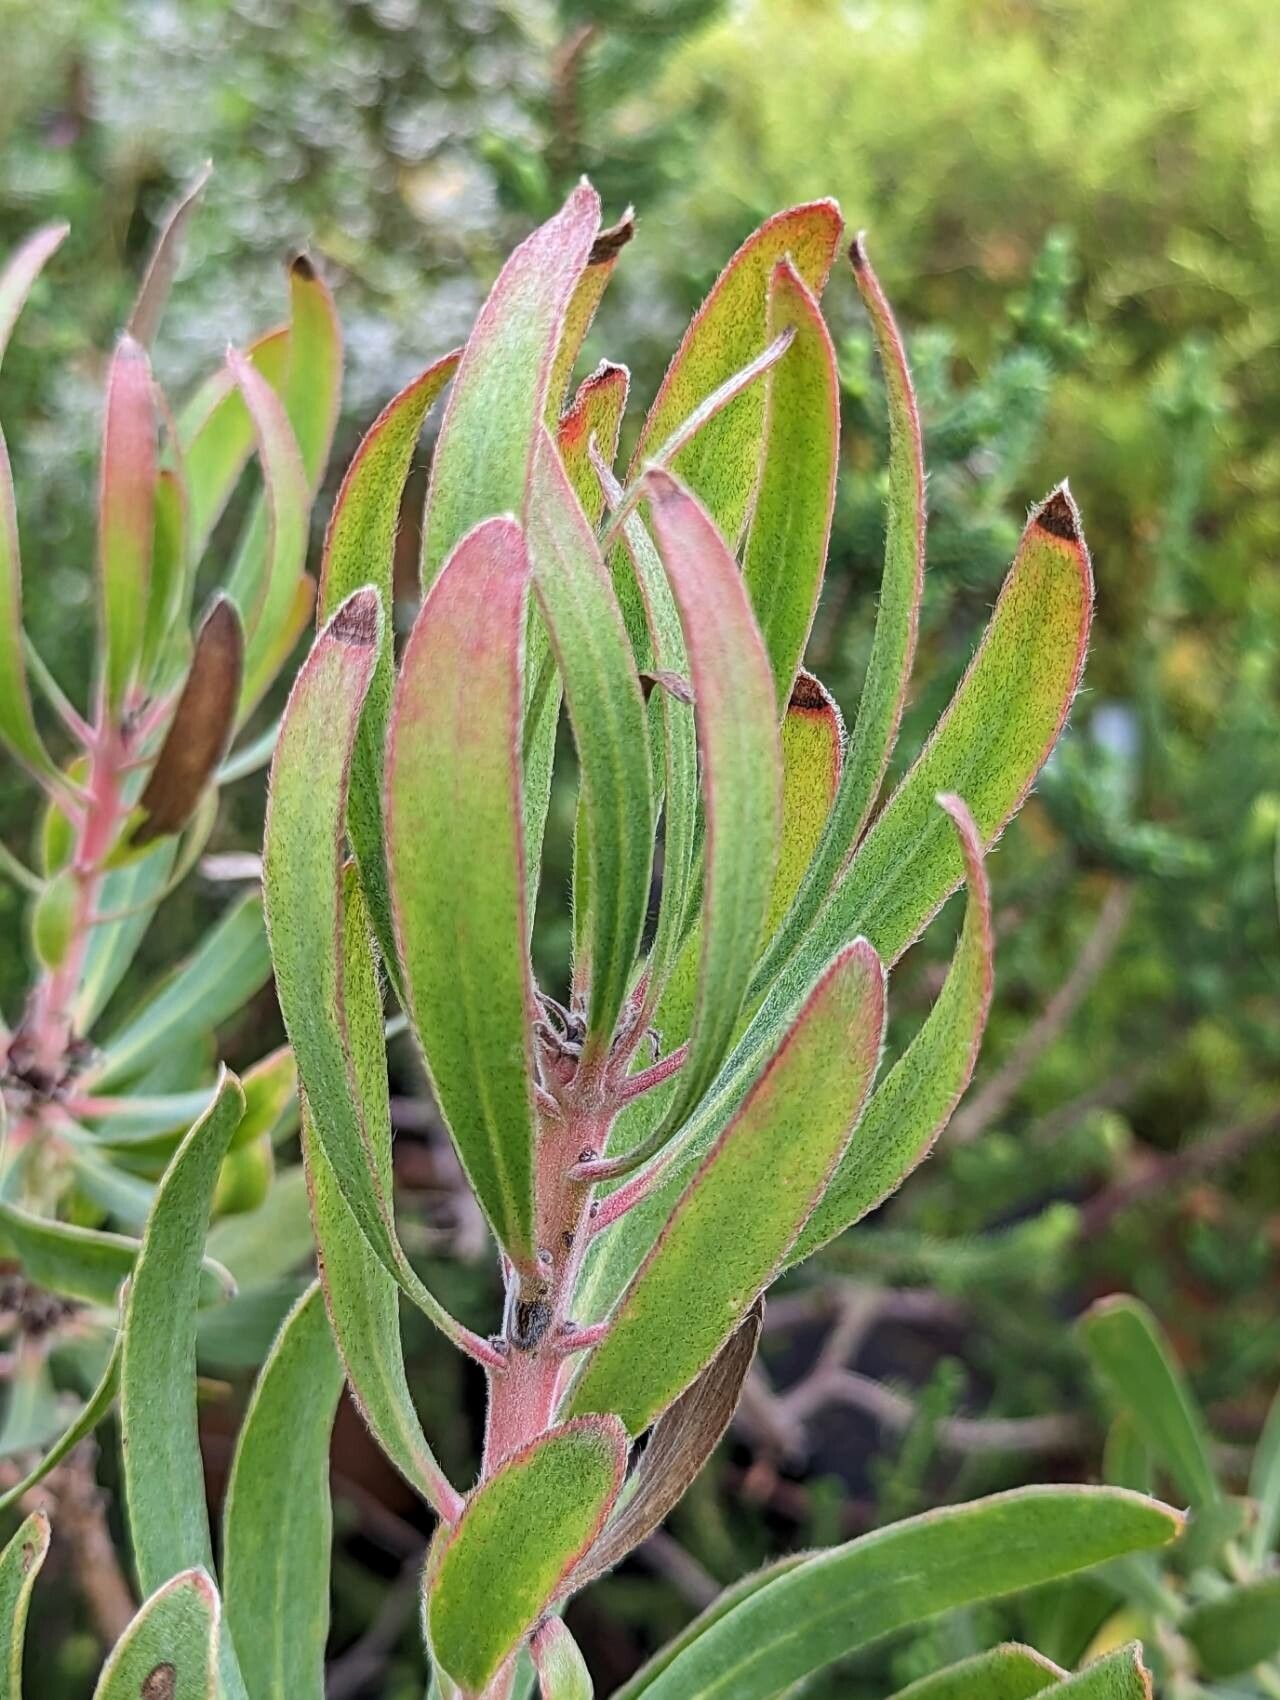
Oh, Protea obtusifolia! If you haven’t gazed upon its magnificent, blushing blooms and sculptural form, you’re in for a treat. These South African beauties are a showstopper in any garden, and there’s a special kind of satisfaction that comes from coaxing one to life from a tiny cutting. Now, I won’t lie to you – propagating Proteas can be a little bit of a puzzle. They’re not as straightforward as, say, a geranium for a complete beginner, but with a bit of patience and the right approach, you can absolutely achieve success. It’s a truly rewarding journey!
The Best Time to Start
For Protea obtusifolia, the sweet spot is really in the late spring to early summer. This is when the plant is actively growing, and you’ll find the stems have the best energy reserves to push out new roots. Look for semi-hardwood cuttings – stems that are no longer floppy and green but haven’t yet turned fully woody. They’ll often have a slight stiffness to them.
Supplies You’ll Need
Having your tools at the ready makes the whole process smoother. Here’s what I always have on hand:
- Sharp, clean pruning shears or a razor blade: Cleanliness is crucial to prevent disease.
- Rooting hormone powder or gel: Look for one containing IBA (indole-butyric acid) for best results.
- Well-draining potting mix: A blend of perlite, coarse sand, and peat moss or coco coir works wonders. You can also look for specialized Protea mixes.
- Small pots or seed trays: Clean ones, of course!
- Plastic bags or a propagator lid: To create a humid environment.
- Water spray bottle: For misting.
- Labeling sticks and a permanent marker: Never underestimate the importance of knowing what you’ve planted!
Propagation Methods
We’ll focus on the method that generally gives the best results for Proteas: stem cuttings.
- Take Your Cuttings: On a pleasant morning, when the plant is well-hydrated, select healthy, non-flowering shoots that are about 4-6 inches long. Make a clean cut just below a leaf node (the little bump where a leaf attaches to the stem).
- Prepare the Cutting: Gently remove the lower leaves from your cutting, leaving just a few at the very top. This reduces water loss and prevents leaves from rotting in the soil. If you see any tiny flower buds, nip them off.
- Apply Rooting Hormone: Dip the cut end of the stem into your rooting hormone. Ensure it’s coated nicely all around. Tap off any excess.
- Plant Your Cuttings: Fill your small pots or trays with your well-draining mix. Make a small hole with a pencil or your finger. Gently insert the cutting into the hole, making sure the hormone-coated end is well-covered by the soil and that the remaining leaves aren’t touching the mix. Firm the soil gently around the base.
- Create Humidity: Water the soil gently until it’s evenly moist. Then, cover the pots with clear plastic bags (propped up with stakes so they don’t touch the leaves) or place them in a propagator with a lid.
The “Secret Sauce” (Pro Tips)
Here are a few things I’ve learned over the years that really make a difference:
- Bottom Heat is Your Friend: If you can, place your pots on a heated propagator mat. Proteas absolutely love a bit of warmth from below to encourage root development. It’s a game-changer!
- Air Circulation is Key: While you want humidity, you don’t want stagnant air, which screams rot. Once a day, for a few minutes, lift the plastic or open the propagator lid to allow for some air exchange.
- Patience with Watering: Don’t be tempted to overwater, thinking it will help. Let the top inch of the soil dry out slightly between waterings. This encourages the roots to seek out moisture.
Aftercare & Troubleshooting
Once your cuttings are planted, find a spot for them that gets bright, indirect light – no direct sun, as it can scorch them. Keep them consistently, but not soaking, moist. You’ll know they’re starting to root when you see new leaf growth emerging from the tops. This can take anywhere from 6 weeks to several months. Don’t tug on them to check – you’ll damage tiny new roots!
The most common issue you’ll face is rot. If a cutting turns black and mushy, it’s usually a sign of too much moisture and not enough air circulation. If you see this, try to isolate it and ensure your watering and air exchange routine is spot on for the remaining cuttings.
So, there you have it! Propagating Protea obtusifolia is a journey that requires a little finesse, but the reward of seeing your own little protea thrive is just fantastic. Be patient, celebrate every tiny bit of progress, and most importantly, enjoy the process of nurturing new life. Happy propagating!
Resource:
https://identify.plantnet.org/k-world-flora/species/Protea%20obtusifolia%20H.Buek%20ex%20Meisn./data