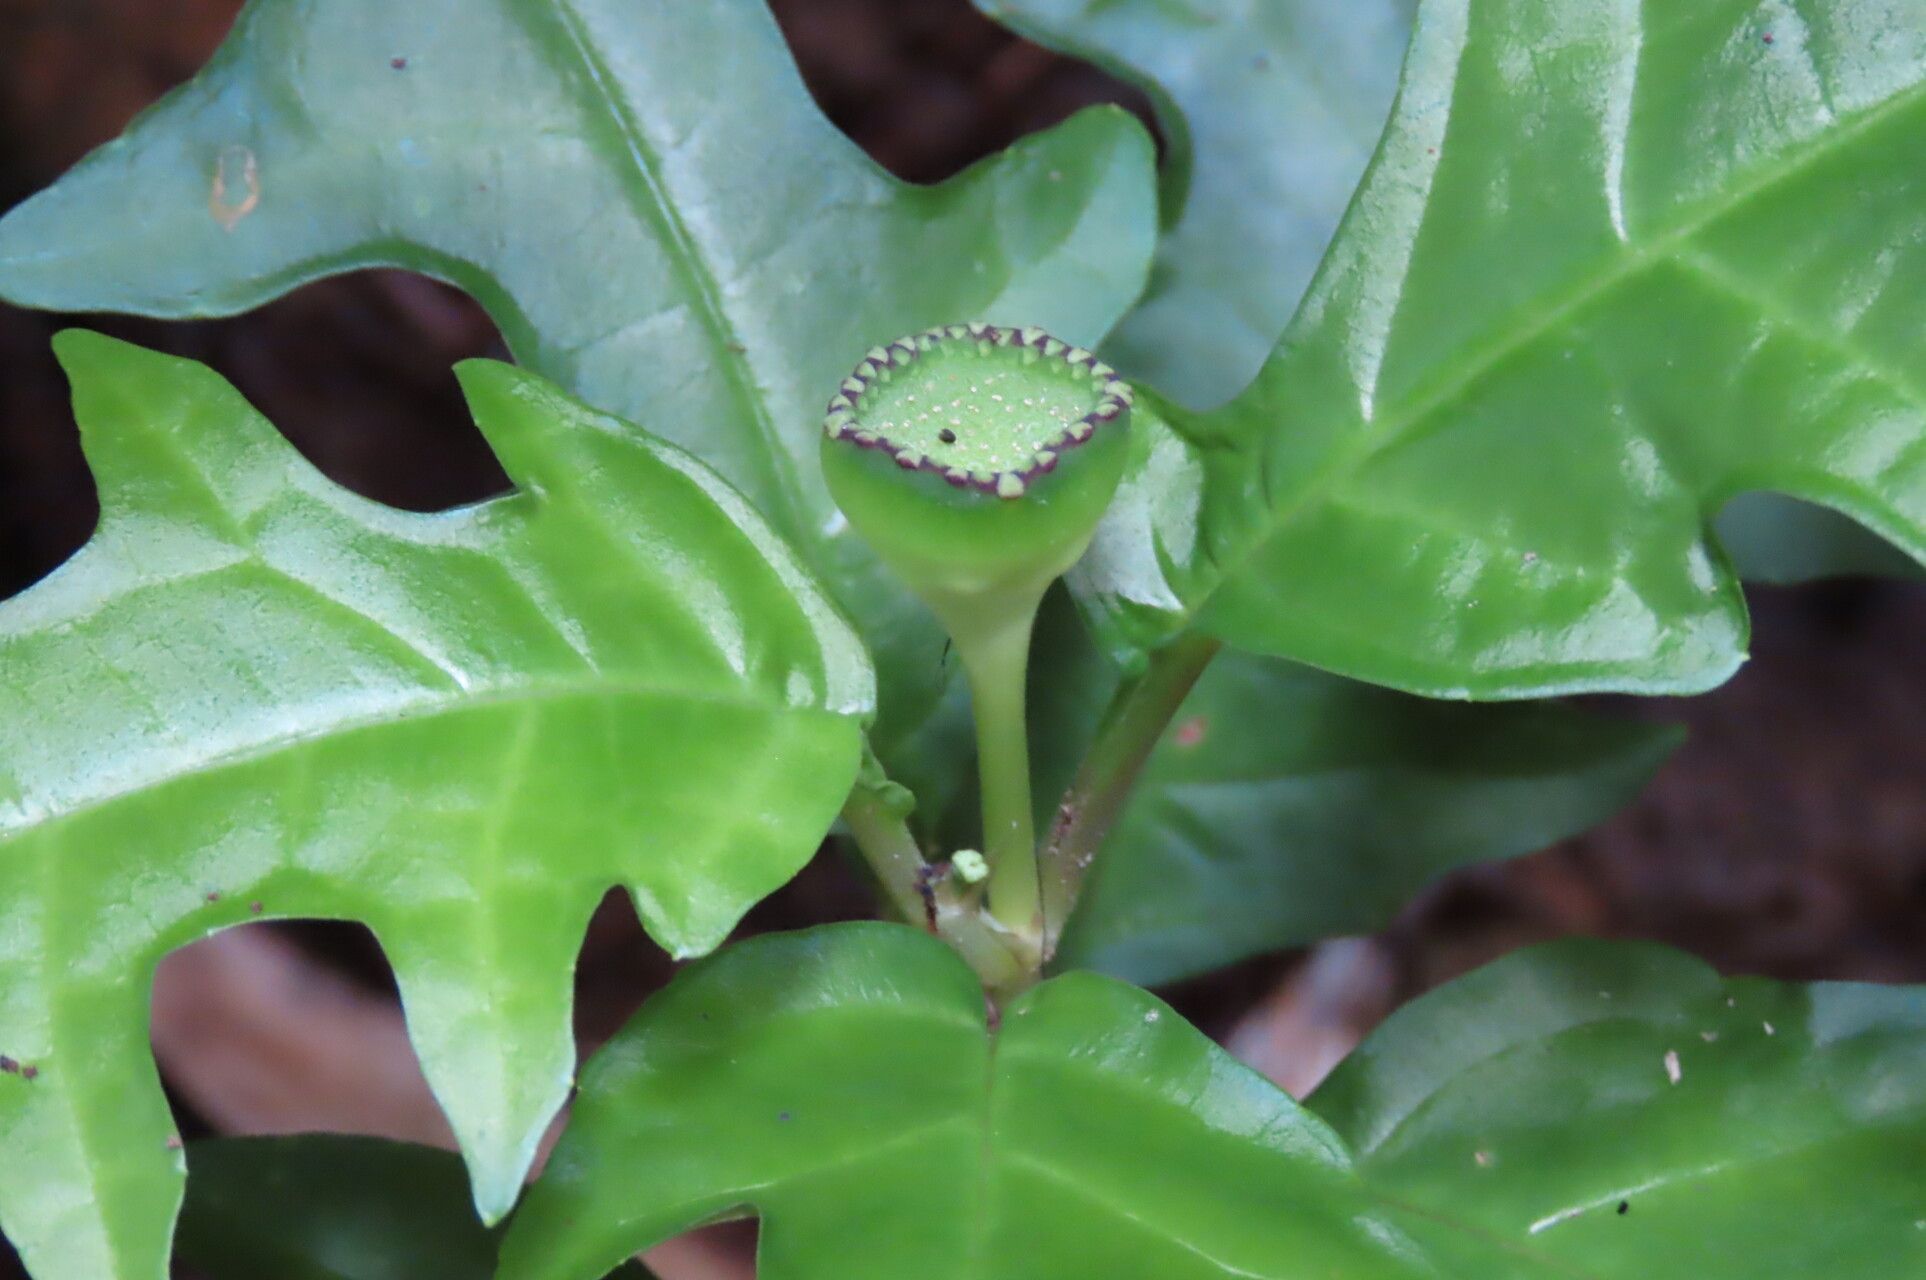
Ah, Dorstenia choconiana! If you’ve ever seen one of these beauties gracing a fellow gardener’s collection, you know exactly what I’m talking about. They have this incredible, almost sculptural quality to their succulent leaves and those fascinating, star-shaped flower-like structures called phyllanths. It’s no wonder people fall in love with them. And the best part? Propagating them yourself is incredibly rewarding. You get to watch new life unfurl from a tiny piece of the parent plant. Now, is it a breeze for the absolute beginner? Honestly, I’d say it’s a moderate challenge. It’s not quite as forgiving as, say, a jade plant cutting, but with a little care and attention, you’ll be successful.
The Best Time to Start
For Dorstenia choconiana, the spring and early summer are your golden windows. This is when the plant is actively growing, pushing out new shoots and energy. It’s like giving your cuttings the best possible start in life, with plenty of warmth and light to encourage them to root. Trying to propagate when the plant is dormant in the cooler months is just setting yourself up for disappointment. Wait for that surge of growth!
Supplies You’ll Need
Gathering your tools beforehand makes the whole process so much smoother. Here’s what I always have on hand:
- Sharp Pruning Shears or a Clean Knife: For making clean cuts without crushing the plant tissue. Sterilize them with rubbing alcohol before and after use.
- A Well-Draining Potting Mix: I love a blend of equal parts cactus/succulent mix and perlite. This ensures no waterlogging.
- Rooting Hormone (Optional but Recommended): A powdered or gel form will give your cuttings a little boost.
- Small Pots or Trays: With drainage holes, of course!
- A Spray Bottle: For light misting.
- Labels: So you don’t forget what you’ve planted!
- A Warm Location: With bright, indirect light.
Propagation Methods
Dorstenia choconiana can be propagated through a couple of reliable methods. I find stem cuttings to be the most straightforward for creating new plants.
Stem Cuttings
- Select a Healthy Stem: Look for a firm, mature stem, preferably one with a few leaves. About 3-4 inches long is a good starting point.
- Make the Cut: Using your sterilized shears or knife, make a clean cut just below a leaf node (where a leaf attaches to the stem). This is where new roots are most likely to form.
- Allow to Callus: This is crucial! Let the cut end of the stem sit in a dry, well-ventilated spot for 2-3 days, or even up to a week. You want a dry, scab-like layer to form over the cut. This prevents rot when you plant it.
- Apply Rooting Hormone (Optional): Once callused, dip the cut end into your rooting hormone powder or gel. Tap off any excess.
- Plant the Cutting: Fill your small pot with your well-draining mix. Make a hole with your finger or a pencil, and gently insert the callused end of the cutting into the soil. Firm the soil around it.
- Initial Watering: Water very sparingly right after planting, just enough to settle the soil. You don’t want it soggy.
- Place in the Right Spot: Position the pot in a location with bright, indirect light and warmth. Avoid direct sun, which can scorch the tender cutting.
Division
If your Dorstenia has gotten quite large and developed multiple growth points at its base, you can also try dividing it.
- Gently Remove from Pot: Carefully slide the plant out of its pot.
- Inspect the Root Ball: Look for natural divisions where stems emerge from the main root mass.
- Separate the Divisions: Using a clean, sharp knife or your fingers, gently separate the divisions. Try to keep as much of the root system intact for each new piece as possible.
- Pot Up: Pot each division into its own well-draining pot with fresh potting mix, as you would a cutting.
- Water Sparingly: Water very lightly to settle the soil.
The “Secret Sauce” (Pro Tips)
Here are a few tricks I’ve learned over the years that really help improve your success rate with Dorstenias.
- Don’t Overwater, Ever! This is probably the MOST important tip. Dorstenias are succulents; they store water. Soggy soil is the express train to rot for cuttings. Water only when the soil is almost dry to the touch.
- Bottom Heat is Your Friend: If you can provide a little gentle warmth from below, it makes a huge difference. A seedling heat mat set on a low setting can significantly speed up root formation. It mimics the warmth of spring soil.
- Patience is Key: Dorstenias are not the fastest growers. Don’t be discouraged if you don’t see any new growth in the first few weeks. I often wait 4-6 weeks before I even start to see signs of rooting. Resist the urge to constantly dig around to check for roots; you’ll just disturb the delicate process.
Aftercare & Troubleshooting
Once your cutting starts showing signs of new growth – a little leaf unfurling or tiny roots peeking out the drainage hole – that’s your cue! Continue to water sparingly, allowing the soil to dry out between waterings. Treat it like a miniature version of your mature Dorstenia.
The number one problem you’ll encounter is rot. If your cutting looks mushy, or the base turns black and collapses, it’s usually a sign of too much moisture. Unfortunately, if rot sets in badly, it’s often difficult to salvage. Prevention through good drainage and light watering is your best defense. Another sign of issues is if the cutting just shrivels and dries up completely. This can be from heat stress or simply not enough moisture in the very early stages before roots have formed to absorb it.
A Encouraging Closing
Propagating Dorstenia choconiana is a journey, not a race. There might be setbacks, but each attempt teaches you something new. Enjoy the process of nurturing these little wonders, and celebrate every new leaf and root that appears. Happy propagating!
Resource:
https://identify.plantnet.org/k-world-flora/species/Dorstenia%20choconiana%20S.Watson/data