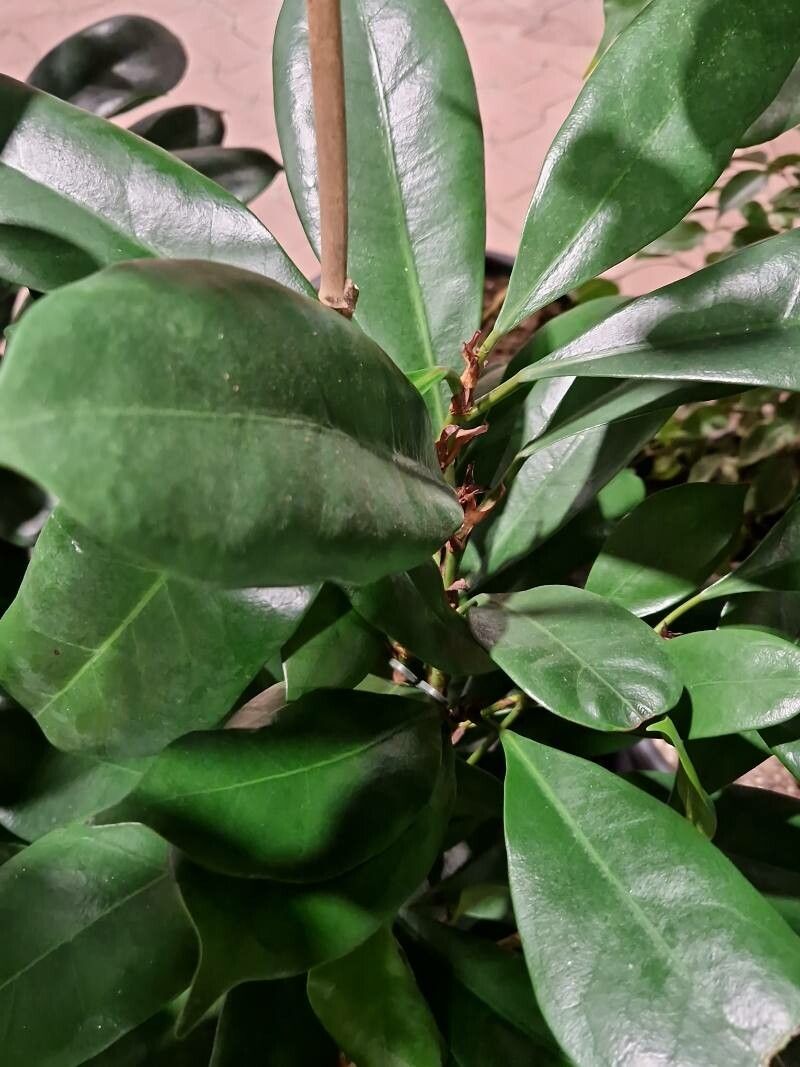
Oh, the Ficus cyathistipula! What a beauty. Those big, glossy leaves are just spectacular, aren’t they? And the best part? You can easily multiply this gorgeous plant to fill your home or share with fellow plant lovers. Trust me, there’s a special kind of joy that comes from nurturing a tiny cutting into a full-fledged specimen. For those just starting out on their plant propagation journey, you’ll be happy to know that Ficus cyathistipula is generally quite forgiving. It’s a wonderfully rewarding plant to get started with!
The Best Time to Start
When is your Ficus cyathistipula most ready for a makeover? Spring and early summer are your golden windows. This is when the plant is actively growing, fueled by longer days and warmer temperatures. It’s making good energy then, which really helps those cuttings take root. You can technically try in other seasons, but you’ll find the most success when the plant is in its robust growth phase. Look for healthy, vigorous stems that aren’t flowering or producing fruit at the moment.
Supplies You’ll Need
Gathering your tools is half the fun! Here’s what you’ll want to have on hand:
- Sharp Pruning Shears or a Knife: Clean cuts are essential.
- Rooting Hormone (Optional, but Recommended): This powder or gel can give your cuttings a real boost.
- Well-Draining Potting Mix: A good mix for houseplants, often with perlite or vermiculite, works wonders. You could even use a 50/50 blend of peat moss and perlite.
- Small Pots or Propagation Trays: Clean containers are a must to prevent disease.
- Plastic Bag or Humidity Dome: To create a mini greenhouse effect.
- Water: For stem cuttings to start in.
- Gravel or Perlite (Optional): For the bottom of water propagation jars.
Propagation Methods
Let’s get our hands dirty! Ficus cyathistipula is a fantastic candidate for a couple of easy methods.
Stem Cuttings
This is my go-to for Ficus. It’s so reliable!
- Find a Healthy Stem: Look for a stem that’s developed but not woody. Aim for a length of about 4-6 inches.
- Make the Cut: Using your sharp, clean shears, make a cut just below a leaf node. A leaf node is where a leaf attaches to the stem; this is where the magic happens for rooting.
- Remove Lower Leaves: Strip off the leaves from the bottom half of your cutting. You want to expose at least one or two leaf nodes.
- Apply Rooting Hormone (Optional but Recommended): Dip the cut end into your rooting hormone, tapping off any excess.
- Pot it Up: Gently insert the cutting into your prepared potting mix, ensuring at least one leaf node is buried. Firm the soil around it.
- Water Gently: Water the soil thoroughly but avoid waterlogging.
- Create Humidity: Cover the pot with a plastic bag or a humidity dome. Make sure the bag doesn’t touch the leaves too much. You can use stakes to prop it up. Place it in a bright spot out of direct sunlight.
Water Propagation
Sometimes, simplicity is key!
- Prepare Your Cutting: Follow steps 1-3 from the Stem Cuttings method.
- Place in Water: Fill a clean jar or glass with room-temperature water.
- Position the Cutting: Submerge the bottom portion of the cutting, making sure at least one leaf node is in the water. Crucially, don’t let any leaves touch the water surface. This can lead to rot.
- Find a Good Spot: Place the jar in a bright location away from direct sun.
- Change Water Regularly: Change the water every few days to keep it fresh and oxygenated.
The “Secret Sauce” (Pro Tips)
Here are a few tricks I’ve learned over the years that can really up your success rate:
- The Sap Secret: Ficus plants ooze a milky sap when cut. This sap can be irritating to skin and can sometimes inhibit rooting. I usually rinse the cutting under cool water for a minute or two after making the cut to wash off excess sap.
- Bottom Heat is Your Friend: If you’re having trouble getting cuttings to root, especially during cooler months, consider using a heat mat. This provides gentle warmth to the base of the cutting, encouraging root development. It’s like a cozy blanket for your little propagules!
- Don’t Overcrowd: When making stem cuttings, I often prepare multiple at once. However, I make sure each has enough space when potted. Too many cuttings packed together in one pot can lead to competition for resources and increased risk of disease. Give them their own little space to shine!
Aftercare & Troubleshooting
Once you see those little white roots emerging from the bottom of your cutting (in water) or peeking out of the soil, it’s time for a little extra TLC.
- For Water Cuttings: When the roots are about an inch or so long, you can gently transplant them into soil. Use the same well-draining mix as for stem cuttings.
- For Soil Cuttings: Once you feel resistance when gently tugging on the cutting (meaning roots have formed) or see new leaf growth, it’s a good sign. You can gradually acclimatize it by removing the humidity dome for longer periods over a few days before removing it entirely.
- Water When Dry: Continue to water your new plant when the top inch of soil feels dry.
- Light Needs: Keep it in bright, indirect light.
- Troubleshooting: The Dreaded Black Stem: If you see your cutting turning black and mushy, it’s likely rot. This usually happens due to overwatering or lack of airflow. Discard any rotted cuttings. Ensure your soil is well-draining and that you’re not keeping it too wet. If propagating in water, make sure you’re changing it regularly and that no leaves are submerged.
A Little Patience Goes a Long Way!
Propagating plants is such a beautiful journey. There might be a few tries before you get that perfect root system, and that’s perfectly okay! Celebrate each tiny sign of progress. Enjoy watching your Ficus cyathistipula cuttings transform into miniature versions of your beloved plant. Happy propagating!
Resource:
https://identify.plantnet.org/k-world-flora/species/Ficus%20cyathistipula%20Warb./data