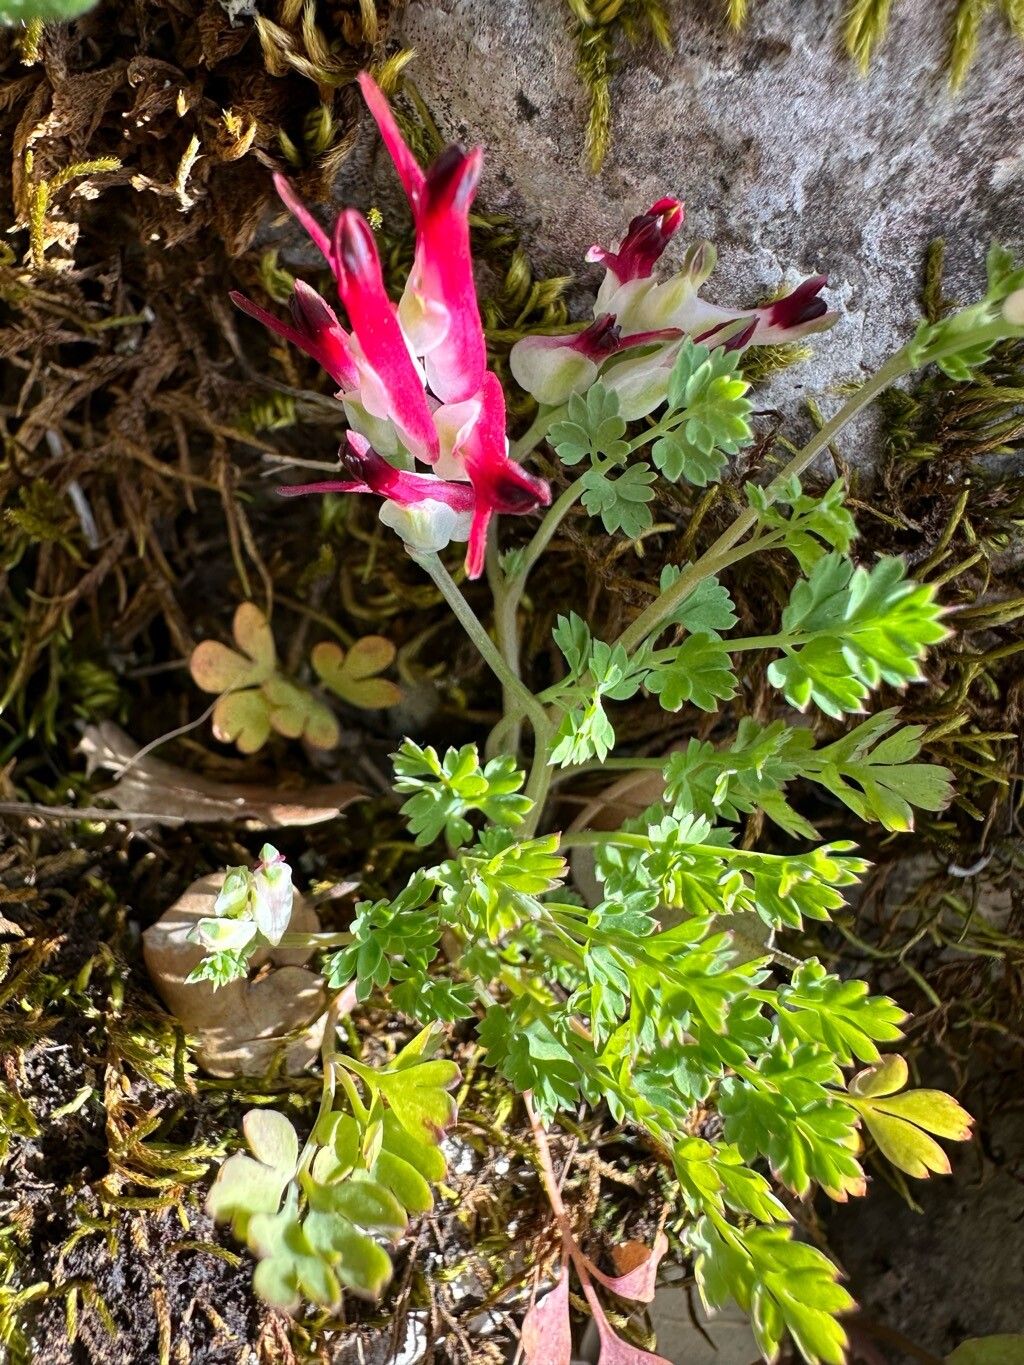
Hello fellow garden enthusiasts! If you’ve ever been captivated by the delicate charm of Fumaria macrosepala, you know it’s a real treasure. Its airy foliage and charming little flowers, often in soft shades of pink or purple, bring a lovely, naturalistic feel to any garden space. Propagating this gem for yourself is incredibly rewarding, and I’m here to walk you through it.
Now, a quick note for beginners: Fumaria macrosepala can be a tad fussy. It’s not impossible, but patience and a touch of care will definitely be your best allies. Don’t be discouraged if your first attempt isn’t perfect! We learn together, right?
The Best Time to Start
For the highest success rates with Fumaria macrosepala, I’ve found that late spring to early summer is your sweet spot. This is when the plant is actively growing and has plenty of energy to put into developing new roots. You’re looking for healthy, non-flowering shoots.
Supplies You’ll Need
Gathering your tools beforehand makes the whole process so much smoother. Here’s what you’ll want:
- Sharp pruning shears or a clean craft knife. Sterilize them first, please!
- A good seed-starting mix or a well-draining potting soil. I often blend peat moss, perlite, and a bit of compost.
- Small pots or seedling trays with drainage holes.
- Rooting hormone (optional, but it can give you a helpful boost).
- A plastic bag or propagator lid to create a humid environment.
- A spray bottle filled with clean water.
Propagation Methods: Let’s Get Our Hands Dirty!
While Fumaria macrosepala can be grown from seed, I find stem cuttings to be the most reliable and rewarding method for home gardeners.
Stem Cuttings: The Most Reliable Route
- Choose Your Cuttings: Gently inspect your Fumaria macrosepala plant. Look for healthy, vigorous stems that are about 3-5 inches long. Avoid any that are flowering or look weak. You want green, pliable growth.
- Make the Cut: Using your sterilized pruners or knife, make a clean cut just below a leaf node. A leaf node is a slight swelling on the stem where leaves emerge. This is where the magic of new roots happens! Remove the lower leaves, leaving just a couple of sets at the top.
- Prepare the Cutting: If you’re using rooting hormone, dip the cut end of the stem into the powder. Gently tap off any excess.
- Planting Up: Fill your small pots with your prepared potting mix. Make a small hole in the center with your finger or a pencil.
- Insert the Cutting: Carefully place the prepared cutting into the hole, ensuring the leaf nodes are buried. Gently firm the soil around the stem.
- Water Gently: Use your spray bottle to lightly mist the surface of the soil. You want it moist, not soggy.
- Create Humidity: Cover the pot with a plastic bag or place it in a propagator. This traps moisture and helps prevent the cutting from drying out.
The “Secret Sauce” (Pro Tips)
Here are a few things I’ve learned over the years that can really make a difference:
- Don’t Let the Leaves Touch the Water: If you happen to be experimenting with water propagation (which I find less reliable for Fumaria), ensure NO leaves are submerged. Any submerged foliage will quickly rot and take your cutting down with it.
- Bottom Heat is Your Friend: If you have a heating mat designed for seedlings, placing your pots on it can significantly speed up root development. It mimics the warmth of spring soil and encourages those roots to form more readily.
- Patience is Key (Seriously!): This is a plant that likes to take its time. Don’t be tempted to pull the cuttings out too soon to check for roots. Give them at least 4-6 weeks in a stable environment.
Aftercare & Troubleshooting
Once you see those first signs of new growth – tiny leaves emerging from the top or resistance when you gently tug on the cutting – you know you’ve got roots!
- Gradual Acclimation: Slowly start to vent the plastic bag or propagator over a few days to help the new plant adjust to normal humidity levels.
- Regular Watering: Continue to keep the soil consistently moist, but never waterlogged. Allow the top inch of soil to dry slightly between waterings.
- Bright, Indirect Light: Place your new Fumaria macrosepala in a spot that receives bright, indirect light. Direct sun can scorch young, delicate leaves.
Common Signs of Failure:
The most common culprit is rot. If your cutting turns black and mushy, it’s usually a sign of too much moisture and poor air circulation. If it simply wilts and dries out, it likely didn’t get enough humidity or was too dry to begin with. Don’t beat yourself up if this happens; just try again!
A Little Bit of Green Thumb Magic
Propagating plants is a journey, not a race. Be patient with your Fumaria macrosepala, give it the right conditions, and trust the process. There’s such a deep satisfaction in seeing something you’ve nurtured grow and thrive. Happy propagating, and may your gardens be ever beautiful!
Resource:
https://identify.plantnet.org/k-world-flora/species/Fumaria%20macrosepala%20Boiss./data