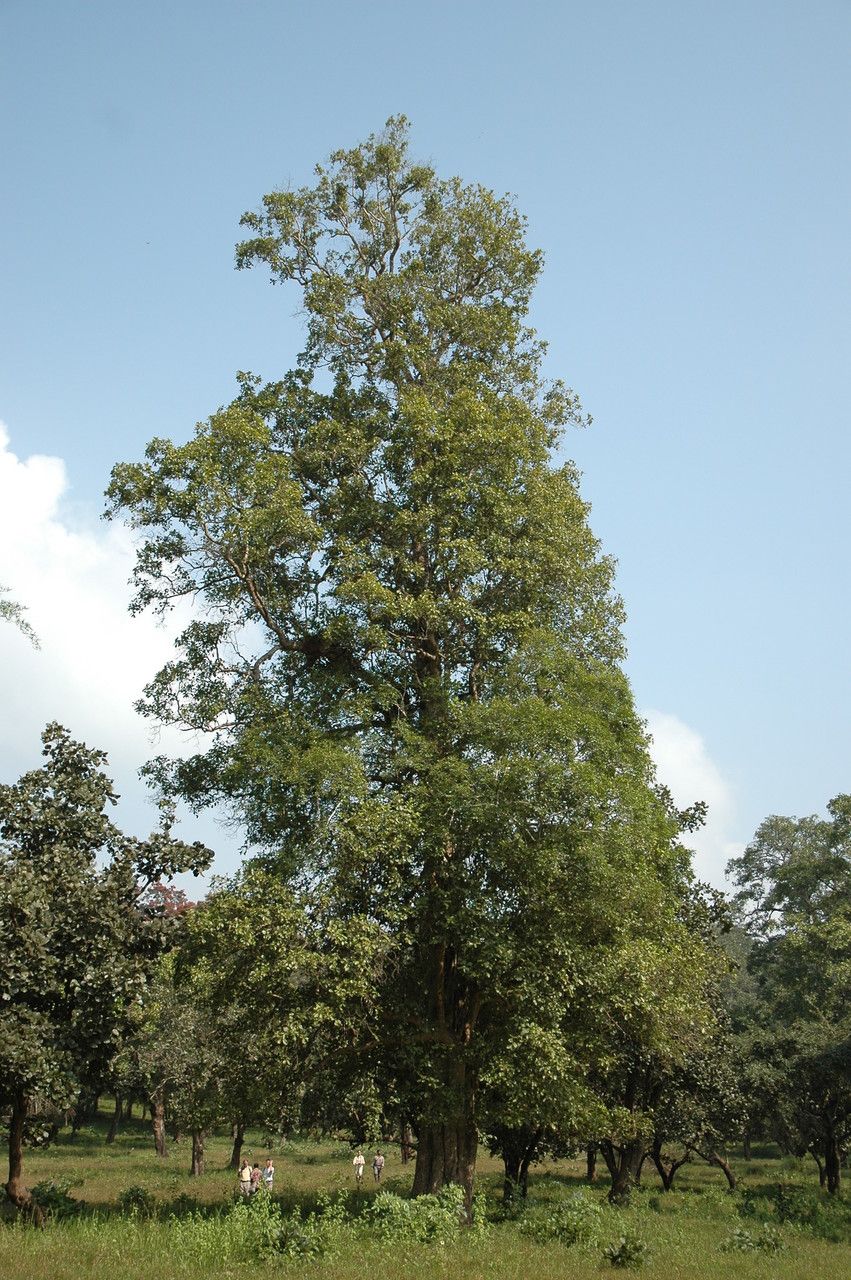
Hello, fellow plant enthusiasts! I’m so excited to chat with you today about a truly special plant that’s been bringing a little bit of the tropics into my garden for years: Mitragyna parvifolia. This beauty, often called the Hairy Mitragyna, has these wonderful, glossy leaves that are just a joy to behold. And the best part? You can easily bring more of this joy into your life by propagating it yourself! It’s a wonderfully rewarding process, and while it might seem a little daunting at first, I promise you, it’s quite manageable, even for those of you just starting out on your green-thumb journey.
The Best Time to Start
For Mitragyna parvifolia, the absolute sweet spot for propagation is during the active growing season. Think late spring through summer. This is when the plant is bursting with energy, and those new shoots have plenty of vigor, making them much more likely to root successfully. Trying to propagate when the plant is dormant in winter is like asking a sleepy bear to run a marathon – it just doesn’t have the energy!
Supplies You’ll Need
Here’s a little toolkit to get you started:
- Sharp, clean pruning shears or a knife: Sterilize them with rubbing alcohol before you begin to prevent disease.
- Rooting hormone (optional but recommended): A powdered or gel form can give your cuttings a real boost.
- Well-draining potting mix: I like a blend of peat moss, perlite, and vermiculite. About a 50/50 mix of good quality potting soil and perlite works wonders too.
- Small pots or seed trays: Clean ones, of course!
- Plastic bags or a propagation dome: This helps maintain humidity around your cuttings.
- Spray bottle: For gentle misting.
- Water: For rooting cuttings if you go that route.
Propagation Methods
Let’s get our hands dirty! I find two main methods work exceptionally well for Mitragyna parvifolia: stem cuttings and water propagation.
Stem Cuttings
This is my go-to method. It’s efficient and yields great results.
- Select your cutting: Look for a healthy, non-flowering stem that’s about 4 to 6 inches long. You want a stem that’s somewhat firm but still a little flexible – not woody, but not so soft it wilts easily.
- Make the cut: Using your sterilized shears, make a clean cut just below a leaf node (that little bump where a leaf grows from the stem). This is where the magic of rooting happens.
- Prepare the cutting: Gently remove the lower leaves, leaving just a couple of leaves at the top. If the remaining leaves are very large, you can carefully cut them in half horizontally. This reduces water loss through transpiration.
- Apply rooting hormone (optional): Dip the cut end of the stem into your rooting hormone, tapping off any excess.
- Plant the cutting: Stick the end of the cutting into your prepared potting mix, about an inch or two deep. Make sure to firm the soil gently around it.
- Create a humid environment: Water the pot gently until the soil is evenly moist. Then, loosely cover the pot with a plastic bag or place it under a propagation dome. If using a bag, you can secure it with a rubber band around the pot. Make sure the bag doesn’t touch the leaves.
- Provide light and warmth: Place the pot in a bright, indirect light location. Avoid direct sunlight, which can scorch your cuttings. A little bit of warmth from below, like a heat mat, can really speed things up.
Water Propagation
This is a very satisfying method to watch the roots develop!
- Select and prepare your cutting: Follow steps 1-3 from the stem cutting method.
- Place in water: Put your prepared cutting into a clean jar or vase filled with room-temperature water.
- Submerge nodes: Ensure that at least one or two leaf nodes are submerged in the water. This is where the roots will emerge.
- Keep out of direct sun: Place the jar in a spot with bright, indirect light, away from harsh sun.
- Change the water regularly: Refresh the water every 2-3 days to keep it clean and oxygenated.
The “Secret Sauce” (Pro Tips)
Here are a few tricks I’ve picked up over the years that really make a difference:
- Don’t let the leaves touch the water! Whether you’re using soil or water for propagation, any leaves sitting in moisture are a direct invitation for rot. Trim them back if they’re getting too close.
- Bottom heat is your friend. Mitragyna parvifolia absolutely loves a cozy, warm environment for rooting. A simple heat mat placed under your pots can dramatically improve your success rate, especially if your room tends to be on the cooler side. It mimics the warmth of the soil surface in its natural environment.
- Be patient with misting. If you’re using the soil method, give your cuttings a gentle misting every day or two, especially in the first few weeks. Don’t drench them, just a light, refreshing spray to keep the air around them humid and the leaves hydrated.
Aftercare & Troubleshooting
Once you see those glorious little roots pushing their way out (you’ll see them peeking through the drainage holes of the pot or in the water), it’s time to transition them.
- For water-propagated cuttings: Once the roots are an inch or two long, carefully pot them up into your well-draining potting mix. Water them gently and continue to keep them in a humid environment for another week or two.
- For soil-propagated cuttings: When you tug gently on a cutting and feel resistance, it means roots have formed. You can gradually acclimate them to normal room humidity by slowly opening up the plastic bag or propagation dome over several days. After that, treat them like a mature plant.
- Troubleshooting: The most common issue you’ll encounter is rot. If a cutting turns mushy, black, or starts to look generally unhealthy, it’s a sign of too much moisture and potentially not enough air circulation. Remove it immediately! Sometimes, even with the best care, a cutting just won’t take. Don’t get discouraged; just try again with a new one!
A Encouraging Closing
Propagating your own Mitragyna parvifolia is such a rewarding part of gardening. It’s a chance to connect with your plants on a deeper level and multiply the beauty you enjoy. Remember, every gardener has had cuttings that didn’t make it. The key is to be patient, observe your little plantlets, and learn as you go. Happy propagating, and enjoy the journey of watching new life sprout forth from your own hands!
Resource:
https://identify.plantnet.org/k-world-flora/species/Mitragyna%20parvifolia%20(Roxb.)%20Korth./data