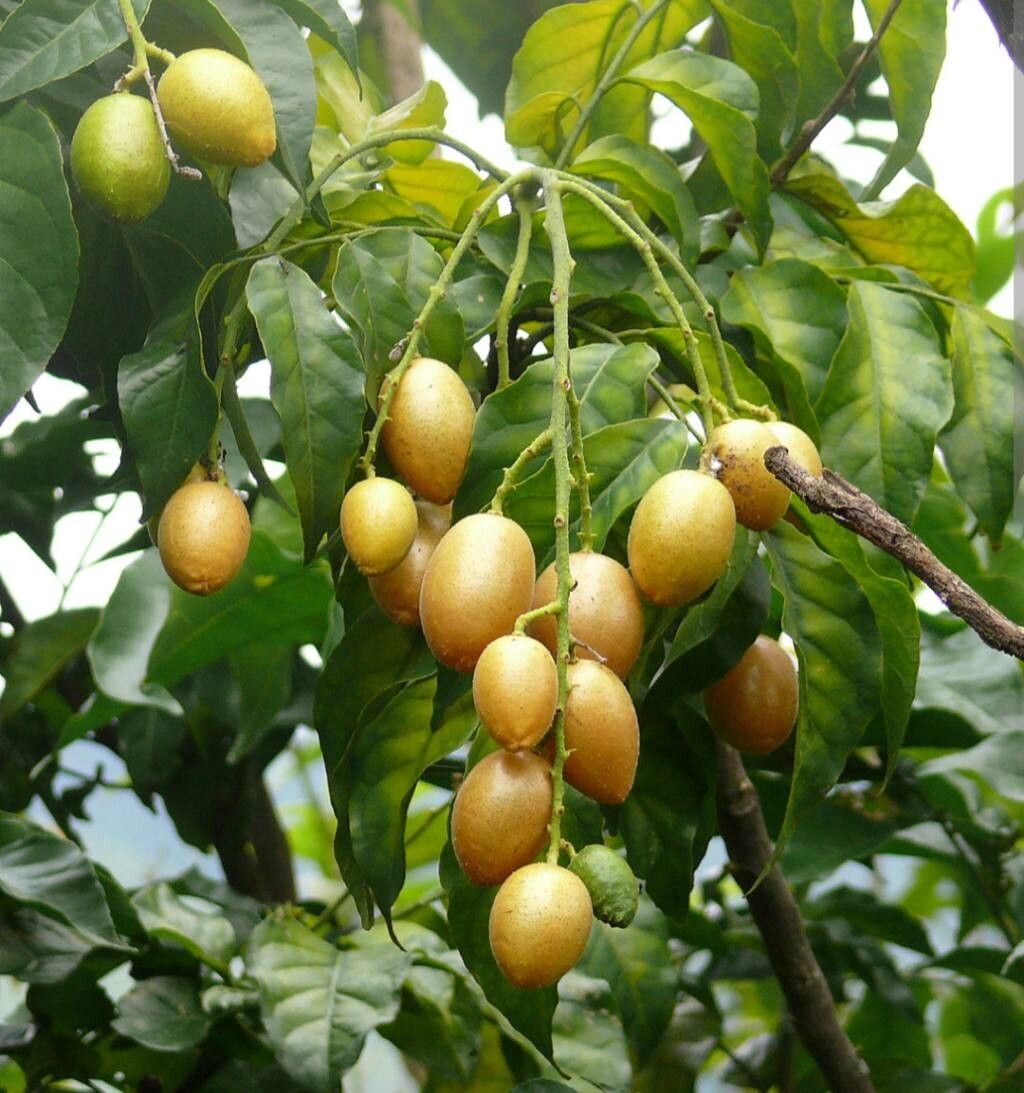
Hello there, fellow garden enthusiasts! Today, we’re diving into the delightful world of Clausena lansium, also known as Wampee or Wampi. If you’re looking for a citrus relative that offers fragrant blossoms, beautiful foliage, and even edible fruit, you’ve come to the right place. Propagating Wampee is a truly rewarding experience, letting you share this gem with friends or simply expand your own tropical haven. Now, is it a walk in the park for brand-new gardeners? It can be a little finessed, but with a bit of patience and these tips, I’m confident you’ll have success.
The Best Time to Start
For the highest chance of success with your Wampee propagation, aim for late spring to early summer. This is when the plant is in a vigorous growth phase, meaning it’s full of energy and ready to put out new roots. You’ll want to select wood that is semi-hardwood – not brand new, soft growth, but not old, woody branches either. It should be flexible enough to bend without snapping easily, but firm enough to hold its shape.
Supplies You’ll Need
Gathering your tools before you begin makes the whole process much smoother. Here’s what I usually have on hand:
- Sharp, clean pruning shears or a sharp knife: Essential for making clean cuts without bruising the stems.
- Rooting hormone (optional, but recommended): A good quality rooting powder or gel really gives your cuttings a boost.
- Well-draining potting mix: A blend of peat moss, perlite, and a bit of sand works wonders. You want something airy that won’t hold too much moisture.
- Small pots or propagation trays: Clean containers are key to preventing disease.
- Plastic bags or a propagation dome: This helps create a humid environment for your cuttings.
- Water: For misting and moistening the soil.
- Labels and a permanent marker: Don’t forget to label your creations!
Propagation Methods: Stem Cuttings
Stem cuttings are my go-to method for Wampee. They’re reliable and generally produce plants that are true to the parent.
- Take Your Cuttings: On a healthy Wampee plant, select several semi-hardwood stems that are about 6-8 inches long. Using your sharp pruning shears, make a clean cut just below a leaf node (that’s where leaves attach to the stem).
- Prepare the Cuttings: Gently remove the leaves from the bottom half of each cutting. You can leave 2-3 leaves at the top to help with photosynthesis. If the remaining leaves are very large, I like to snip them in half to reduce water loss.
- Apply Rooting Hormone: Dip the cut end of each cutting into your rooting hormone, tapping off any excess.
- Plant Your Cuttings: Fill your pots or trays with the well-draining potting mix. Make a small hole in the center with a pencil or your finger. Insert the cut end of the Wampee cutting into the hole and gently firm the soil around it.
- Water and Cover: Water the soil thoroughly but gently. Then, place the potted cuttings inside a clear plastic bag or cover them with a propagation dome. Seal the bag or close the dome. The goal is to create a mini greenhouse.
The “Secret Sauce” (Pro Tips)
Here are a few things I’ve learned over the years that can really make a difference:
- Never let the leaves touch the water. When you water your cuttings, make sure the soil is moist but not waterlogged. If those top leaves dip into standing water, they’re more prone to rot.
- Bottom heat is your friend. If you can, place your pots on a heat mat designed for plants. This gentle warmth encourages root development from below, giving your cuttings the extra push they need.
- Airflow is important, even in the humidity. While you want humidity, you don’t want stagnant air, which can encourage fungal diseases. Ventilate your plastic bag or dome daily for a few minutes to allow fresh air exchange.
Aftercare & Troubleshooting
Once your Wampee cuttings are potted, place them in a bright location but out of direct sunlight. Keep the soil consistently moist but not soggy. You can give them a gentle misting every so often, especially if you notice the leaves looking a bit droopy.
The real sign of success is when you see new growth emerging from the top of the stem, or when you gently tug on a cutting and feel resistance – that means roots have formed! This can take anywhere from 4 to 12 weeks, so patience is key.
Now, let’s talk about what might go wrong. The most common issue is rot. If your cuttings turn black and mushy, it’s usually a sign of too much moisture and not enough airflow. Unfortunately, these are usually a lost cause. Another sign of problems is if the leaves start to wither and drop off entirely without any new growth appearing. If this happens, check the moisture levels and ensure they’re getting adequate light.
A Encouraging Closing
Propagating Wampee might require a little more attention than some fast-rooting plants, but the satisfaction of nurturing a new life from a simple cutting is immeasurable. Don’t be discouraged if your first attempt isn’t perfect; gardening is all about learning and adapting. Enjoy the process, celebrate every tiny bit of progress, and soon you’ll have a whole collection of these lovely Wampee plants to admire and share! Happy propagating!
Resource:
https://identify.plantnet.org/k-world-flora/species/Clausena%20lansium%20(Lour.)%20Skeels/data