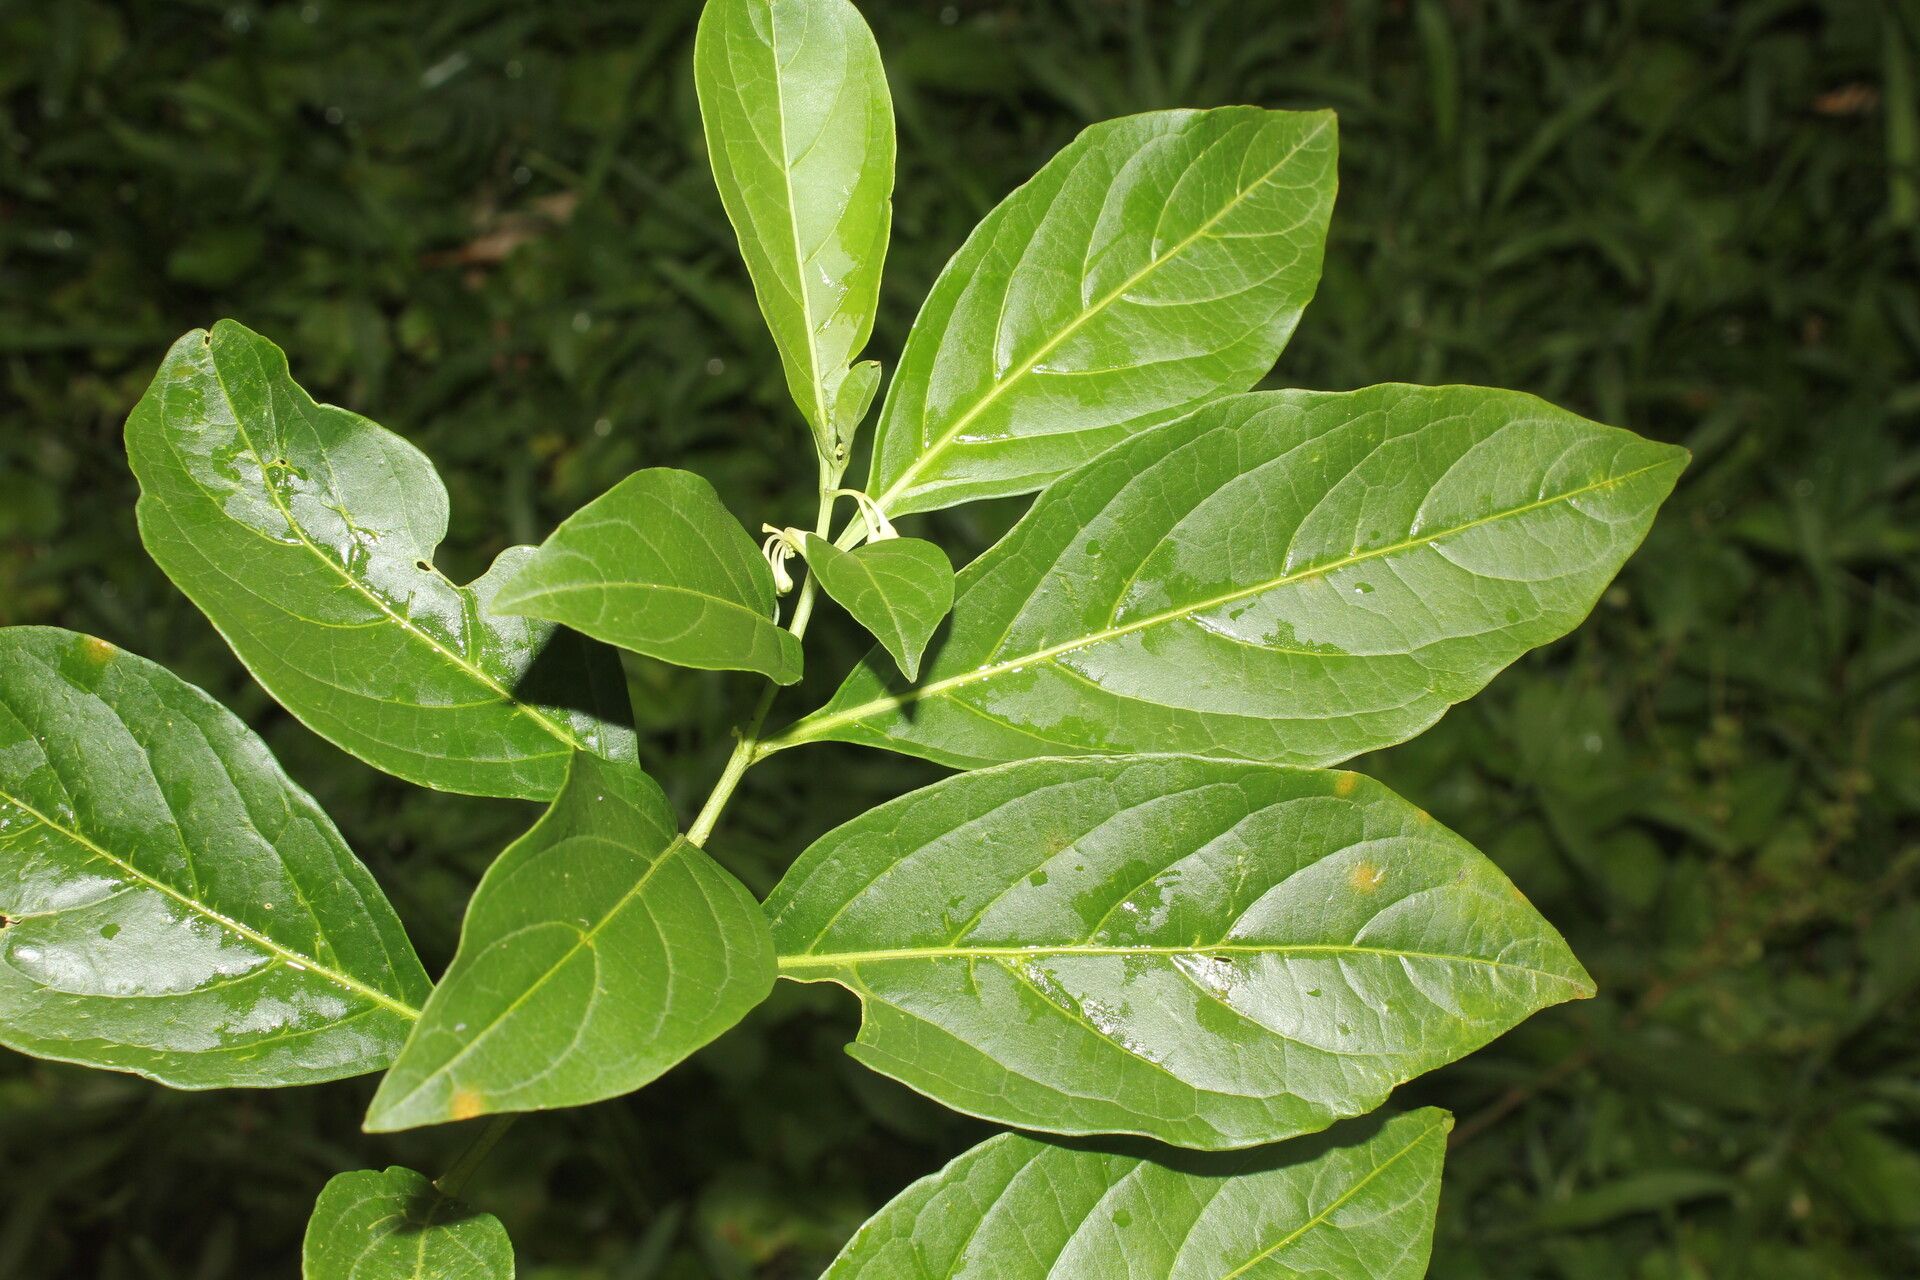
Hello fellow garden enthusiasts! Today, we’re diving into the wonderful world of propagating Solanum aphyodendron. You might know this beauty by its common name, the Kangaroo Apple, and oh, what a charmer it is! With its vibrant green foliage, delicate white flowers, and strikingly orange berries, it brings a touch of the wild to any space. Sharing this plant, watching new life sprout from a tiny piece of your established specimen, well, that’s one of the most satisfying parts of gardening for me. For beginners? I’d say it’s approachable, but a little patience and attention to detail go a long way.
The Best Time to Start
Timing is everything, isn’t it? For propagating Solanum aphyodendron, I find the late spring to early summer is your sweet spot. This is when the plant is actively growing, has plenty of energy, and the conditions are generally favorable for rooting. You want to take cuttings from healthy, non-flowering, semi-hardwood stems. Think of it like this: not brand new, super soft growth, but also not old, woody stems that are putting all their energy into mature growth.
Supplies You’ll Need
Gathering your tools before you begin makes the whole process smoother. Here’s what you’ll want on hand:
- Sharp, clean pruning shears or a craft knife: Essential for making clean cuts.
- Rooting hormone (optional, but recommended): A powdered or liquid rooting hormone can significantly boost your success rate.
- Well-draining potting mix: A 50/50 blend of perlite and peat moss, or a good quality seed-starting mix, works wonderfully.
- Small pots or trays: Clean pots with drainage holes are a must!
- Clear plastic bags or a propagation dome: To create a humid environment.
- Water: For misting and keeping things moist.
Propagation Methods
There are a few ways to bring new Kangaroo Apples into existence, but my go-to is stem cuttings. It’s reliable and gives you great results.
Stem Cuttings:
- Select your stem: Look for healthy growth from your mature plant. You’re aiming for stems that are about 4-6 inches long and have at least two sets of leaves.
- Make the cut: Using your sharp shears or knife, make a clean cut just below a leaf node (where a leaf attaches to the stem). This is where the magic happens – new roots love to emerge from these points.
- Prepare the cutting: Gently remove the lower leaves, leaving just two or three at the top. If your cutting is long, you can even pinch off the very tip. This encourages the plant to put its energy into root development rather than more top growth.
- Dip in rooting hormone (optional): If you’re using rooting hormone, dip the cut end of the stem into the powder or liquid. Tap off any excess.
- Plant the cutting: Make a small hole in your prepared potting mix with a pencil or your finger. Insert the cut end of the stem into the hole, ensuring the nodes where you removed leaves are buried. Gently firm the soil around the base.
- Water and cover: Water the potting mix thoroughly until it’s moist but not soggy. Then, cover the pot with a clear plastic bag or place it under a propagation dome. This traps humidity, which is crucial for preventing the cuttings from drying out before they can root.
The “Secret Sauce” (Pro Tips)
Over the years, I’ve learned a few tricks that really make a difference.
- The “Cleanliness is Godliness” Rule: Always use sterilized tools. This might sound a bit extreme, but a quick wipe down with rubbing alcohol for your shears can prevent nasty fungal infections that can kill your cuttings before they even get started.
- Bottom Heat is Your Friend: If you can manage it, placing your pots on a gentle heat mat can speed up rooting considerably. Plants love a bit of warmth from below as they’re developing their root systems. You don’t want it too hot, just a cozy warmth.
- Don’t Be Afraid to Experiment (Slightly): While avoiding submersion, if you’re trying a bit of water propagation, ensure no leaves are touching the water. They’ll just rot and invite trouble. Clean, aerated water only!
Aftercare & Troubleshooting
Once you see new growth appearing from your cuttings – usually after a few weeks – that’s a good sign roots are forming! You can gently tug on the cutting; if there’s resistance, bingo, roots!
Gradually acclimate your new plants to open air by lifting the plastic bag for increasing periods over a few days. Once they’re strong enough, it’s time to transplant them into their own individual pots. Continue to keep them moist and in bright, indirect light.
Now, let’s talk about the dreaded “rot.” This is usually the result of overwatering or poor drainage. If your cuttings look limp, mushy, or are turning black, it’s likely rot. Unfortunately, there’s not much you can do once it sets in. The best approach is prevention: use that well-draining soil, water only when the top inch of soil feels dry, and ensure your pots have good drainage. Don’t be discouraged if not every cutting takes. It’s part of the learning curve!
A Little Patience, A Lot of Reward
Propagating Solanum aphyodendron is a beautiful way to expand your plant collection or share the joy of gardening with others. Be patient, observe your cuttings, and trust your instincts. Each new plant you nurture is a little victory, a testament to your green thumb, and a wonderful addition to your world. Happy propagating!
Resource:
https://identify.plantnet.org/k-world-flora/species/Solanum%20aphyodendron%20S.Knapp/data