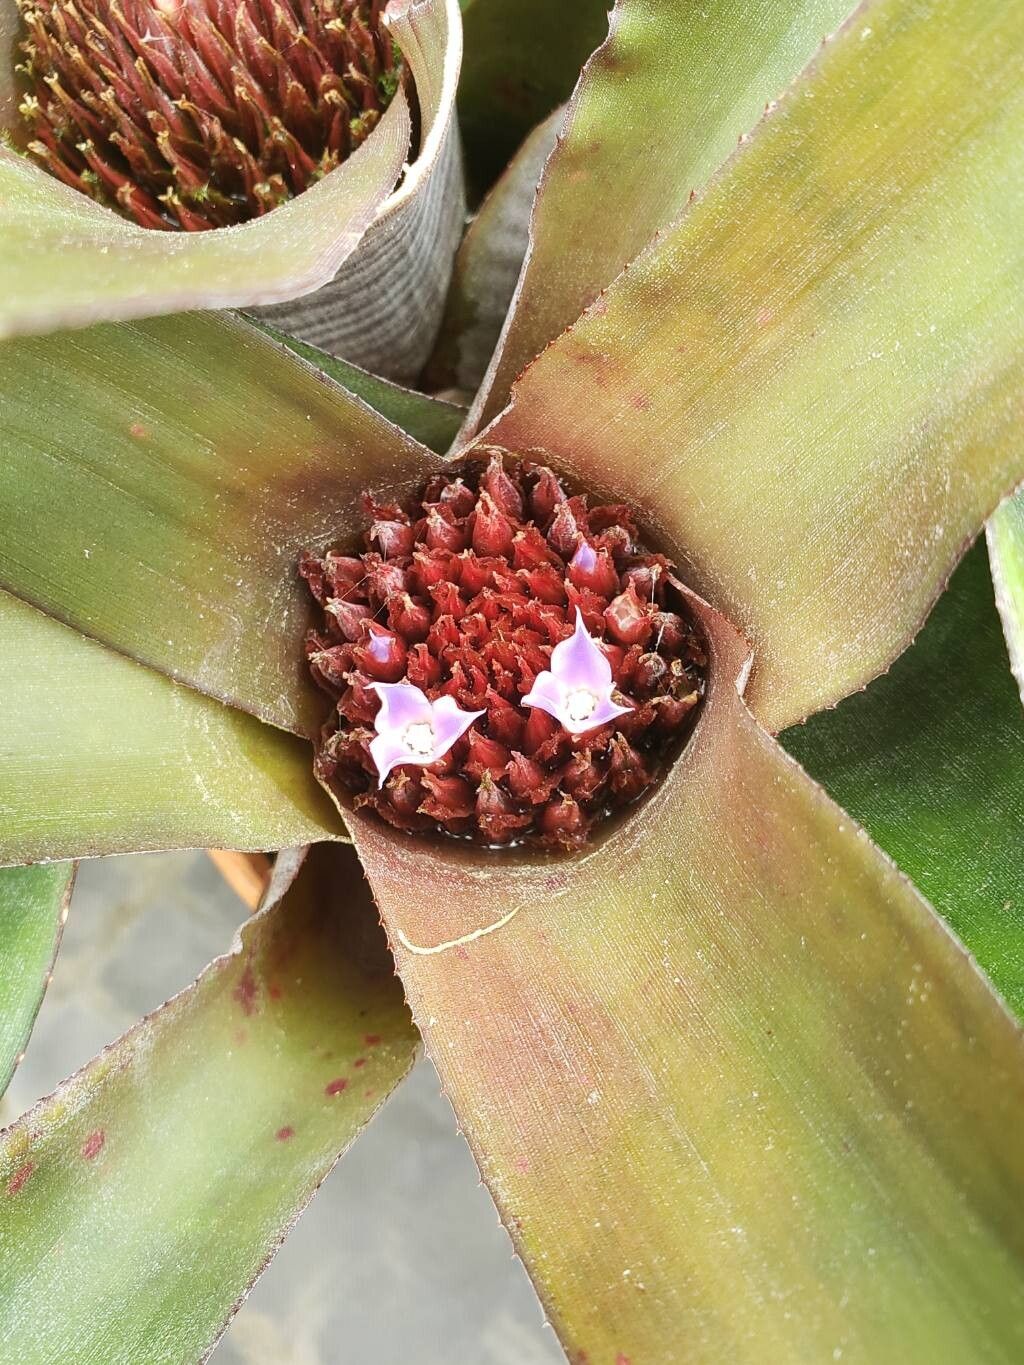
Hey there, fellow plant lovers! Today, we’re diving into the wonderful world of Neoregelia spectabilis, or as many of us affectionately call them, the “Painted Nail Bromeliad.” If you’ve ever admired those stunning, deep maroon bands streaked across their vibrant green leaves, you’re not alone. They’re like living jewels in any collection.
What’s really special about propagating these beauties is that you get to witness the magic of new life unfold right before your eyes. It’s incredibly rewarding to take a piece of something you love and help it grow into its own, unique plant. For beginners, Neoregelia spectabilis is a fantastic plant to start with when it comes to propagation. They’re pretty forgiving, which is always a bonus!
The Best Time to Start
Generally, the spring and summer months are your best bet for propagating Neoregelia spectabilis. This is when the plants are actively growing and have plenty of energy to put into rooting. You’re looking for a plant that’s well-established and looking vigorous. Sometimes, after they’ve finished blooming and producing pups, that’s when they’re ready to share.
Supplies You’ll Need
Gathering your supplies beforehand makes the whole process so much smoother. Here’s what I usually have on hand:
- Sharp Pruning Shears or a Clean Knife: For making clean cuts. Sterilize them between uses!
- Well-Draining Potting Mix: A blend suitable for bromeliads is ideal. I often use a mix of orchid bark, perlite, and a bit of coco coir. You want good airflow.
- Small Pots or Containers: Seedling pots or even small plastic containers with drainage holes work wonderfully.
- Rooting Hormone (Optional but Recommended): This can give your cuttings a little boost.
- Spray Bottle: For misting.
- Labels: Don’t forget to label your new plants!
Propagation Methods
The most straightforward way to propagate Neoregelia spectabilis is by dividing the pups they naturally produce. You’ll rarely need to do stem cuttings or water propagation with this particular bromeliad; they’re wonderfully self-sufficient in creating new babies.
Dividing Pups:
- Identify a Pup: Look for offsets, or “pups,” growing from the base of the mother plant. These are essentially miniature versions of the parent. They should be at least a quarter of the size of the parent plant to have a good chance of survival.
- Gently Loosen the Soil: If your mother plant is in a pot, carefully loosen the soil around the base of the pup. If it’s in the ground, you might need to dig around it a bit.
- Inspect the Connection: You’ll see where the pup is attached to the mother plant. It might be a thick rhizome or a more delicate connection.
- Make the Cut: Using your sterilized pruning shears or knife, make a clean cut to separate the pup from the mother plant. Try to get a little bit of the mother’s root system with the pup, if possible.
- Trim Excess Leaves (Optional): If the pup has very long, floppy leaves, you can trim them back slightly to reduce water loss, but be careful not to remove too much.
- Let it Callus (Important!): This is a crucial step for many bromeliads. Allow the cut end of the pup to air dry for a day or two until the wound is callused over. This helps prevent rot.
- Potting Up: Fill your small pot with your well-draining bromeliad mix. Make a little hole in the center and gently place the pup in, settling the mix around its base. You don’t need to bury it deeply; just enough to keep it upright.
- Watering: Water sparingly at first. You want the soil to be lightly moist, not soggy. A good misting with your spray bottle is often enough initially.
The “Secret Sauce” (Pro Tips)
Over the years, I’ve learned a few tricks that really make a difference:
- Don’t Overwater the Pups! This is probably the number one mistake beginners make. Pups are susceptible to rot, especially when they don’t have a developed root system yet. Err on the side of too dry rather than too wet. Let the top inch of soil dry out between waterings.
- Bottom Heat is Your Friend: If you can provide a little gentle bottom heat (like a seedling heat mat set to a low temperature), it can significantly speed up the rooting process. Bromeliads love warmth!
- Consider Letting Them Stick Together (Sometimes): If the pup is still quite small and you’re worried about it drying out, you can actually leave it attached to the mother plant a little longer. The mother provides it with moisture and nutrients. Once it’s a decent size, then you can carefully separate it.
Aftercare & Troubleshooting
Once your pup is potted up and starting to look settled, place it in a bright spot with indirect light. Avoid direct sun, which can scorch those delicate new leaves. Continue to water sparingly.
You’ll know it’s rooting when you see new leaf growth emerging from the center of the pup. This can take anywhere from a few weeks to a couple of months, so be patient!
The most common problem you’ll encounter is rot. If you see mushy, brown leaves or the base of the pup turning black and soft, it’s likely rot. This usually means you’ve been watering too much. Unfortunately, there’s not much to do once rot sets in, but you can try to salvage any healthy parts of the pup if you catch it early.
A Encouraging Closing
Propagating Neoregelia spectabilis is a journey, and like any good garden adventure, it requires a little patience. Don’t get discouraged if your first attempt isn’t perfect. Each time you try, you learn more. Enjoy the process of nurturing these little marvels, and soon you’ll have a whole collection of your own Painted Nail Bromeliads to share and admire! Happy growing!
Resource: