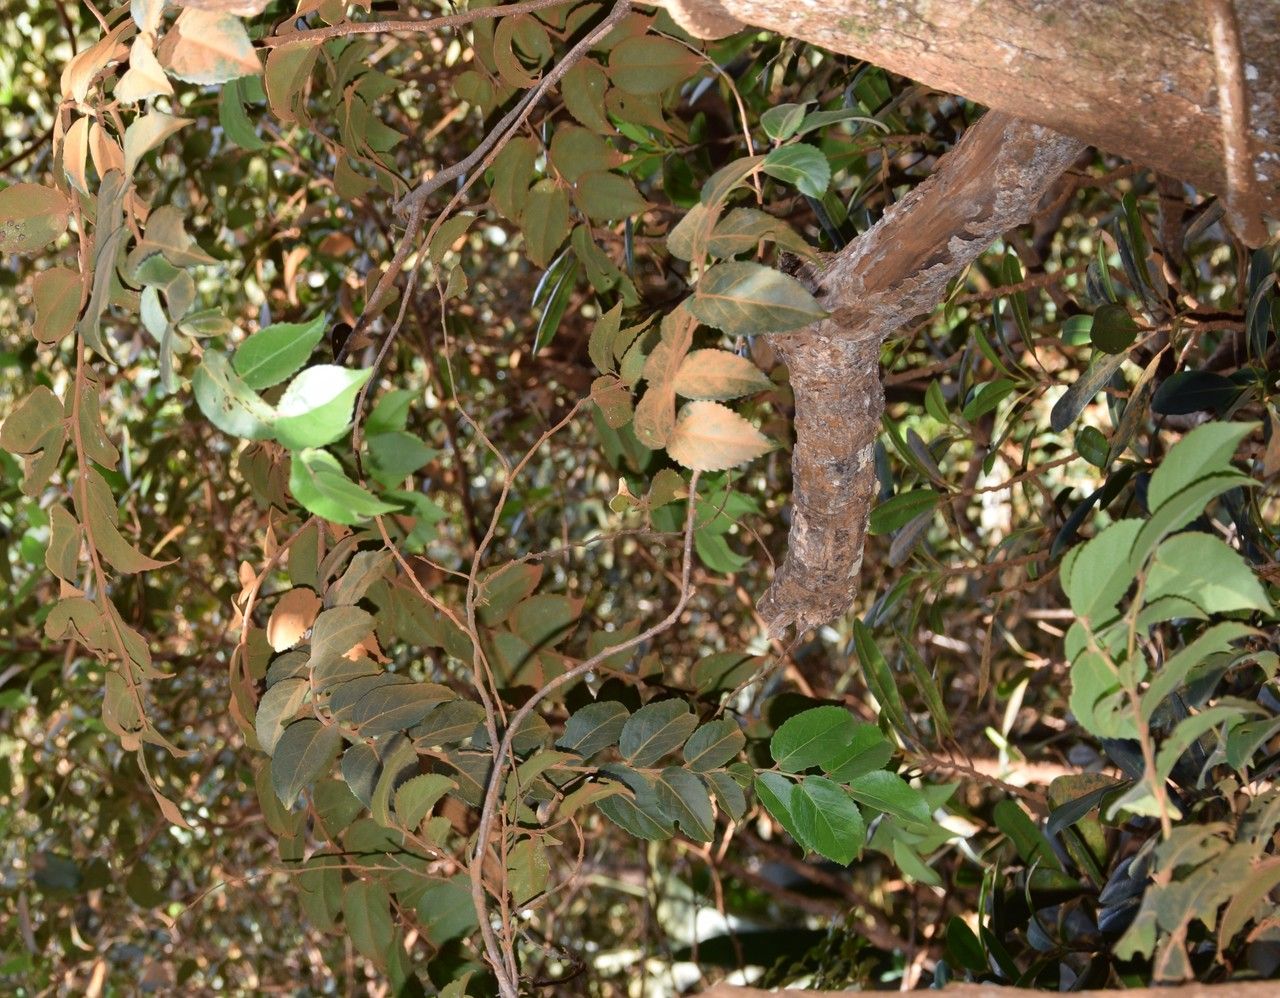
Hey there, fellow plant enthusiasts! It’s so good to have you join me today. We’re going to dive into the delightful world of propagating Xylosma capillipes, often called the Shiny Berry or Wire Brush Bush. This isn’t a plant you see everywhere, and that’s part of its charm! Its delicate, arching branches adorned with tiny, glossy leaves and later, those sweet little berries, bring such a unique texture and movement to the garden. If you’re looking to add a touch of subtle elegance to your collection, or just love the idea of making more of this beauty for free, then propagating Xylosma capillipes is a wonderfully rewarding endeavor. Now, for the good news: it’s not a fussy plant to increase, making it a great candidate even if you’re just starting to explore the magic of propagation.
The Best Time to Start
When it comes to getting the mostbang for your buck with new plant babies, timing is everything. For Xylosma capillipes, your best bet is to take cuttings in late spring or early summer. This is when the plant is actively growing, and the wood is considered “semi-hardwood.” It’s not brand new and tender, nor is it old and woody, which strikes that perfect balance for rooting success. You’ll find the stems are flexible enough to work with but also have a good structural integrity.
Supplies You’ll Need
Gathering your tools beforehand makes the whole process so much smoother. Here’s what I always have on hand:
- Sharp Pruning Shears or a Craft Knife: You want a clean cut to avoid damaging the stem.
- Rooting Hormone (Powder or Gel): This doesn’t guarantee success, but it gives your cuttings a fantastic head start.
- Well-Draining Potting Mix: I like a mix of peat moss and perlite, or a special seedling starting mix. You want it to hold moisture but not get waterlogged.
- Small Pots or Seedling Trays: Clean containers are a must to prevent disease.
- Plastic Bags or a Propagation Dome: To create a humid environment for your cuttings.
- Water: For moistening the soil and, if you choose, for water propagation.
- Labels: To keep track of what you’ve planted and when!
Propagation Methods
There are a couple of ways we can coax new life from our Xylosma capillipes, but my favorite for this particular plant is stem cuttings.
Stem Cuttings (Semi-Hardwood):
- Select Your Cuttings: Look for healthy, non-flowering stems on your Xylosma capillipes. Choose sections that are about 4-6 inches long. You want to see some firm wood and a few sets of leaves.
- Make the Cut: Using your clean shears or knife, make a clean cut just below a leaf node. A leaf node is where a leaf attaches to the stem, and it’s where the magic of rooting usually happens.
- Prepare the Cutting: Gently remove the lower leaves from the cutting, leaving just two or three at the very top. This reduces water loss. You can also gently scrape a small sliver of bark off one side of the very bottom of the stem if you’re feeling adventurous, as this can sometimes encourage rooting.
- Apply Rooting Hormone: Dip the cut end of the stem into the rooting hormone, ensuring it’s well-coated. Tap off any excess.
- Plant Your Cuttings: Fill your clean pots or trays with your moistened potting mix. Make a small hole with your finger or a pencil. Insert the treated end of the cutting into the hole, pushing it down as far as it will comfortably go. Gently firm the soil around the base of the cutting.
- Create Humidity: Water the soil gently. Then, cover the pot or tray with a clear plastic bag or a propagation dome. This will trap moisture and create a mini-greenhouse effect. If using a bag, you might prop it up with a few skewers so it doesn’t touch the leaves.
- Placement is Key: Place your cuttings in a bright spot that receives indirect light. Avoid direct sun, which can scorch the tender cuttings.
Water Propagation (Alternative Method):
If you’re feeling a bit hesitant about soil, you can try water propagation.
- Prepare the Cutting: Follow steps 1 and 2 above, but you don’t need to remove all the lower leaves, just enough so they won’t be submerged in water.
- Submerge the Stem: Place the prepared cutting in a jar or vase filled with clean water. Make sure only the cut end and leaf nodes are submerged.
- Location: Similar to soil cuttings, find a spot with bright, indirect light.
- Water Changes: Change the water every few days to keep it fresh and prevent bacterial growth.
The “Secret Sauce”
Now, for a few little tricks that have always helped me:
- Don’t Let the Leaves Touch the Water (in water propagation): This is a big one! If any leaves are submerged, they’ll rot and can take the entire cutting down with them. Pinch them off or trim them so they’re well above the waterline.
- Bottom Heat is Your Friend: For soil propagation, placing your pots on a heat mat designed for seedlings can significantly speed up root development. It mimics the warmth of the soil in spring and gives your cuttings a serious boost. You don’t need it blazing hot, just gently warm.
- Patience is Not Just a Virtue, It’s a Tool: I know it’s tempting to tug on your cuttings to see if they’ve rooted, but resist! It can break delicate new roots. Trust the process, and let the plant do its thing.
Aftercare & Troubleshooting
Once you start to see signs of life – new leaf growth appearing at the top – it’s a good indicator that roots are forming. You might also gently tug on a cutting; if you feel resistance, it’s likely rooted.
- Acclimatizing: If you used a plastic bag or dome, gradually start to open it up over a week or so to let your new plants get used to normal humidity levels.
- Transplanting: Once your cuttings have a healthy root system (you can check by carefully tipping them out of the pot or looking for drainage holes), it’s time to transplant them into their own small pots with a good quality potting mix.
- Watering: Water them in well after transplanting. Keep the soil consistently moist but not soggy as they establish.
Common Signs of Failure:
- Wilting or Browning Leaves: This can happen if the cutting is too dry, if it’s getting too much direct sun, or if it’s not developing roots quickly enough.
- Rotting Stem: This is usually a sign of too much moisture and not enough air circulation, or a bacterial infection. If you see a mushy, black stem, unfortunately, that cutting is probably lost.
A Encouraging Closing
So there you have it – a straightforward way to multiply your lovely Xylosma capillipes. Don’t be discouraged if your first few attempts aren’t perfect. Gardening is a journey, and propagation is a fantastic part of that learning curve. Be patient, enjoy observing the subtle changes, and celebrate every little success. Happy propagating!
Resource:
https://identify.plantnet.org/k-world-flora/species/Xylosma%20capillipes%20Guillaumin/data