Hey there, fellow garden enthusiasts! If you’ve ever admired the delicate charm of Pedicularis ascendens – that lovely plant with its striking, upright blooms – and thought, “Wouldn’t it be wonderful to have more of those?” then you’re in the right place. My name is [Your Name/Blog Name], and for the past two decades, I’ve been getting my hands dirty, coaxing life from all sorts of plants, and I’m excited to share some secrets with you.
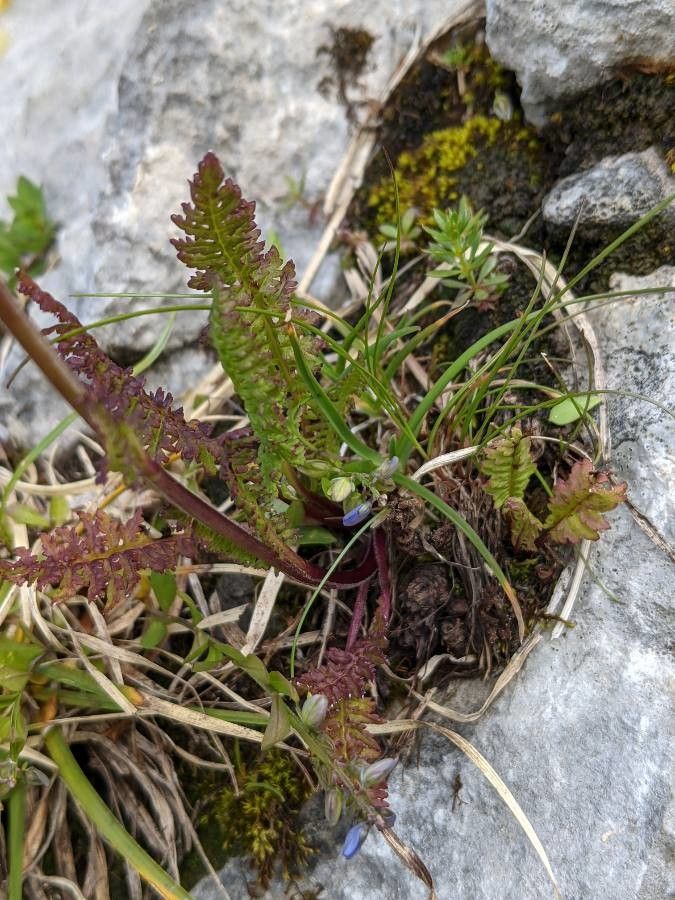
Pedicularis ascendens, often called the Elephant’s Trunk plant for its distinctive flower spikes, is truly a gem in any garden. Its unique form adds a touch of wild elegance, and there’s something incredibly satisfying about starting new life from an existing plant. Now, I won’t sugarcoat it – Pedicularis ascendens can be a little particular. It’s not as straightforward as some of the more common annuals, but with a bit of understanding and patience, the rewards are absolutely worth it.
The Best Time to Start
For the highest chance of success with Pedicularis ascendens, I’ve found that late spring to early summer is your winning window. This is when the plant is actively growing, sending out fresh shoots that are perfect candidates for propagation. Aim for stems that are firm and developing, not yet woody.
Supplies You’ll Need
Before we dive in, let’s gather our tools. Having everything ready makes the process so much smoother.
- Sterile pruning shears or a sharp knife: Clean tools are crucial to prevent disease.
- Rooting hormone (optional but recommended): A good quality rooting powder can significantly boost your success rate.
- A well-draining potting mix: I like a blend of peat moss or coco coir, perlite, and a little compost. Something that holds a bit of moisture but lets excess water escape easily.
- Small pots or seed trays: Clean and with drainage holes, of course!
- A spray bottle: For gentle misting.
- A clear plastic bag or a mini-greenhouse: To create a humid environment.
- Bottom heat (optional): A heat mat can speed up root development.
Propagation Methods
While Pedicularis ascendens can be a bit finicky, the most reliable method I’ve found is through stem cuttings.
- Take Your Cuttings: On a bright morning, using your sterilized pruning shears, select healthy, non-flowering stems. Look for pieces about 4-6 inches long. Make your cut just below a leaf node (where the leaves attach to the stem). Remove any lower leaves, leaving just a couple at the top.
- Apply Rooting Hormone (If Using): Dip the cut end of the stem into your rooting hormone powder. Tap off any excess. This encourages the stem to develop roots faster.
- Plant Your Cuttings: Fill your small pots with your well-draining potting mix. Make a small hole in the center of the soil with your finger or a pencil. Gently insert the cutting into the hole, ensuring the leaf nodes are below the soil surface. Firm the soil gently around the base of the stem.
- Create a Humid Environment: Water the soil gently, ensuring it’s moist but not soggy. Then, cover the pot with a clear plastic bag or place it in a mini-greenhouse. This traps humidity, which is vital for cuttings to root.
The “Secret Sauce” (Pro Tips)
Here are a couple of things I’ve learned over the years that can really make a difference:
- Air Circulation is Key: While you want that humidity, don’t let the cuttings sit in stagnant air. Once a day, lift the plastic bag or open the greenhouse for about 15-30 minutes to allow for some air exchange. This helps prevent fungal issues.
- Patience and a Gentle Touch: Pedicularis ascendens isn’t a rapid rooter. Don’t be tempted to tug at your cuttings to see if they have roots. Instead, look for new leaf growth. That’s usually your first sign that things are happening underground. If you do want to check, wait at least 3-4 weeks, and do it very carefully.
Aftercare & Troubleshooting
Once you spot new growth, you’re on your way! Gradually acclimate your new plants to normal humidity by opening the plastic bag or greenhouse a little more each day over a week. Continue to keep the soil consistently moist but never waterlogged. If you used bottom heat, you can remove it once roots are established.
The most common issue you might encounter is rot. If your cuttings turn mushy and black, it’s usually a sign of too much moisture and not enough air circulation. Don’t be discouraged if you lose a few; it happens to us all! Just try again, perhaps with slightly less watering or more frequent airing.
A Bit of Encouragement
Propagating Pedicularis ascendens is a wonderful way to expand your collection and share these beautiful plants with friends. It takes a little know-how and a good dose of patience, but watching those tiny roots form and new leaves unfurl is pure garden magic. So, grab your shears, get your hands dirty, and enjoy the journey of growing something new! Happy gardening!
Resource: