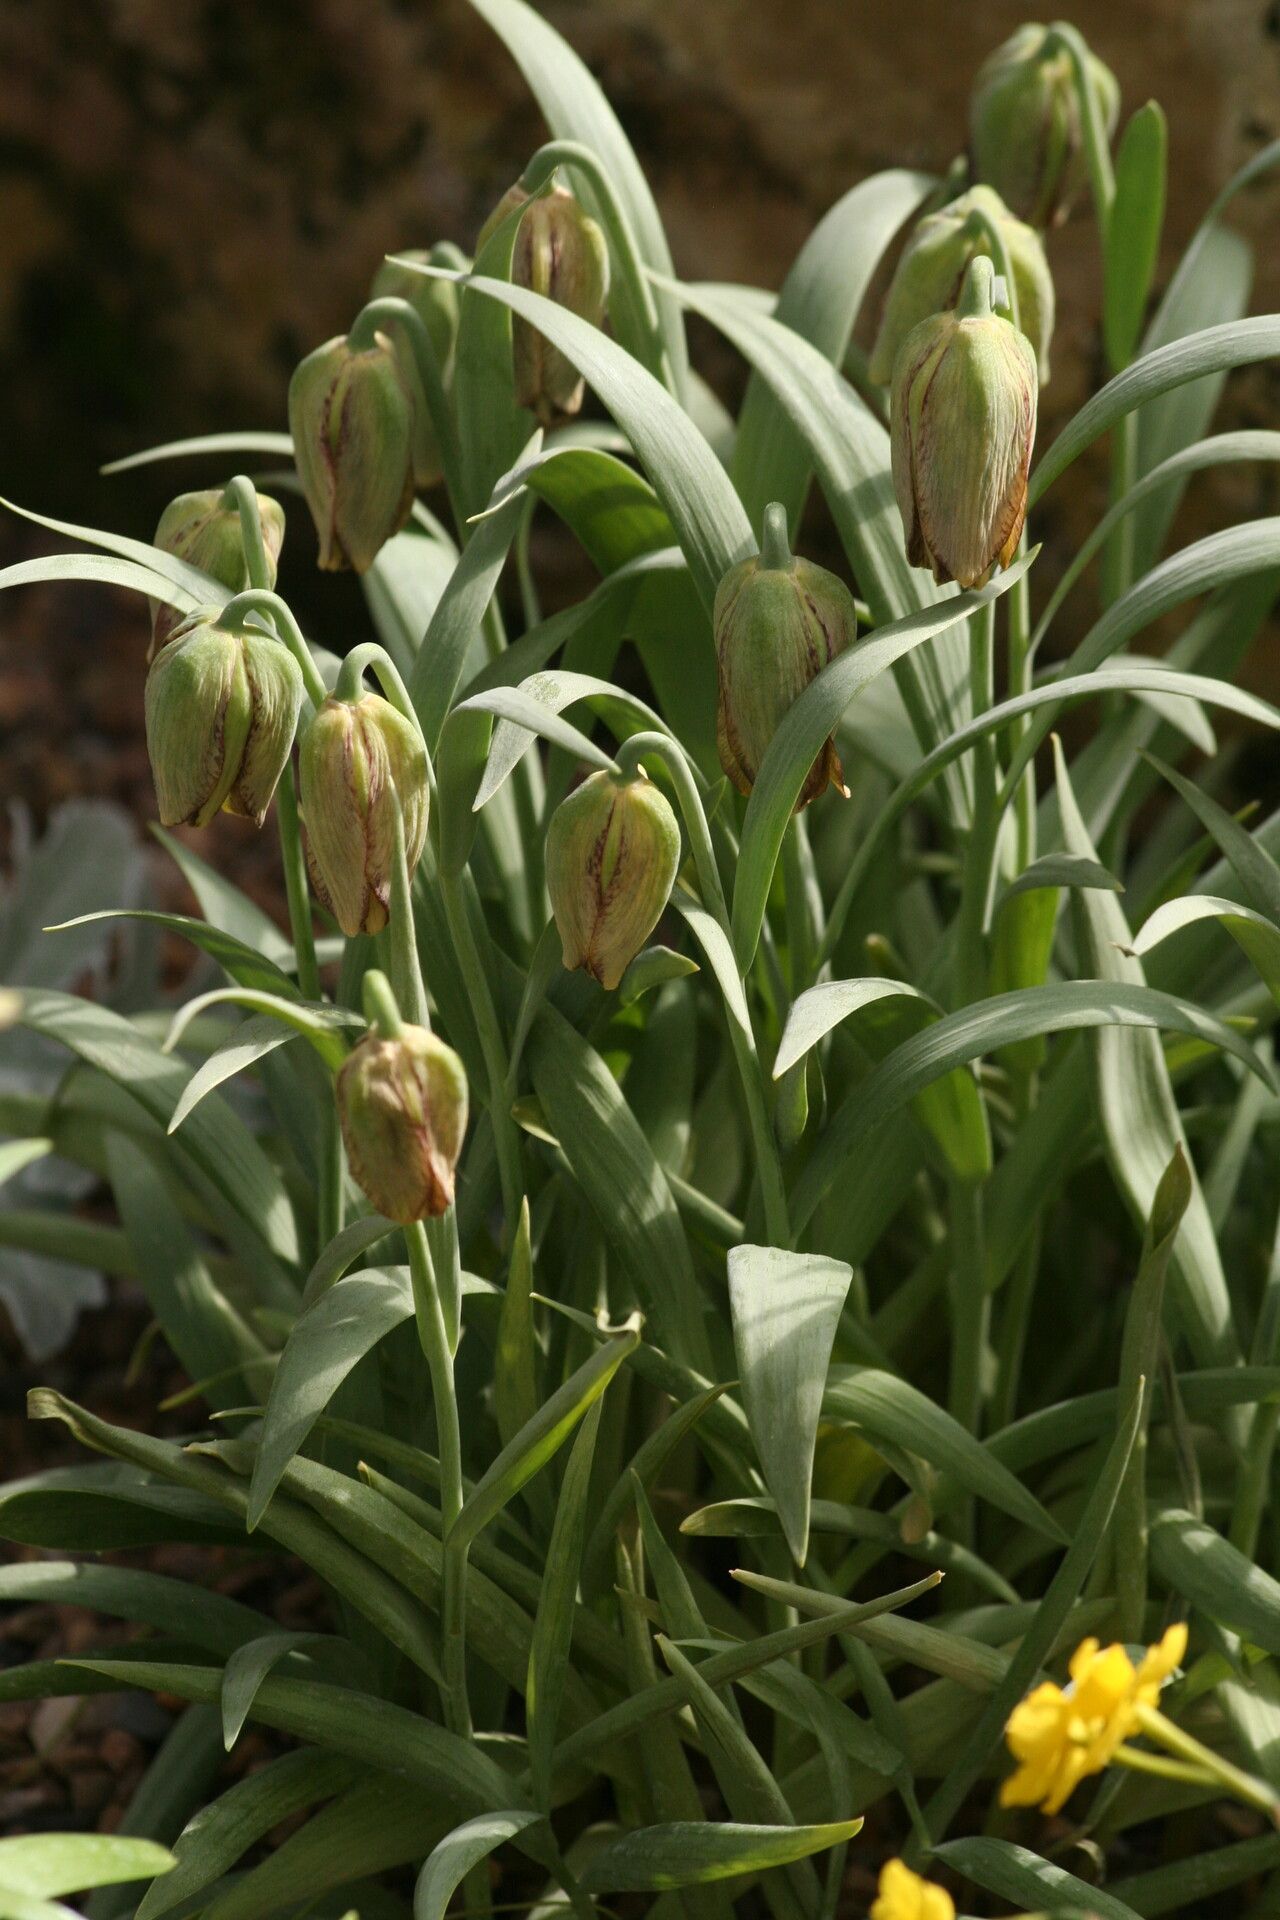
Oh, Fritillaria hermonis! If you’ve ever seen one of these beauties gracing a garden, you know why they capture our hearts. Their delicate, bell-shaped flowers, often in shades of deep purple or speckled patterns, bring a touch of wild elegance. And the joy of nurturing one from a tiny piece of itself into a full, blooming plant? Absolutely priceless! Now, full disclosure, Fritillaria hermonis can be a little bit of a diva. It’s not quite a “stick it in the ground and forget about it” kind of plant, especially for absolute beginners. But don’t let that deter you! With a little know-how and patience, you can absolutely succeed.
The Best Time to Start
For Fritillaria hermonis, the sweetest spot for propagation is right after the plant has finished flowering and begins its dormant phase. This usually happens in late spring to early summer. You’ll know it’s time when the foliage starts to yellow and die back. Trying to propagate when the plant is actively growing is like asking a teenager to run a marathon right after a big meal – they won’t be at their best!
Supplies You’ll Need
Here’s what you’ll want to have on hand to give your Fritillaria the best possible start:
- Sharp, sterile pruning shears or a clean knife: For making clean cuts.
- Well-draining potting mix: A mix designed for bulbs or succulents works wonderfully. You can also create your own by combining equal parts peat moss, perlite, and coarse sand.
- Small pots or trays: With drainage holes, of course! Think 3-4 inch pots.
- Gravel or perlite (optional): To add to the bottom of pots for extra drainage insurance.
- Rooting hormone (optional but recommended): This gives your cuttings a little extra encouragement.
- Watering can with a fine rose or mister: For gentle hydration.
- Labels and a permanent marker: So you don’t forget what you planted where!
Propagation Methods
Fritillaria hermonis is best propagated by division, which means separating the offsets (baby bulbs) that grow from the parent bulb.
-
Gently Excavate: Once your Fritillaria has completed its growth cycle and the foliage has died back, it’s time to carefully dig up the parent bulb. Use a trowel or your hands to unearth it, being extremely careful not to damage the bulb or its roots. You want to expose the entire bulb cluster.
-
Locate the Offsets: You’ll notice smaller bulbs, called offsets or bulbils, attached to the base of the main bulb. These are your propagating material. They’ll look like tiny bulbs.
-
Divide with Care: Using your sterilized knife or shears, carefully separate the offsets from the parent bulb. Try to ensure each offset has at least one tiny root attached. If an offset comes away clean, that’s okay too, but those with roots have a head start.
-
Let Them Dry (Optional but Recommended): For a few hours, or even overnight, let the divided offsets sit in a cool, dry, well-ventilated spot. This helps any cut surfaces to callus over, which can prevent rot when planted.
-
Potting Up: Fill your small pots with your well-draining potting mix. You can add a little gravel or perlite to the bottom for extra insurance.
-
Planting: Make a small indentation in the soil. Place the offset with the root-end down. The top of the bulb should be just at or slightly below the soil surface. You can plant multiple offsets in a single pot, giving them a bit of space (an inch or two apart).
-
Initial Watering: Water very gently after planting. You want the soil to be lightly moist, not waterlogged. A mister is perfect for this stage.
The “Secret Sauce” (Pro Tips)
Alright, let’s get into a couple of things that make a real difference:
- Don’t Crowd Your Mother Bulb: When you’re digging up your Fritillaria, if you notice it’s already producing a lot of offsets, don’t feel obligated to remove every single one. Leave a few attached to the parent bulb. This helps the parent bulb conserve energy and can lead to stronger growth the following year. Sometimes, smaller offsets are best left to grow on the parent for another season to mature.
- Think Like a Mountain: Fritillaria hermonis often grows on rocky slopes. This tells us they absolutely despise soggy feet. Ensure your potting mix is gritty and that your pots have excellent drainage. If you’re in a humid climate, consider placing pots on a layer of gravel to allow for air circulation underneath.
Aftercare & Troubleshooting
Once your offsets are planted, the real waiting game begins! Keep the pots in a bright spot, but out of direct, scorching sun. Water sparingly – only when the top inch of soil feels dry. Overwatering is the quickest way to invite disaster.
You’re looking for signs of new growth, which might just be a tiny sprout emerging from the soil. This can take weeks, or even months. Patience is your best gardening friend here!
The most common issue you might encounter is rot. If you see a bulb or a new sprout turning mushy, brown, and smelling… well, unpleasant, then rot has set in. This is almost always due to too much moisture. If you catch it early, you might be able to remove the rotted part, but often, it’s a sign that the conditions weren’t quite right.
A Encouraging Closing
See? Propagation doesn’t have to be intimidating. By understanding Fritillaria hermonis’s needs and giving it a little TLC, you’re well on your way to a whole new generation of these lovely plants. Remember, gardening is a journey, and every little sprout is a victory. Enjoy the process, be patient, and celebrate every bit of success that comes your way! Happy propagating!
Resource:
https://identify.plantnet.org/k-world-flora/species/Fritillaria%20hermonis%20Fenzl%20ex%20Klatt/data