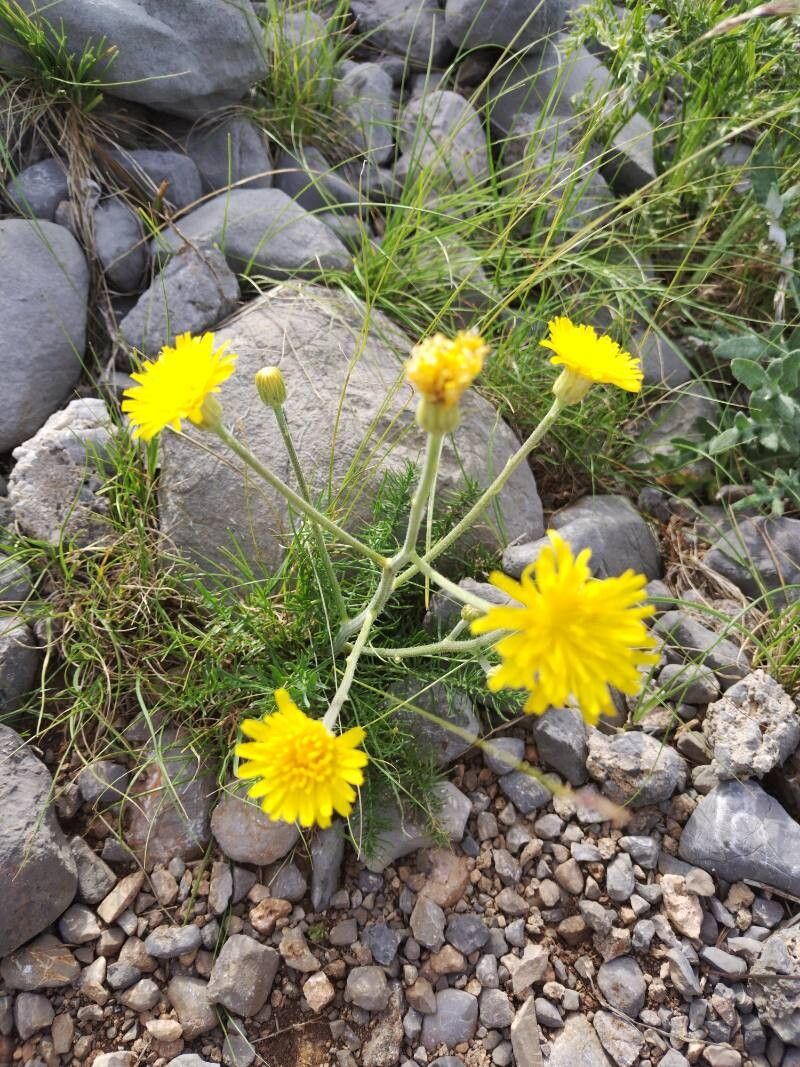
Oh, hello there! Come on in, grab yourself a mug of something warm. Let’s talk about a plant that’s been a quiet delight in my garden for years: Crepis chondrilloides. You might know it better by its common name, Hawk’s Beard. It’s not as flashy as a dahlia, perhaps, but its delicate, dandelion-like flowers have a certain ethereal charm, and they bloom for such a wonderfully long time.
Propagating it has become one of my little gardening joys. There’s something incredibly satisfying about taking a piece of an existing plant and nurturing it into something new. And the good news? If you’re looking for a plant that’s generally beginner-friendly to propagate, Crepis chondrilloides is a lovely choice. I’ve had great success with it, and I’m sure you will too.
The Best Time to Start
Timing is everything, isn’t it? For Crepis chondrilloides, I find the late spring or early summer to be absolutely perfect. This is when the plant is actively growing, full of vigor. You’re essentially taking young, healthy pieces that are eager to root. Trying to propagate when the plant is stressed, like during a heatwave or right after transplanting, is just setting yourself up for a bit of disappointment. So, aim for when things are lush and green.
Supplies You’ll Need
Gathering your supplies is like preparing for a little science experiment in the best possible way! Here’s what I usually have on hand:
- Sharp pruning shears or a clean knife: For making clean cuts. My favorites are small, sharp bypass pruners.
- Seed-starting mix or a light, well-draining potting mix: Something that isn’t too heavy and allows for good aeration. I often mix in a bit of perlite for extra drainage.
- Small pots or rooting trays: Clean ones, of course! Small plastic pots are great.
- Rooting hormone (optional but recommended): This really gives your cuttings a boost. I use a powder form and a little goes a long way.
- Watering can with a fine rose or a mister bottle: For gentle watering.
- Plastic bags or a small propagation dome: To create a humid environment.
Propagation Methods
Crepis chondrilloides is quite obliging, and I find two methods work wonderfully.
Stem Cuttings
This is my go-to for increasing my collection.
- Select your cutting: Look for a healthy, non-flowering stem that’s roughly 4-6 inches long. It’s best to take it from the more recent growth.
- Make the cut: Using your clean, sharp shears, make a cut just below a leaf node. This is a key spot where roots tend to form.
- Prepare the cutting: Gently remove the lower leaves from the bottom inch or so of the stem. You can leave a few top leaves; they’ll help the cutting make its own food.
- Dip in rooting hormone (if using): Lightly dip the cut end into your rooting hormone, tapping off any excess.
- Plant your cutting: Make a small hole in your prepared potting mix with a pencil or your finger. Insert the cutting, ensuring the nodes where you removed the leaves are beneath the surface. Gently firm the soil around the base.
- Water and cover: Give the soil a gentle watering. Then, cover the pot with a plastic bag or place it under a propagation dome. This traps humidity, which is crucial for the cutting.
Water Propagation
Sometimes, you just want to watch the magic happen!
- Take your cutting: The process is the same as for stem cuttings – choose a healthy, non-flowering stem and cut it just below a leaf node.
- Remove lower leaves: Again, clear off the leaves from the bottom inch or so.
- Place in water: Put the cutting in a clean jar or glass of fresh water. Make sure none of the leaves are submerged, as they’ll rot.
- Find a good spot: Place the jar in a bright spot, but out of direct, intense sunlight.
- Change the water: Change the water every few days to keep it fresh and prevent bacterial growth.
The “Secret Sauce” (Pro Tips)
Here are a couple of things I’ve learned that really make a difference:
- Bottom Heat is Your Friend: If you’re using stem cuttings, placing your pots on a gentle heat mat can significantly speed up root development. It mimics the warmth of spring soil and gives those roots a real nudge. Just a gentle warmth, not hot!
- Don’t Over-Water the Soil: It’s tempting to keep cuttings constantly moist, but soggy soil is a recipe for rot. The idea is to keep the potting mix evenly damp, not waterlogged. The humidity from the plastic cover will do most of the work.
Aftercare & Troubleshooting
Once you start seeing new leaf growth or tugging gently on a cutting and feel resistance (that’s roots!), you’re on your way!
For stem cuttings that have rooted, you can gradually remove the plastic cover over a few days to acclimate them to normal humidity. Then, care for them as you would a young Crepis plant: good light, and water when the top inch of soil feels dry.
If your cutting goes mushy or black, it’s usually a sign of too much moisture or a fungal issue. Don’t be discouraged! Sometimes, even the best of us lose a few. If you see mold creeping onto the soil, remove the affected bits and try to improve air circulation.
A Encouraging Closing
Propagating Crepis chondrilloides is a wonderful way to fill your garden with these cheerful blooms. Be patient, observe your little cuttings, and enjoy the process of bringing new life into the world. You’ve got this! Happy gardening!
Resource:
https://identify.plantnet.org/k-world-flora/species/Crepis%20chondrilloides%20Jacq./data