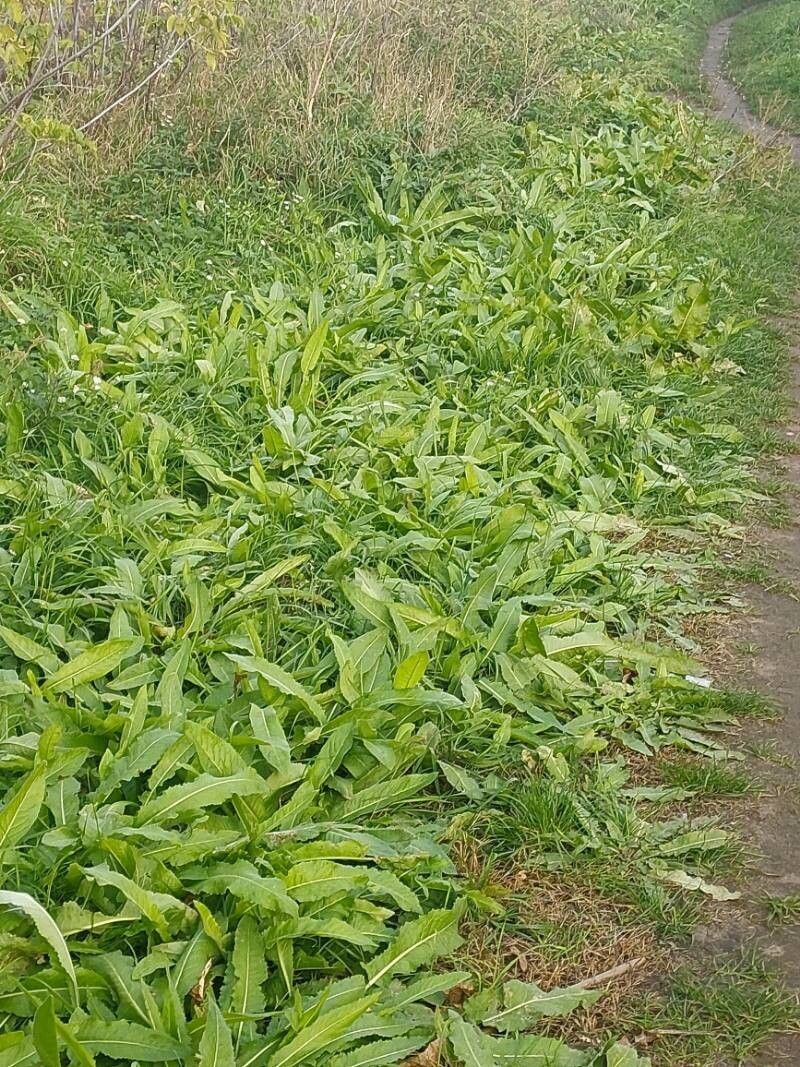
Oh, Bunias orientalis! What a joy it is to have this cheerful plant gracing the garden. You know, with its bright yellow, daisy-like blooms that just radiate sunshine, and its ability to attract all sorts of buzzing pollinators, it’s really no wonder people fall for it. Some of you might know it as Turkish Salsify, but I just call it my little ray of happiness.
The best part? Propagating Bunias orientalis is a truly rewarding endeavor. It’s one of those plants that makes you feel like a bit of a gardening wizard when you see those tiny roots emerging. And for my beginner garden friends out there, I’m happy to say this one leans towards the easier side of things. You’ve got this!
The Best Time to Start
Honestly, the most successful propagation for Bunias orientalis usually happens during its active growing season. Think late spring through early summer. This is when the plant is really putting on a growth spurt and has plenty of energy to put into developing new roots. You can also have good luck with divisions in early autumn, just as the intense heat of summer wanes but before the hard frosts set in.
Supplies You’ll Need
Gathering your tools beforehand always makes the process smoother. Here’s what I usually have on hand:
- Sharp pruning shears or a clean knife: For making clean cuts.
- Well-draining potting mix: A good blend of peat moss, perlite, and compost works wonders.
- Small pots or trays: Clean ones are key to preventing disease.
- Rooting hormone (optional but recommended): This can give your cuttings a nice boost.
- Watering can with a fine rose: For gentle watering.
- Labels and a pen: To keep track of your efforts!
- A warm spot or heat mat (optional): Especially helpful if your propagation area is a bit on the cool side.
Propagation Methods
Bunias orientalis is quite versatile, but I find these methods to be the most reliable:
1. Division (My Personal Favorite!)
This is often the easiest and quickest way to get more Bunias orientalis plants.
- Dig Carefully: In late spring or early autumn, gently dig up the established clump. Try to disturb the roots as little as possible.
- Separate the Roots: Look for natural divisions in the root ball. You might see sections that have individual crowns or strong root structures.
- Use Your Hands or Tools: You can often gently pull the clump apart with your hands. If it’s a bit stubborn, use your clean knife or trowel to cut through the roots cleanly. Make sure each division has at least one healthy bud or growth point and a good portion of roots.
- Replant Immediately: Pot up your divisions into their own pots filled with your well-draining mix, or plant them directly back into the garden. Water them in well.
2. Stem Cuttings
This method is great for propagating from a particularly vigorous plant.
- Take Your Cuttings: In late spring to early summer, select healthy, non-flowering shoots. Cut stems that are about 4-6 inches long, making a clean cut just below a leaf node. Remove the lower leaves, leaving only the top few.
- Apply Rooting Hormone (Optional): Dip the cut end of the stem into rooting hormone, if you’re using it. Tap off any excess.
- Plant Your Cuttings: Fill small pots with your moistened potting mix. Make a hole with a pencil or your finger and insert the cut end of the stem. Gently firm the soil around it.
- Water and Cover: Water gently. You can then cover the pots with a clear plastic bag or place them in a propagator to create a humid environment. This is crucial for preventing the cuttings from drying out.
The “Secret Sauce” (Pro Tips)
Here are a few tricks I’ve learned over the years that can really up your success rate:
- Don’t Rush Divisions: When you’re dividing, take your time to examine the root structure. Sometimes waiting for those smaller divisions to get a bit bigger before separating them can lead to stronger, faster-growing plants.
- Bottom Heat is Your Friend: For stem cuttings, providing a little gentle warmth from below – like using a seedling heat mat – can significantly speed up root formation. It mimics the soil temperature during the plant’s natural growing season.
- Freshness Counts: When taking stem cuttings, try to plant them as soon as possible after taking them. The longer they sit out, the more chance they have of drying out and eventually failing.
Aftercare & Troubleshooting
Once you see signs of new growth or notice roots poking out of the drainage holes, you’re well on your way!
- Gradual Acclimation: If you covered your cuttings, slowly start to acclimate them to drier air by opening the plastic bag gradually over a few days.
- Gentle Watering: Continue to water them gently, aiming to keep the soil consistently moist but not waterlogged.
- Light Feeding: Once they’re established and show good growth, you can start a very dilute liquid feed every few weeks.
- Watch for Rot: The most common sign of failure is rot. This usually happens when the soil is too wet and there isn’t enough air circulation. If you see mushy stems or leaves that quickly turn black and fall off, you might have a rot issue. Try to let the soil dry out slightly between waterings and ensure good airflow.
So there you have it! Propagating Bunias orientalis is a delightful way to fill your garden with more of that sunny disposition. Be patient with your new little plants; they’ll get there. And remember, the joy is in the process, in nurturing those tiny beginnings into full, blooming life. Happy gardening!
Resource:
https://identify.plantnet.org/k-world-flora/species/Bunias%20orientalis%20L./data