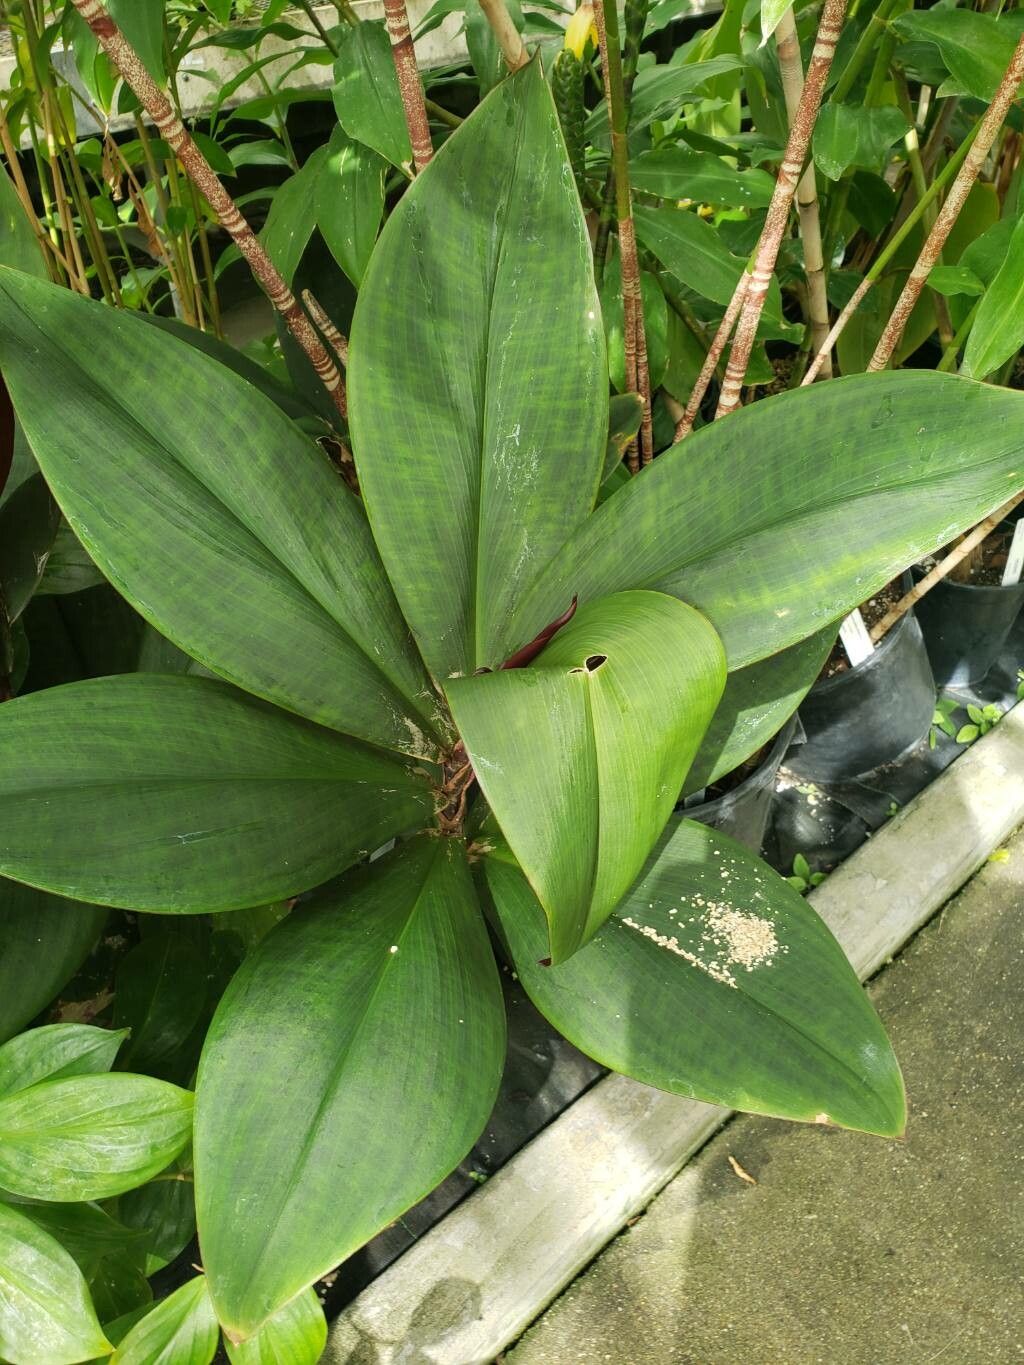
Hey there, fellow plant lovers! It’s so good to have you here today. We’re going to dive into the wonderful world of propagating Costus vinosus, also known as the Wine Costus. If you’ve ever admired its deep, wine-red foliage and striking white bracts, you’ll understand why it’s a garden gem. And the best part? You can easily create more of these beauties yourself!
Propagating plants is one of the most rewarding things we gardeners can do. It’s like magic, watching a tiny piece of magic grow into a whole new plant. It saves you money, sure, but it’s also incredibly satisfying. Now, about Costus vinosus: I’d say it’s a moderately easy plant to propagate. It’s not quite as foolproof as a coleus cutting, but with a little attention, you’ll have great success. Don’t be intimidated; I’m here to walk you through it.
The Best Time to Start
The sweet spot for propagating your Wine Costus is during its active growing season. Think late spring through summer. This is when the plant has the most energy to put into developing roots and new shoots. You’ll be able to tell it’s ready when you see new leaves unfurling heartily or the plant is generally looking lush and vibrant. Trying to propagate when the plant is stressed or dormant is just setting yourself up for disappointment.
Supplies You’ll Need
This is where we gather our tools. Having everything ready makes the process so much smoother.
- Sharp pruning shears or a clean knife: For making clean cuts.
- Well-draining potting mix: A good blend of potting soil, perlite, and a bit of peat moss works wonders. You want something that won’t stay soggy.
- Small pots or trays: Whatever you have on hand will do, as long as they have drainage holes.
- Rooting hormone (optional but recommended): This can give your cuttings an extra boost.
- Small plastic bags or a propagation-dome: To create a humid environment.
- Watering can or spray bottle: For gentle watering.
Propagation Methods
Costus vinosus is best propagated through division, which is essentially splitting up the mature plant. It also does well with stem cuttings, though division is often the most reliable for this particular plant.
Method 1: Division – The Gardeners’ Favorite
This is my go-to for Costus vinosus. It’s like giving your plant a haircut and getting new babies in return!
- Gently dig up the mature plant. You can do this in late spring or early summer. Try to get as much of the root ball as possible without causing too much damage.
- Inspect the root structure. You’ll see rhizomes – thick, fleshy underground stems – from which new shoots or canes emerge.
- Carefully separate the rhizomes. You can use your hands for this, or if they’re more tightly bound, a clean knife or trowel. Ensure each division has at least one healthy shoot or cane attached to a good chunk of rhizome and roots.
- Replant immediately. Plant your divisions as you would the parent plant, in well-draining soil. Water them in well to help settle the soil around the new roots.
Method 2: Stem Cuttings – For The Patient Gardener
This method requires a bit more time but is satisfying when it works.
- Take stem cuttings. From a healthy, actively growing stem, select a section about 4-6 inches long. Make a clean cut just below a leaf node (where a leaf attaches to the stem). Remove the lower leaves, leaving just a couple at the top.
- Apply rooting hormone (optional). Dip the cut end into rooting hormone, tapping off any excess.
- Insert into potting mix. Make a small hole in your prepared, moist potting mix and gently insert the cutting. The leaf nodes should be below the soil surface, as this is where roots will emerge.
- Create humidity. Water gently and then cover the pot with a plastic bag or place it under a propagation dome to maintain high humidity. Make sure the leaves don’t touch the plastic.
- Provide light and warmth. Place the pot in a warm spot with bright, indirect light.
The “Secret Sauce” (Pro Tips)
Here are a few little tricks I’ve picked up over the years that really make a difference:
- For stem cuttings, use a tiny bit of activated charcoal in your potting mix. This helps keep things clean and can prevent fungal issues, which are the bane of cuttings.
- Bottom heat is your friend for stem cuttings. If you have a seedling heat mat, placing your cutting pots on it can significantly speed up the rooting process. It mimics the warm soil they love naturally.
- Don’t overwater your divisions immediately. While they need moisture to establish, sodden soil can lead to rot. Let the soil surface dry slightly between waterings for the first week or two.
Aftercare & Troubleshooting
Once your divisions are replanted or your cuttings have formed roots (you can gently tug to feel resistance or look for new leaf growth), it’s time for regular care.
For divided plants, treat them much like the parent plant. Water when the top inch of soil feels dry, and they’ll appreciate a bit of balanced fertilizer during the growing season. Gradually remove the humidity dome from cuttings over a few days to acclimate them to normal air. Continue to keep the soil consistently moist but not waterlogged.
The most common culprit for failure is rot. If your cuttings look mushy and dark, or if a division seems to be wilting despite adequate moisture, it’s likely rot. This usually stems from too much moisture and poor drainage. If you spot it early, you might be able to salvage a healthy piece by cutting away the rotten parts and repotting in fresh, dry soil.
And there you have it! Propagating Costus vinosus is a wonderfully accessible project for any gardener looking to expand their collection. Remember, patience is key. Not every cutting will make it, and that’s perfectly okay. Enjoy the process, celebrate your successes, and don’t be afraid to get your hands dirty. Happy propagating!
Resource:
https://identify.plantnet.org/k-world-flora/species/Costus%20vinosus%20Maas/data