Oh, hello there! Pull up a chair and let’s chat about bringing more Homonoia riparia into your life. I’ve been growing and propagating these beauties for a good while now, and let me tell you, there’s something truly special about coaxing a new plant into existence. If you’re looking to expand your collection of this fascinating riparian shrub, you’ve come to the right place.
Introduction: Why You’ll Love Propagating Homonoia riparia
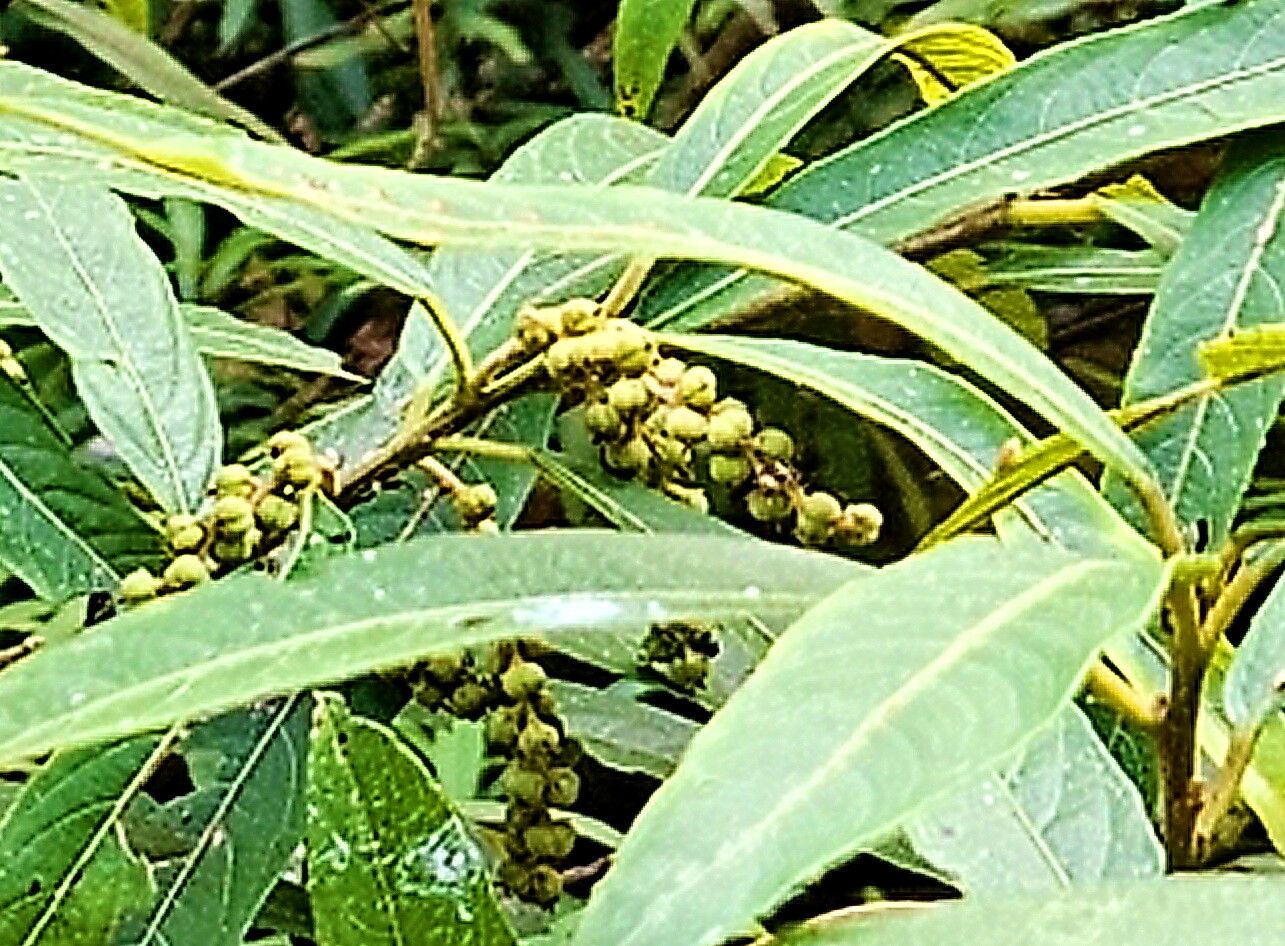
Homonoia riparia, often called River Birch or Water Willow, has this wonderfully wild, tangled charm. Its weeping habit and delicate, often attractive foliage make it a standout, especially in more naturalistic garden settings or as a specimen plant. And the best part? Propagating it is surprisingly rewarding, and I’m happy to say, it’s quite approachable for beginners. You’ll get a real kick out of watching a tiny cutting transform into a thriving plant you can then share with friends.
The Best Time to Start
For the highest success rate, I’ve found that the sweet spot for propagating Homonoia riparia is during its active growing season. This typically means late spring through early to mid-summer. The plant is brimming with energy then, and cuttings taken during this period have a great chance of rooting quickly. Avoid trying this on actively flowering or fruiting stems; you want those energy reserves directed into root development.
Supplies You’ll Need
Gathering your tools beforehand makes the process so much smoother. Here’s what I usually have on hand:
- Sharp Pruning Shears or a Knife: Clean cuts are crucial for good rooting.
- Rooting Hormone (Optional but Recommended): A powder or gel can significantly boost success.
- Potting Mix: A well-draining mix is key. I often use a blend of equal parts perlite, peat moss, and a bit of coarse sand.
- Small Pots or Trays: Clean containers with drainage holes are a must.
- Plastic Bags or a Propagator: To maintain humidity.
- Water: For misting and watering.
Propagation Methods: Let’s Get Our Hands Dirty!
We’ll focus on the most reliable method for Homonoia riparia: stem cuttings. It’s straightforward and consistently effective.
Stem Cuttings:
- Select Your Parent Plant: Choose a healthy, vigorous Homonoia riparia that looks happy and has plenty of growth.
- Take Your Cuttings: Using your clean pruning shears, take softwood or semi-hardwood cuttings that are about 4-6 inches long. Make a clean cut just below a leaf node (where a leaf attaches to the stem). Remove the lower leaves, leaving just a few at the top. If your cuttings have soft tips, you can pinch those off to encourage branching later.
- Apply Rooting Hormone (Optional): Dip the cut end of the stem into your rooting hormone powder or gel, tapping off any excess.
- Prepare Your Pots: Fill your clean pots or trays with your well-draining potting mix. Make small holes in the mix with your finger or a pencil.
- Plant the Cuttings: Insert the treated end of each cutting into a hole, pressing the mix gently around it to ensure good contact. You can plant several cuttings in one pot, spaced a couple of inches apart.
- Water Gently: Water the potting mix thoroughly but gently. You don’t want to dislodge the cuttings.
- Create a Humid Environment: This is vital! Cover the pots with a clear plastic bag or place them in a propagator. You can use stakes to keep the plastic from touching the leaves. This creates a mini-greenhouse effect, keeping the cuttings from drying out. Place the pots in a bright location, but out of direct, scorching sunlight.
The “Secret Sauce” (Pro Tips)
Here are a couple of things I’ve learned over the years that can really make a difference:
- Bottom Heat: If you can, place your pots on a heated propagator mat. This gentle warmth from below encourages root development much faster and more reliably than relying on ambient air temperature alone. You’ll see roots forming in a fraction of the time.
- “Dumb Cane” Cuttings: Sometimes, if you can find older, slightly woody stems (but not too woody – you still want some flexibility), you can cut them into sections, each with at least two leaf nodes. Plant both ends just slightly into the soil. You’ll be amazed at how often both ends can sprout roots and shoots! It feels counterintuitive, but it works!
Aftercare & Troubleshooting
Once your cuttings have developed a good root system – you can often tell by giving them a gentle tug; if there’s resistance, they’ve likely rooted – it’s time for them to graduate to their own pots.
Gently transplant them into their own small pots with a good quality potting mix. Continue to keep them moist and in bright, indirect light. You can gradually acclimate them to less humidity over a week or two. Water them when the top inch of soil feels dry.
What if things go wrong? The most common issue is rot. If your cuttings turn mushy, black, or start to smell, they’ve likely rotted. This is usually due to too much moisture, poor drainage, or lack of air circulation. If you see this, unfortunately, it’s time to start again with a fresh cutting and ensure better conditions. Don’t get discouraged by a few losses; it’s all part of the learning process.
A Word of Encouragement
Propagating Homonoia riparia is a truly satisfying endeavor. Be patient with your new plants. Sometimes they take their sweet time to show you they’re getting comfortable. Enjoy the journey, celebrate each tiny new leaf, and before you know it, you’ll have a whole new generation of these wonderful plants to admire and perhaps even share. Happy gardening!
Resource:
https://identify.plantnet.org/k-world-flora/species/Homonoia%20riparia%20Lour./data