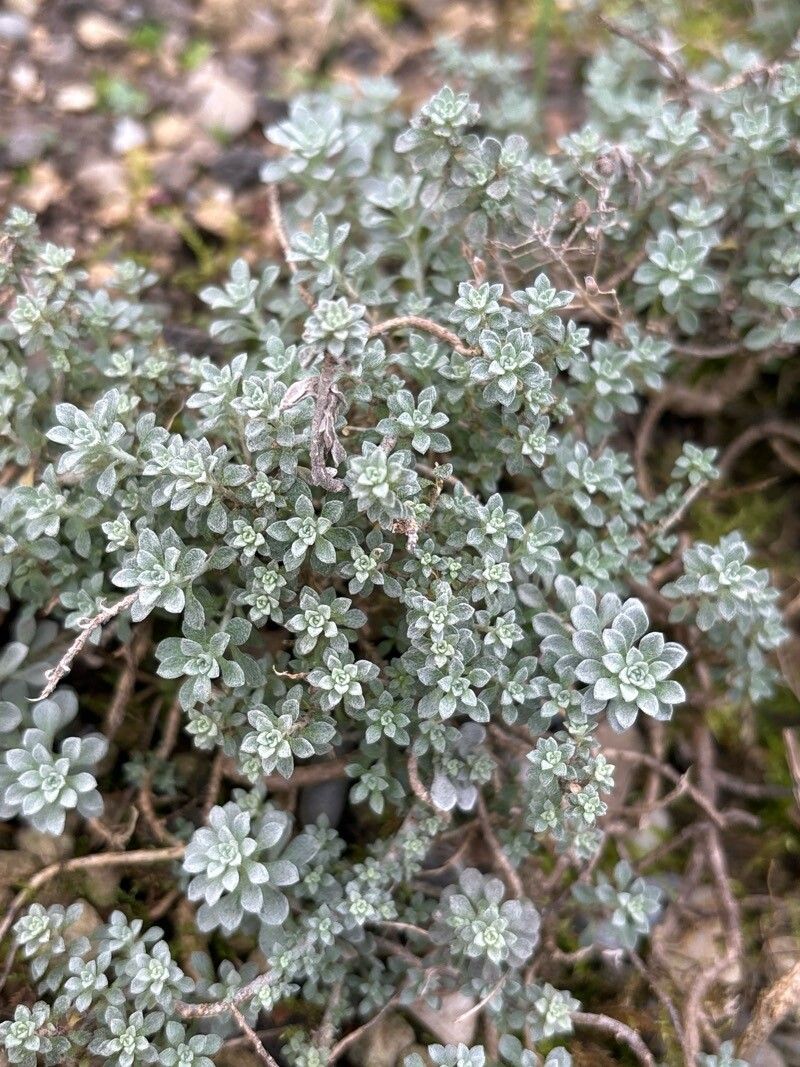
Hello there, fellow garden enthusiasts! It’s so lovely to spend some time with you today, chatting about one of my absolute favorite little garden gems: Alyssum cuneifolium. You know, the one that blankets your garden beds and pots with its sweet-smelling, delicate white flowers for what feels like forever? It’s just a ray of sunshine, isn’t it?
Propagating it is a wonderful way to fill your garden with even more of that fragrant charm, and I’m here to tell you, it’s a really rewarding process. And the best part? If you’re just dipping your toes into the world of plant propagation, Alyssum cuneifolium is a wonderfully forgiving friend to start with. You’ll be amazed at how easily you can multiply this beauty.
The Best Time to Start
For the absolute best chance of success, I always recommend starting your propagation efforts in late spring to early summer. This is when the plant is in its most vigorous growth phase after flowering. You’ll be looking for healthy, non-flowering stems that are firm but still a bit flexible – what we call “semi-hardwood” cuttings. Avoid woody, old stems or those covered in developing flower buds.
Supplies You’ll Need
Here’s a little checklist to get you prepped:
- Sharp pruning shears or a clean craft knife: For making those crucial cuts.
- Small pots or seed trays: About 2-4 inches in size are perfect.
- A well-draining potting mix: I love a blend of equal parts peat moss (or coco coir) and perlite. This gives the cuttings the aeration and moisture retention they need.
- Rooting hormone powder (optional but recommended): This really gives those new roots a helpful nudge.
- A plastic bag or propagation dome: To create a humid environment.
- A spray bottle: For misting.
- A watering can: For gentle watering.
Propagation Methods: Let’s Get Our Hands Dirty!
There are a couple of easy ways to multiply your alyssum. I find stem cuttings to be the most reliable and straightforward for this plant.
Stem Cuttings:
- Select your stems: Look for healthy, upright stems that are about 4-6 inches long and have started to firm up a bit. Gently remove any flowers or flower buds.
- Make the cut: Using your clean shears or knife, make a clean cut just below a leaf node (where a leaf attaches to the stem). This is where the magic really happens for root development.
- Prepare your cuttings: Gently remove the leaves from the bottom half of the stem, leaving just a few at the top. This prevents them from rotting in the soil.
- Dip in rooting hormone (optional): Lightly dip the cut end of the stem into your rooting hormone powder. Tap off any excess.
- Plant your cuttings: Fill your small pots or trays with your prepared potting mix. Make a small hole in the center with your finger or a pencil. Insert the cut end of the alyssum stem into the hole, ensuring the rooting hormone (if used) is covered. Gently firm the soil around the stem.
- Water gently: Water the soil thoroughly but gently to settle the mix around the cuttings.
- Create humidity: Cover the pots or trays with a plastic bag or a propagation dome. Ensure the plastic doesn’t touch the leaves. Pop a few small holes in the bag if you’re worried about too much moisture build-up.
The “Secret Sauce” (Pro Tips)
Now, for a couple of little tricks I’ve picked up over the years that can really boost your success:
- Don’t let the leaves touch the water: If you happen to be trying water propagation (though I find cuttings in soil are better for alyssum), make sure the leaves are well above the water line. Any submerged foliage is an invitation for rot.
- Bottom heat is your friend: If you have a heat mat designed for seedlings, placing your pots on it can significantly speed up rooting. Alyssum loves a bit of warmth coming from below. It mimics the cozy conditions they’d find in nature!
Aftercare & Troubleshooting
Once your cuttings are planted, find a bright spot for them that gets indirect sunlight. Direct sun can scorch those tender young cuttings. Keep the soil consistently moist but not waterlogged. A light misting every day or two will help keep the humidity up, especially if you’re not using a dome.
You should start to see new leaf growth within 2-4 weeks. This is your sign that roots are forming! You can gently tug on a cutting – if you feel resistance, roots have taken hold. Once they’re well-established (you’ll see good growth and feel that resistance), you can carefully transplant them into their own individual pots.
The most common sign of trouble is rot. If your cuttings start to turn black and mushy at the base, it’s usually a sign of too much moisture and not enough ventilation. Don’t be discouraged if a few don’t make it – it’s all part of the learning process! Sometimes, a lack of rooting is just due to timing or the overall health of the parent plant.
A Little Encouragement
There you have it! See? Not so daunting, is it? Propagating Alyssum cuneifolium is a delightful way to double, triple, or even quadruple your supply of this sweet-smelling beauty. Be patient with your little ones, offer them consistent care, and don’t be afraid to experiment. Happy propagating, and enjoy those wonderful bursts of scent and color they’ll bring to your garden!
Resource:
https://identify.plantnet.org/k-world-flora/species/Alyssum%20cuneifolium%20Ten./data