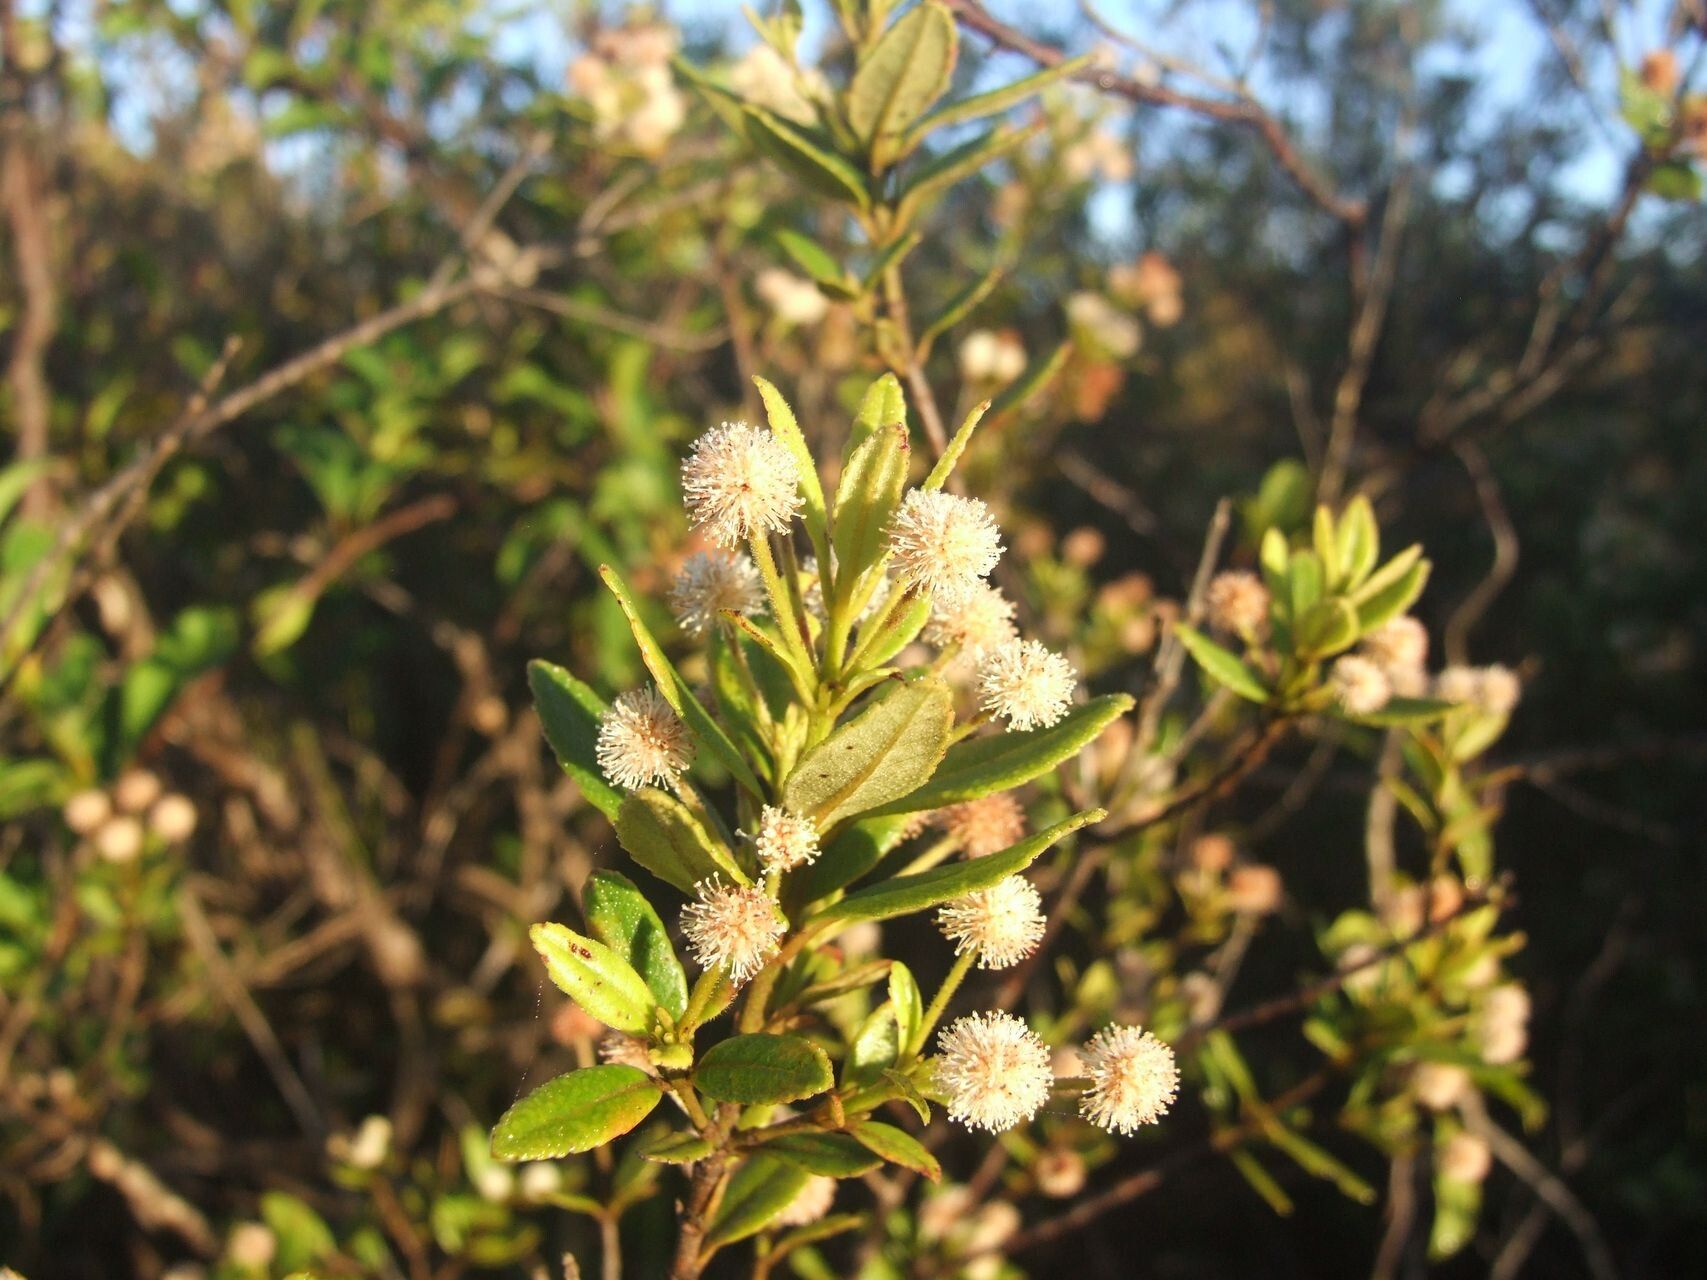
Hello fellow plant enthusiasts! It’s so wonderful to connect with you today. If you’re anything like me, you’ve probably admired the vibrant, almost waxy-looking leaves of Pancheria alaternoides and dreamt of having more of these beauties gracing your garden. This Australian native, with its resilient nature and lovely form, is a real charmer. And the best part? You can easily multiply it yourself! Propagating plants is such a rewarding journey, watching a tiny piece of your beloved plant transform into something new. For Pancheria alaternoides, I find it to be a fairly straightforward process, even for those of you just starting to dip your toes into propagation.
The Best Time to Start
My hands-down favorite time to take cuttings is in the late spring to early summer. This is when the plant is actively growing and has plenty of energy to put into developing new roots. You want to aim for semi-hardwood cuttings – that means stems that are no longer brand new and soft, but not yet woody and old. They should snap cleanly when bent, not just bend.
Supplies You’ll Need
Here’s a little kit to get you started:
- Sharp pruning shears or a clean, sharp knife: For making precise cuts.
- Rooting hormone (optional but recommended): This can give your cuttings a real boost. Look for a powder or gel.
- Well-draining potting mix: A good quality mix designed for cuttings or a blend of equal parts peat moss and perlite works beautifully.
- Small pots or seed trays: Clean ones are a must!
- Plastic bag or propagation dome: To create a humid environment.
- Water: For moistening the soil and, if water propagating, for the cuttings themselves.
- Labels: So you don’t forget what you planted where!
Propagation Methods
I usually stick to the stem cutting method for Pancheria alaternoides, as it’s reliable and I’ve had great success.
Stem Cuttings:
- Select your parent plant: Choose a healthy, vigorous Pancheria alaternoides.
- Take your cuttings: Using your clean shears, cut stems that are about 4-6 inches long. Make the cut just below a leaf node (where a leaf attaches to the stem). Remove any lower leaves, leaving just a few at the top.
- Prepare the cutting: If you’re using rooting hormone, dip the cut end into it, tapping off any excess.
- Plant the cuttings: Fill your small pots with your prepared, moist potting mix. Make a hole with your finger or a pencil, insert the cutting, and gently firm the soil around it.
- Create humidity: Water the soil gently. Then, cover the pots with a plastic bag or a propagation dome, making sure the leaves don’t touch the plastic if possible.
The “Secret Sauce”
Here are a couple of little tricks I’ve picked up over the years:
- The “snap test” is your best friend. Seriously, that semi-hardwood stage is key. If a stem bends too easily, it’s too soft. If it feels hard and old, it’s likely too far gone to root easily.
- Bottom heat is a game-changer. If you can, place your pots on a gentle heating mat. This encourages root development from below, even if the air temperature is a little cooler. It really speeds things up!
Aftercare & Troubleshooting
Once your cuttings are planted and covered, place them in a bright location out of direct sunlight. Keep the soil consistently moist but not waterlogged. You’ll want to peek under that plastic or dome daily to check for condensation and to ensure the soil is still damp.
The most common issue you might face is rot. This usually happens when the soil is too wet and there isn’t enough air circulation. If you see stems turning black or mushy, sadly, that cutting is probably lost. Pull it out immediately to prevent it from affecting others. Don’t get discouraged if a few don’t make it – it’s all part of the learning process!
You’ll know your cuttings have rooted when you see new leaf growth or when they feel firmly anchored if you gently tug on them. This can take anywhere from 4-8 weeks, sometimes longer. Once they’ve rooted, you can gradually acclimate them to normal room humidity by opening the bag or dome a little each day before removing it completely.
A Gentle Encouragement
So there you have it! Propagating Pancheria alaternoides is a truly satisfying endeavor. Be patient with yourself and with your little cuttings. Some will take off like gangbusters, others will be a bit slower. Just enjoy the process of nurturing something new from a part of your existing plant. Happy propagating!
Resource: