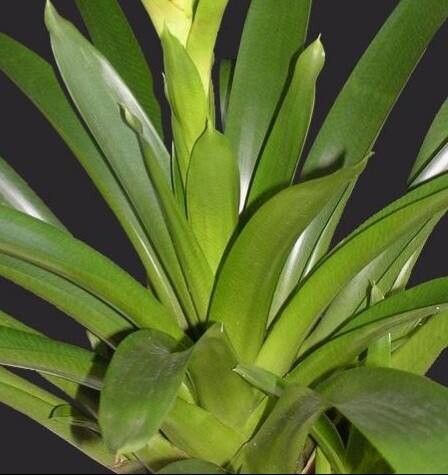
Well hello there, fellow plant lover! Today, we’re diving into the wonderful world of Vriesea reitzii. If you’ve ever stopped to admire this bromeliad, you know it’s a stunner. With its striking, architectural foliage and the promise of a vibrant flower spike, it truly adds a touch of the exotic to any space. And the best part? You can create more of these beauties yourself! Propagating Vriesea reitzii is a truly rewarding endeavor. It’s not the absolute easiest plant for a brand-new propagator, but with a little patience and these tips, you’ll be well on your way to success.
The Best Time to Start
For Vriesea reitzii, I find the spring and early summer are your absolute best friends. This is when the plant is actively growing, meaning it has more energy stored up to fuel root development. You’re looking for a mature plant that has started producing pups (those little baby plants that emerge at the base). Trying to propagate when the plant is dormant just won’t yield the results you’re hoping for.
Supplies You’ll Need
Here’s what I like to have on hand for a smooth propagation session:
- Sharp, sterile pruning shears or a clean knife. Cleanliness is key to preventing disease.
- A well-draining potting mix. I usually go with a blend of orchid bark, perlite, and a bit of peat moss. You want it airy!
- Small pots or containers for your new propagations. Terracotta pots are great because they breathe.
- Optional: Rooting hormone. This can give your pups a little extra boost.
- A spray bottle for misting.
- A humidity dome or plastic bag can be helpful.
Propagation Methods
The most straightforward way to propagate Vriesea reitzii is through its pups. These are essentially miniature versions of the mother plant that grow from the base.
- Inspect your mother plant. Look for pups that are at least one-third to one-half the size of the parent plant. They should have their own developed leaves.
- Gently remove the plant from its pot. This gives you access to the pup’s connection point.
- Locate the connection. You’ll see where the pup is attached to the mother plant, usually by a small rhizome or stem.
- Carefully cut the pup free. Use your sterile shears or knife to make a clean cut, ensuring you get as much of the pup’s base as possible. Try to sever the connection cleanly and avoid damaging the pup’s existing roots, if any.
- Prepare the pup. If there are any damaged or brown leaves, trim them away. Some folks like to dip the cut end in rooting hormone at this stage – I sometimes do, sometimes I don’t, and both work!
- Pot it up. Fill a small pot with your prepared potting mix. Make a little hole in the center and place the pup in it, firming the mix gently around its base. You want it to stand upright.
- Water lightly. Give the new potting mix a gentle watering.
The “Secret Sauce” (Pro Tips)
Here are a couple of things I’ve learned over the years that really make a difference:
- Let the pup “callous over.” After you’ve cut the pup free, don’t rush to pot it immediately. Let it sit out of direct sun for a day or two. This allows the cut end to dry out and form a protective “scab,” which helps prevent rot. It’s like letting a cut on your skin heal a bit before dressing it.
- Mimic their natural environment. Bromeliads love humidity! Once potted, I’ll often cover the pot loosely with a clear plastic bag or place it in a propagator with a lid. This creates a humid microclimate that encourages root formation. Just make sure there’s some airflow to prevent mold.
Aftercare & Troubleshooting
Once your pup is nestled in its new home, don’t overwater! Let the potting mix dry out slightly between waterings. Misting the foliage occasionally can also be beneficial, especially if you’re not using a humidity dome.
The biggest challenge you might face is rot. If the base of your pup starts to look mushy or black, it’s a sign of too much moisture and poor air circulation. If you catch it early, you might be able to salvage part of it by cutting away the rot, letting it callous, and repotting. Patience is key here. You’re looking for signs of new leaf growth emerging from the center of the pup – that’s your signal that roots are forming! This can take anywhere from a few weeks to a couple of months.
A Encouraging Closing
So there you have it! Propagating Vriesea reitzii is a wonderful way to expand your collection and share these gorgeous plants with friends. Remember to be patient, observe your new propagations, and don’t be discouraged if you hit a small bump along the way. Every gardener has had a few casualties! The joy of seeing a tiny pup flourish into a new plant is truly unmatched. Happy propagating!
Resource:
https://identify.plantnet.org/k-world-flora/species/Vriesea%20reitzii%20Leme%20&%20And.Costa/data