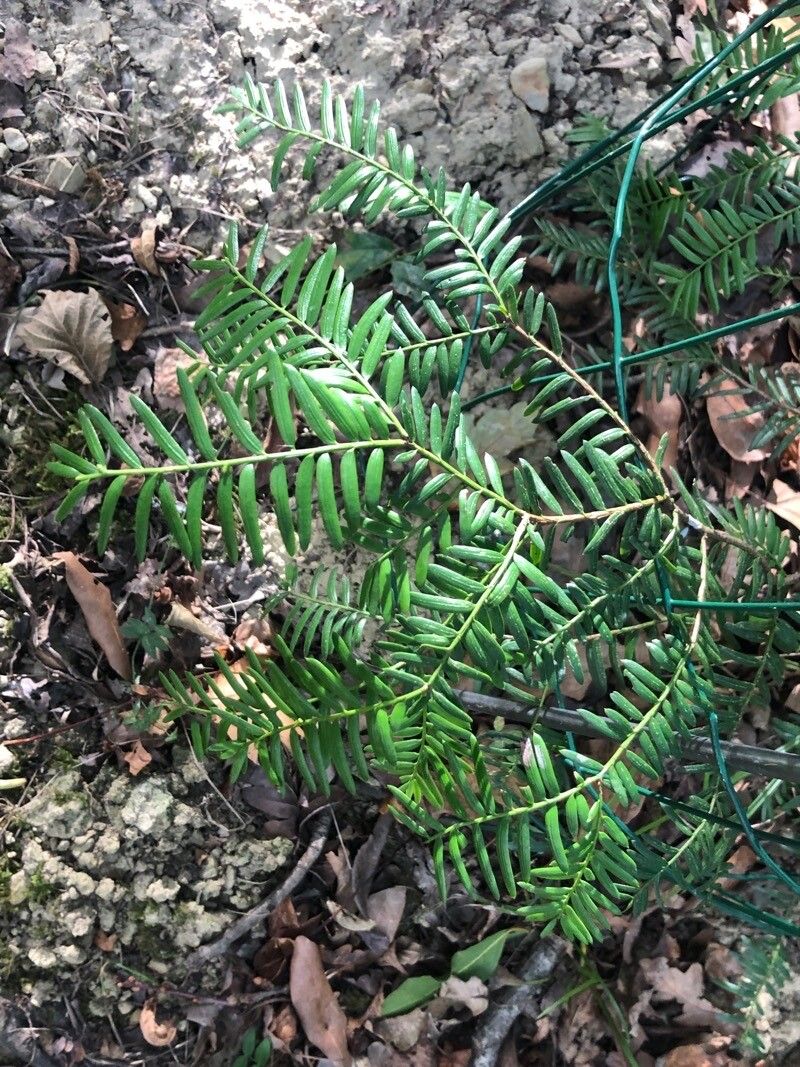
Ah, Taxus wallichiana! If you’re drawn to its elegant, deep green foliage and its architectural presence in the garden, you’re in good company. Recreating that beauty from a parent plant is a wonderfully rewarding endeavor, like coaxing a little piece of your garden’s magic into existence. Now, I’ll be honest right out of the gate: propagating yews, including Taxus wallichiana, can be a bit of a patient game. They’re not the sort of plant that explodes with new growth overnight. For absolute beginners, it might feel a touch challenging, but with a little know-how and a willingness to observe, you’ll find success.
The Best Time to Start
When it comes to getting those new yew babies going, I find the late spring to early summer is your golden window. Think about when the plant is actively growing, but not stressed by extreme heat. You want to take cuttings when they have a good amount of flexible, new growth. This is when they have the most energy to form roots.
Supplies You’ll Need
Gathering your tools beforehand makes the whole process smoother. Here’s what I always have on hand:
- Sharp Pruning Shears or a Craft Knife: Clean cuts are key to preventing disease.
- Rooting Hormone: A powdery or liquid form will help encourage root development.
- Well-Draining Potting Mix: A blend of coarse sand, perlite, and peat moss or coco coir is excellent. Avoid heavy garden soil.
- Small Pots or Trays: Clean pots are a must!
- Plastic Bags or a propagator: To create a humid environment.
- Labels: Because trust me, you will forget which cutting is which.
- Watering Can with a Fine Rose: For gentle watering.
Propagation Methods
For Taxus wallichiana, I’ve found stem cuttings to be the most reliable and straightforward method.
Stem Cuttings:
- Select Your Cuttings: Look for healthy, semi-hardwood stems. You want pieces that are about 4-6 inches long. They should be flexible but not so soft they bend easily. Snap one – it should break with a slight resistance, not just flop over.
- Make the Cut: Using your sharp shears or knife, make a clean cut just below a leaf node (where a leaf attaches to the stem). This is where the magic of root formation often begins.
- Prepare the Cutting: Gently strip off the lower leaves, leaving just a few at the top. This prevents them from rotting in the soil and concentrates the plant’s energy into root production. If your cuttings are very small and packed with needles, you can even carefully trim them to reduce surface area and water loss.
- Apply Rooting Hormone: Dip the cut end into your rooting hormone, ensuring it’s coated. Tap off any excess. This step is really helpful for encouraging those feisty roots.
- Plant Your Cuttings: Fill your clean pots with your well-draining mix. Make a hole in the center of the soil with a pencil or your finger. Insert the cutting, making sure the hormone-coated end is in contact with the soil. Gently firm the soil around the cutting.
- Water Gently: Water the soil thoroughly but not to the point of waterlogging. You want it moist, not soggy.
- Create Humidity: Cover the pot with a plastic bag, creating a mini-greenhouse. You can prop it up with a stake or two so the plastic doesn’t touch the leaves. Alternatively, place your pots in a propagator.
The “Secret Sauce” (Pro Tips)
Here are a couple of tricks I’ve learned over the years that can really give your cuttings a boost:
- Bottom Heat is Your Friend: If you have access to a propagation mat or can place your pots on top of a gently warm appliance, it makes a huge difference. Warm soil encourages faster root development. Don’t go too hot, though – just a gentle warmth is perfect.
- Air Circulation is Key: While you want humidity, you also don’t want stagnant air, which can lead to fungal issues. Once a day, lift the plastic bag or open the propagator for a few minutes to allow fresh air in. It’s a delicate balance, but it’s worth it.
Aftercare & Troubleshooting
Once your cuttings are planted, keep them in a bright spot, but out of direct, scorching sun. The soil should remain consistently moist, but never wet. You’ll know your cuttings are starting to root when you gently tug on them and feel resistance. You might also see tiny new needles or shoots appearing at the top. This can take anywhere from a few weeks to a couple of months, so be patient!
The most common sign of failure is rot. If your cuttings turn black and mushy, it’s usually a sign of too much moisture coupled with not enough airflow. If you see this happening, try removing the affected cuttings, letting the soil dry out a little more, and ensuring good air circulation. Sometimes, it’s just a learning curve, and not every cutting will make it.
A Encouraging Closing
So there you have it! Propagating Taxus wallichiana is a journey of observation and patience. Don’t get discouraged if your first few attempts aren’t perfect. Every plant is a living lesson, and the satisfaction of nurturing a new life from a sliver of your beloved tree is truly unparalleled. Enjoy the process, and happy gardening!
Resource:
https://identify.plantnet.org/k-world-flora/species/Taxus%20wallichiana%20Zucc./data