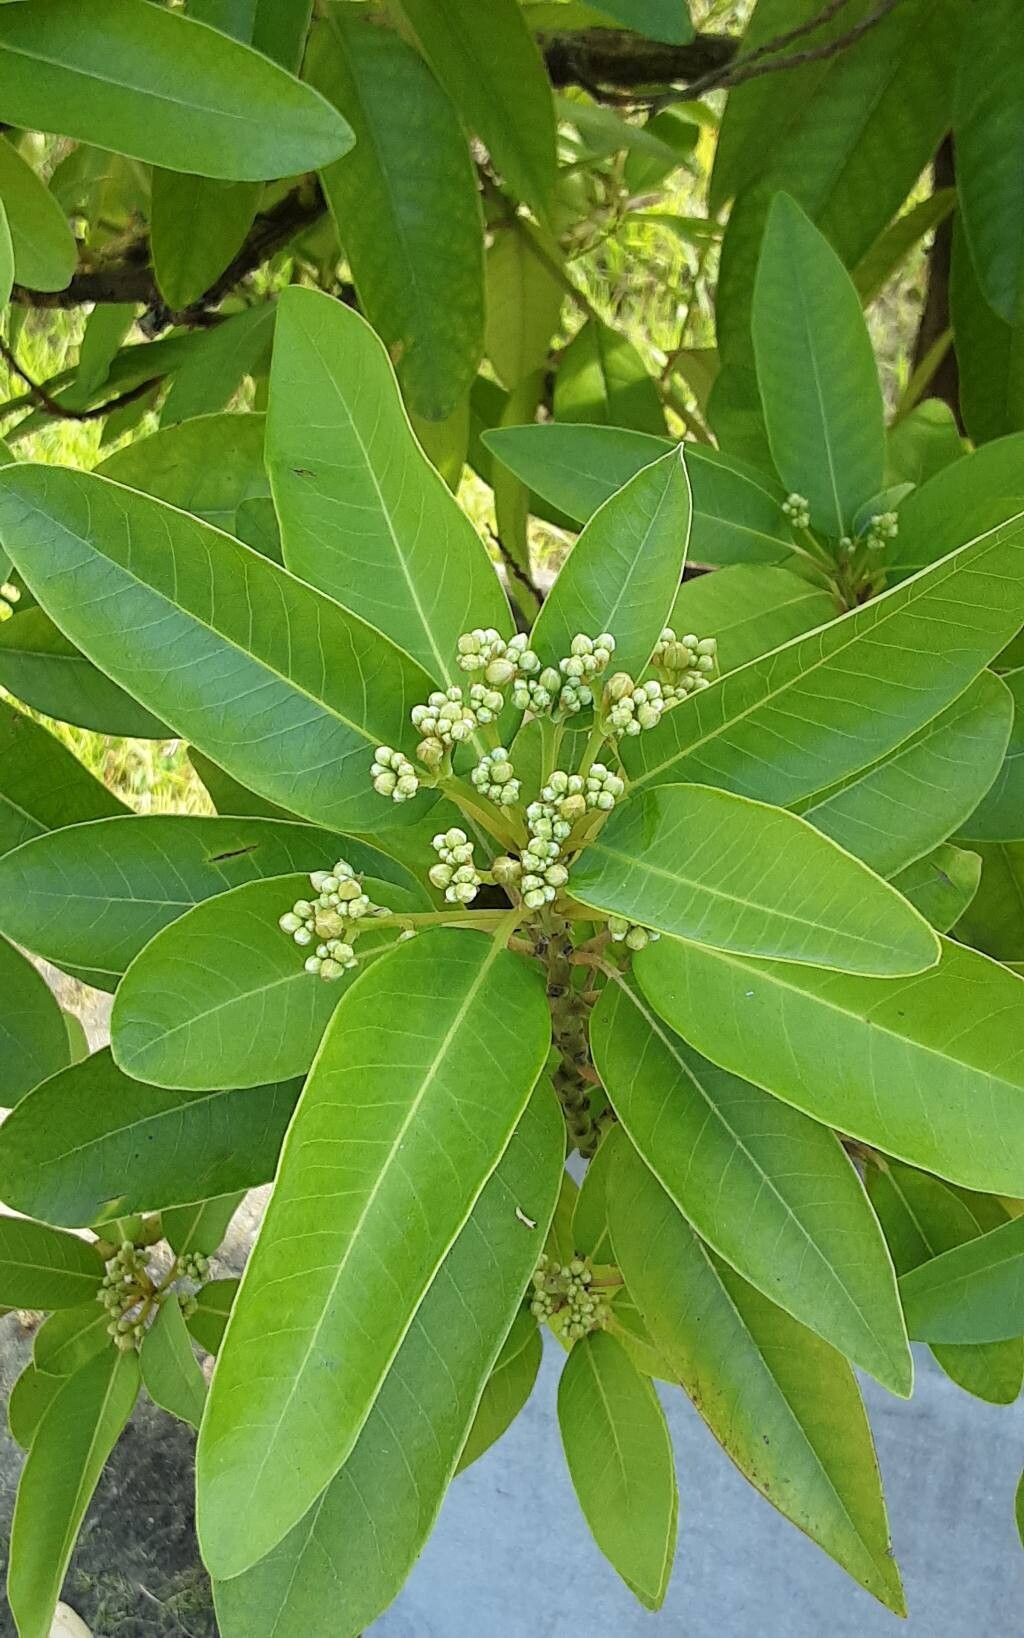
Oh, hello there! Pull up a chair and let’s chat about a really special plant: Persea indica. You might know it as the Canary Island avocado, and it’s quite the stunner. I’ve been growing it for years, and there’s just something incredibly gratifying about coaxing a brand new plant into existence from a cutting or a seed. It’s not quite as straightforward as popping a basil cutting into water, but trust me, the effort is absolutely worth the reward. If you’re new to propagating, this one might stretch your green thumb a little, but don’t let that daunt you – we’ll walk through it together.
When it comes to getting the best results with Persea indica, timing is key. I’ve found that the late spring or early summer is your sweet spot. This is when the plant is really in its active growing phase, and those young, semi-hardwood stems have the best energy reserves to develop roots. Trying to propagate when it’s sluggish in winter or heat-stressed in peak summer just makes things so much harder on everyone involved, including your plant!
Before we dive in, let’s gather our tools. Having everything ready beforehand makes the whole process flow much more smoothly.
- Sharp Pruning Shears or a Craft Knife: For clean cuts, which are crucial for good root formation.
- Potting Mix: A well-draining mix is vital. I usually mix equal parts peat moss, perlite, and coarse sand. Some gardeners swear by a specialized cutting mix, which is also a great option.
- Rooting Hormone: This isn’t strictly necessary for all plants, but for Persea indica, it gives you a significant boost. Look for one containing IBA (Indole-3-butyric acid).
- Small Pots or Trays: Clean pots are a must to prevent disease. About 4-6 inches deep is usually good.
- Plastic Bags or Propagation Dome: To maintain high humidity around your cuttings.
- Water: For misting and initial soaking.
- Labels and a Pen: Don’t underestimate the power of good labeling!
Now, let’s get our hands dirty. While you can try from seed, propagation from stem cuttings is generally more reliable for getting a plant that mirrors the parent.
- Select Your Cuttings: Head out to your Persea indica when it’s actively growing, ideally on a bright, warm day after a bit of rain if possible (that’s my little secret!). Look for healthy stems that are about pencil-thick and roughly 6-8 inches long. They should be flexible enough to bend slightly without snapping, but not so soft they feel like new growth. You want what we call semi-hardwood.
- Make the Cut: Using your clean shears or knife, make a clean cut just below a leaf node. A leaf node is a point on the stem where a leaf is attached – this is where root initiation often happens.
- Prepare the Cutting: Gently remove the leaves from the bottom half of your cutting. If the leaves are very large, I like to cut them in half horizontally. This reduces water loss through transpiration while still leaving enough surface area for photosynthesis. Leave one or two sets of leaves at the top.
- Apply Rooting Hormone: Dip the cut end of your prepared cutting into the rooting hormone powder. Tap off any excess.
- Plant Your Cuttings: Fill your clean pots with your well-draining potting mix. Make a hole with your finger or a pencil in the center of the soil. Carefully insert the cut end of your cutting into the hole, ensuring the rooting hormone remains on the stem. Gently firm the soil around the base of the cutting.
- Water and Cover: Water the soil thoroughly until you see water draining from the bottom of the pot. Then, cover the entire pot with a clear plastic bag (supported by stakes so it doesn’t touch the leaves) or place it under a propagation dome. This creates a mini-greenhouse effect, keeping humidity high.
Here are a couple of things I’ve learned over the years that make a real difference.
First, air circulation is your friend, even in humidity. While we want to keep things humid, stagnant air can lead to fungal diseases. If you’re using a plastic bag, open it up for a few minutes each day to let fresh air in. If you’re using a dome, lift the lid for a bit. Think of it as giving your little ones a breath of fresh air!
Second, bottom heat can be a game-changer. A seedling heat mat placed under your pots provides gentle warmth to the soil, encouraging root development from below. This mimics the warmth of the ground in warmer climates and can significantly speed up the process. Many of my propagation successes have been thanks to a good heat mat on a cool shelf.
Once you start to see roots, which can take anywhere from 8 weeks to several months, you’ll want to transition your new plants carefully.
Gently tug on a cutting – if there’s resistance, you likely have roots. You can also look for new leaf growth, which is a good sign. When roots are established, gradually acclimate your new plants to normal room humidity by slowly opening the plastic bag or dome over a week or two. Water them regularly, keeping the soil consistently moist but not waterlogged.
Now, what if things don’t go as planned? The most common issue you’ll see is rot. This usually happens if the soil is too wet and there isn’t enough air circulation. If you see your cutting turning black and mushy at the base, it’s likely succumbed to rot. To avoid this, remember that well-draining soil and periodic airing out of your propagation setup are crucial. Don’t be discouraged if not every cutting takes! Propagation is part art, part science, and even experienced gardeners have losses.
Growing Persea indica from cuttings is a wonderful journey. It requires a little patience and a keen eye, but the satisfaction of nurturing a new plant from your own effort is truly immense. Keep experimenting, observe your plants closely, and before you know it, you’ll have a thriving new addition to your garden. Happy propagating!
Resource:
https://identify.plantnet.org/k-world-flora/species/Persea%20indica%20(L.)%20Spreng./data