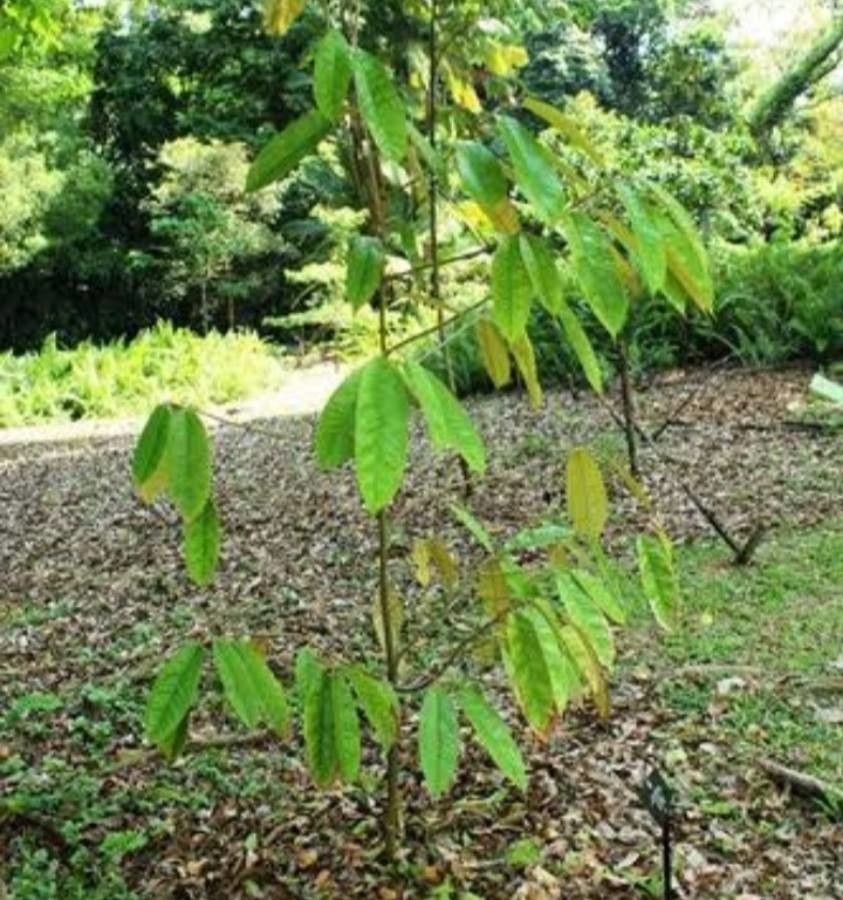
Oh, hello there! I’m so glad you’re interested in Durio kutejensis, also known as Lai. If you’re dreaming of bringing this fascinating fruit tree into your life, you’ve come to the right place. Lai is a relative of the more famous Durian, but it boasts a wonderfully aromatic, often milder, and incredibly delicious flesh that many find easier to love. It’s a bit of a marvel to watch those first few leaves unfurl from a propagation you’ve nurtured yourself. Now, I’ll be honest, Lai isn’t quite as straightforward for absolute beginners as, say, a pothos, but with a little care and attention, it’s absolutely achievable. Don’t let that deter you; the rewards are so worth it!
The Best Time to Start
For the highest success rate with Lai, aim to propagate during active growth periods. This usually means the spring and summer months when the plant is buzzing with energy and ready to put on a growth spurt. You’re looking for young, healthy shoots that are neither brand new and tender nor woody and old. Think of it as picking a sturdy, yet still flexible, young branch.
Supplies You’ll Need
- Clean, sharp pruning shears or a grafting knife: Good tools make clean cuts, which are crucial for preventing disease.
- Rooting hormone powder or gel: This isn’t strictly mandatory for every plant, but for woody cuttings like Lai, it really gives them a helpful boost.
- Well-draining potting mix: A blend of peat moss, perlite, and a bit of sand works wonders. You want something that doesn’t hold onto too much moisture. A good ratio is 1:1:1.
- Small pots or propagation trays: Clean ones are a must!
- Clear plastic bags or a propagation dome: This helps create that humid environment seedlings crave.
- Small labels and a permanent marker: Trust me, you’ll thank me later when you have a few projects going.
- Watering can with a fine rose attachment: For gentle watering.
Propagation Methods
While Durio kutejensis can be grown from seed, it can be slow and the resulting plants may not have the same fruit characteristics as the parent. For a more predictable outcome and often faster results, stem cuttings are my preferred method.
- Gather Your Cuttings: Select healthy, non-flowering shoots that are about 6-8 inches long. Make a clean cut just below a leaf node (where a leaf attaches to the stem). Remove the lower leaves, leaving just a couple at the top.
- Apply Rooting Hormone: Dip the cut end of the stem into your rooting hormone powder or gel. Gently tap off any excess.
- Potting Up: Fill your clean pots or trays with your well-draining potting mix. Make a hole in the center with your finger or a pencil.
- Plant the Cutting: Carefully insert the treated cutting into the hole, ensuring the leaf nodes are below the soil surface. Gently firm the soil around the stem.
- Water Gently: Water thoroughly but gently, allowing excess water to drain away.
- Create a Humid Environment: Cover the pot with a clear plastic bag, securing it around the rim with a rubber band. Alternatively, place the pot inside a propagation dome.
- Find a Warm Spot: Place the pot in a warm location with bright, indirect light. Avoid direct sun, which can scorch the leaves.
The “Secret Sauce” (Pro Tips)
- Bottom Heat is Your Friend: Lai cuttings absolutely love warmth from below. Placing your pots on a heat mat designed for propagation can significantly speed up root development. It mimics the warm soil they’d naturally find.
- Don’t Drown Your Hopes: While humidity is vital, you don’t want soggy soil. Check the moisture level regularly. A good rule of thumb is to water only when the top half-inch of soil feels dry to the touch. Overwatering is a surefire way to invite rot.
- Scrape and See: After a few weeks, you can gently scrape a tiny bit of the bark away from the bottom of the cutting. If you see a pale, greenish layer beneath, congratulations – that’s the cambium layer, and it means rooting is progressing!
Aftercare & Troubleshooting
Once you see new leaves emerging, it’s a great sign that roots are forming! Gradually acclimate your new plant to lower humidity by opening the plastic bag a little more each day over a week. Continue to keep it in bright, indirect light.
The most common issue you might face is rot. If the stem turns black and mushy, or if leaves start to yellow and fall off quickly without new growth, it’s likely rot. This is usually due to overwatering or poor drainage. Unfortunately, if a cutting rots, it’s usually a goner, but don’t despair! Just clean your tools and pot thoroughly, and try again with a fresh cutting.
A Encouraging Closing
Nurturing a new plant from a simple cutting is an incredibly rewarding experience. Be patient with your Durio kutejensis; it’s a tropical beauty that enjoys a bit of pampering. Enjoy the process, observe your little plant’s progress, and you’ll be well on your way to enjoying your own homegrown Lai! Happy gardening!
Resource:
https://identify.plantnet.org/k-world-flora/species/Durio%20kutejensis%20(Hassk.)%20Becc./data