Hello my fellow plant enthusiasts!
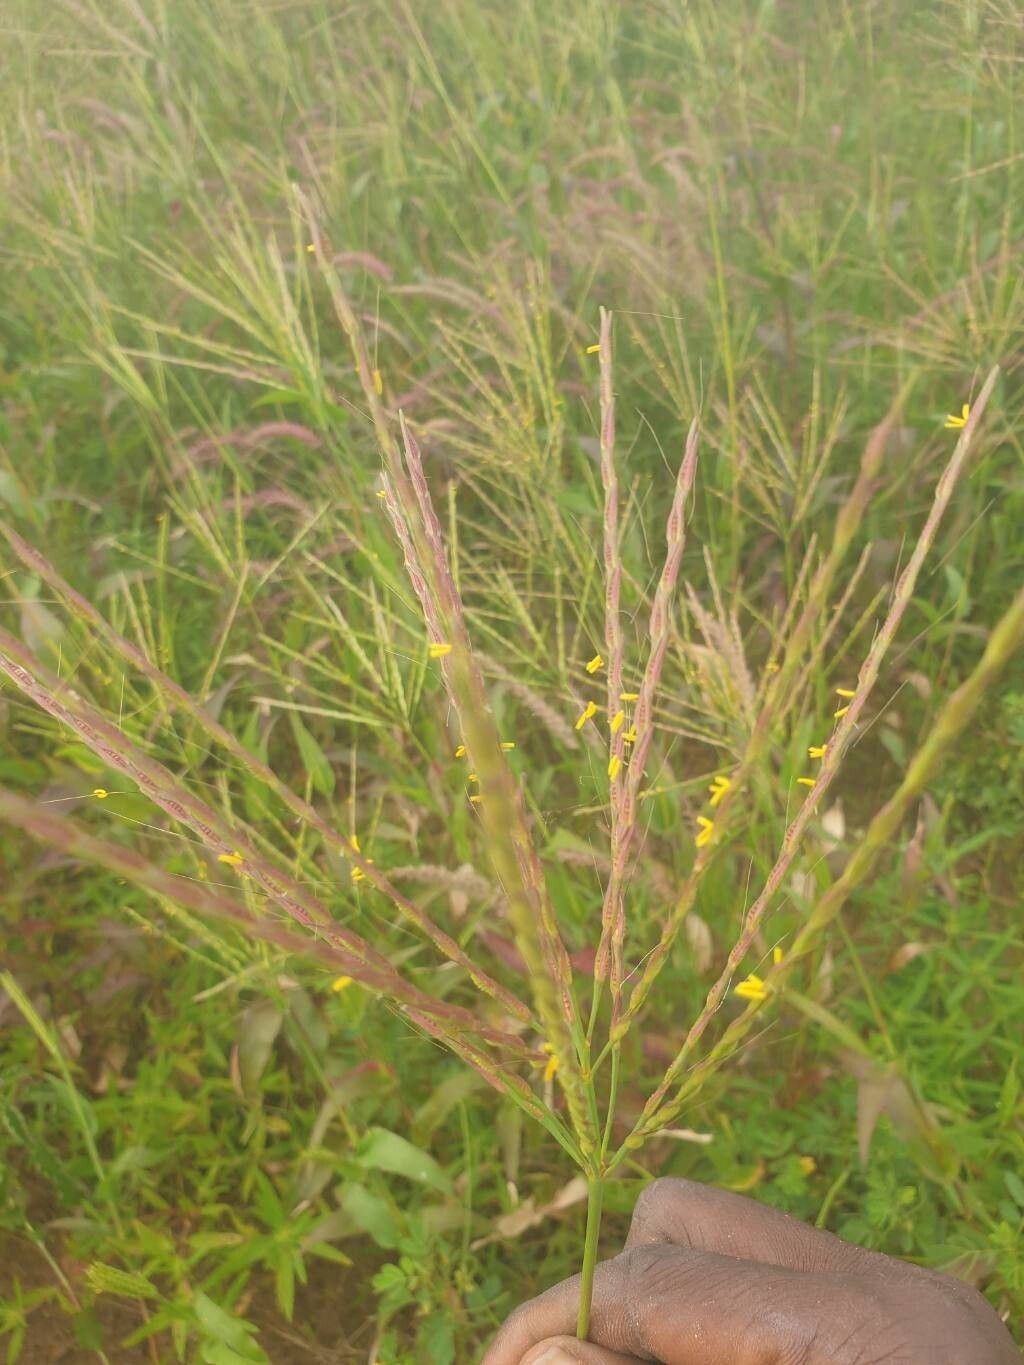
Today, we’re diving into the wonderful world of propagating Thelepogon elegans. If you haven’t encountered this gem before, you’re in for a treat. It’s a plant that just radiates a certain kind of quiet beauty, with its intricate foliage and graceful presence. For me, successfully coaxing a new plant from an existing one is one of the most satisfying gardening experiences. It’s like unlocking a little plant magic! Now, you might be wondering if Thelepogon elegans is a tricky one to propagate. I’d say it’s moderately straightforward. It’s not a “stick it in dirt and forget it” kind of plant, but with a little attention and these tips, you’ll be well on your way to doubling your collection.
The Best Time to Start
Timing is everything in the garden, and propagating Thelepogon elegans is no exception. The spring and early summer months are your golden ticket. This is when the plant is in its active growth phase, meaning it’s full of energy and more receptive to the propagation process. New growth is usually plumper and more vigorous, giving you the best chance for success.
Supplies You’ll Need
Before we get our hands dirty, let’s gather our essentials:
- Sterilized pruning shears or a sharp knife: Clean tools prevent disease.
- Rooting hormone (optional, but recommended): This gives your cuttings a little boost. I prefer a powder form.
- Well-draining potting mix: A good blend of peat moss, perlite, and compost works wonders. You can also buy specific orchid or fine foliage mixes.
- Small pots or seedling trays: Clean, with drainage holes, of course!
- Clear plastic bags or a propagator lid: To maintain humidity.
- Watering can with a fine rose or spray bottle: For gentle watering.
Propagation Methods
The most reliable way to propagate Thelepogon elegans is through stem cuttings. This method is fantastic for increasing your plant numbers relatively quickly.
Step-by-Step Stem Cuttings:
- Select a healthy stem: Look for a mature, healthy stem from your parent plant. Avoid any that are old, woody, or show signs of stress. You want a piece that has at least two to three leaves and a node (the point where a leaf attaches to the stem).
- Make the cut: Using your sterilized shears or knife, make a clean cut about ¼ inch below a node. Try to take cuttings that are roughly 4-6 inches long.
- Prepare the cutting: Gently remove the lower leaves from the cutting, leaving just the top set. This prevents them from rotting in the soil or water.
- Apply rooting hormone (optional): If you’re using rooting hormone, lightly dip the cut end into the powder. Tap off any excess.
- Potting the cutting: Fill your small pot or tray with your prepared, dampened potting mix. Make a small hole with your finger or a pencil.
- Insert the cutting: Place the prepared cutting into the hole, ensuring the node is buried in the soil. Gently firm the soil around the base of the cutting.
- Water gently: Water the soil lightly to settle it around the cutting.
- Create a humid environment: Cover the pot with a clear plastic bag or place it under a propagator lid. This is crucial for keeping the humidity high, which helps the cutting stay hydrated until roots form. Make sure the leaves do not touch the plastic. You can use small stakes to prop it up if needed.
- Placement: Position the pot in a spot with bright, indirect light. Avoid direct sunlight, which can scorch the sensitive cuttings.
The “Secret Sauce” (Pro Tips)
Here are a couple of things I’ve learned over the years that can really make a difference:
- Bottom Heat is Your Friend: Thelepogon elegans loves a bit of warmth to encourage root development. If you have a heat mat designed for seedlings, placing your pots on it can significantly speed up the rooting process. It mimics the warmth of the soil in its natural habitat.
- Don’t Drench, Just Dampen: It’s so easy to overwater cuttings, leading to rot. The goal is to keep the soil consistently moist but never waterlogged. My trick is to gently water until I see a little bit drain from the bottom, then I leave it alone until the top inch of soil feels dry to the touch.
- Be Patient with Rooting Hormone: If you’re using rooting hormone, don’t overdo it. Just a light dusting on the cut end is enough. Too much can actually inhibit rooting.
Aftercare & Troubleshooting
Once you see signs of new growth – usually tiny leaves emerging – it’s a great indicator that roots are forming! You can gently tug on the cutting. If there’s any resistance, roots have likely taken hold.
Gradually acclimate your new plant to normal conditions. Start by airing out the plastic bag for an hour or two each day. Over a week or so, increase the time you leave it open until you can remove the bag entirely. Continue to water when the top inch of soil is dry.
The most common issue you might encounter is rot. This is usually a result of overwatering or poor air circulation. If you notice your cutting turning mushy or black, it’s best to discard it to prevent it from affecting other cuttings. Make sure you have good drainage and that humid environment isn’t too stagnant.
A Little Patience Goes a Long Way
Propagating plants is a journey, and it’s okay if not every cutting thrives. Each attempt is a learning experience, and the satisfaction of seeing a new life sprout from a piece of your beloved plant is truly unmatched. So, be patient, enjoy the process, and happy propagating!
Resource:
https://identify.plantnet.org/k-world-flora/species/Thelepogon%20elegans%20Roth/data