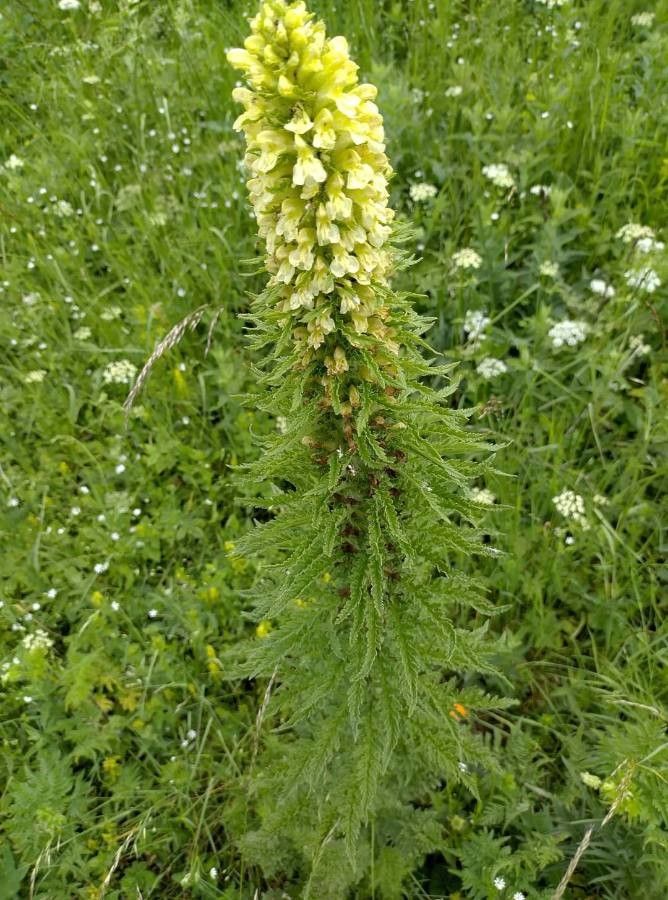
Hello fellow garden enthusiasts! Today, we’re diving into the wonderful world of Pedicularis leucodon, often called “Woolly Lousewort.” If you’re looking for a plant that brings charming, almost whimsical spikes of white and sometimes pinkish blooms to your garden, and you enjoy the satisfaction of multiplying your green treasures, then this is a delightful project for you. Watching a tiny cutting transform into a flourishing plant is truly something special. Now, I’ll be honest, Pedicularis can be a bit of a diva when it comes to propagation, so while it’s a rewarding challenge, it might not be the absolute easiest plant for a complete beginner just starting their propagation journey. But don’t let that deter you! With a little patience and these tips, you’ll be well on your way.
The Best Time to Start
For Pedicularis leucodon, the sweet spot for propagation is typically late spring to early summer, right as the plant is actively growing but before the intense heat of midsummer sets in. You’re looking for soft, new growth – stems that are flexible and bend easily. Avoid anything woody or leggy. This vigorous young growth has the most energy to put into developing roots.
Supplies You’ll Need
Gathering your tools beforehand makes the whole process smoother. Here’s what I always have on hand:
- Sharp Pruning Shears or Craft Knife: For clean cuts to avoid damaging the plant.
- Rooting Hormone: Especially helpful for Pedicularis, as it can be a bit slow to root. A powder or gel will do.
- Well-Draining Potting Mix: A blend of perlite, coarse sand, and peat moss is excellent. You can also use a specialized seedling or cutting mix.
- Small Pots or Seed Trays: Clean, with drainage holes.
- Plastic Bags or a Propagation Dome: To create a humid environment.
- Watering Can with a Fine Rose or Mister: For gentle watering.
- Labels: So you remember what you planted!
Propagation Methods
Let’s get our hands dirty with the most successful method for Pedicularis leucodon: stem cuttings.
- Select Your Cuttings: Head out to your Pedicularis plants. Look for healthy, non-flowering stems that are about 3-4 inches long. Gently snap or cut a stem just below a leaf node (the point where a leaf grows from the stem). This is where roots are most likely to form.
- Prepare the Cuttings: Carefully remove the lower leaves from your cutting, leaving only the top few leaves attached. This prevents them from rotting in the soil and reduces water loss.
- Apply Rooting Hormone: Dip the cut end of each stem into your rooting hormone, tapping off any excess. This creates a protective layer and encourages root development.
- Plant the Cuttings: Fill your small pots or trays with your well-draining mix. Make a small hole with a pencil or your finger. Gently insert the hormone-dipped end of the cutting into the hole, ensuring at least one leaf node is below the surface of the soil.
- Firm and Water: Gently firm the soil around the cutting to ensure good contact. Water lightly but thoroughly to settle the soil.
- Create a Humid Environment: Cover each pot with a clear plastic bag, securing it with a rubber band, or place them under a propagation dome. This traps moisture. If you’re using a larger tray, cover the whole thing.
- Placement: Place your cuttings in a bright location but out of direct sunlight. They need warmth, so a sunny windowsill that doesn’t get scorching hot is ideal.
The “Secret Sauce” (Pro Tips)
Here are a few things I’ve learned over the years that really make a difference:
- Don’t Let Leaves Touch the Soil: Seriously, this is crucial. Any leaves submerged in the potting mix are a potential invitation for rot. Keep them up and airy.
- Bottom Heat is Your Friend: If you can, place your pots on a gentle heating mat designed for seedlings. This consistent warmth from below really encourages root formation in Pedicularis. It mimics the warmth they’d experience in nature.
- A Light Mist is Better Than a Soaking: While cuttings need humidity, overwatering is their enemy. I like to mist the inside of the plastic bag or dome every few days if I see condensation is lacking, rather than directly watering the soil too much.
Aftercare & Troubleshooting
Once your cuttings begin to show signs of life, it’s time for them to transition. You’ll know they’re rooting when you see new leaf growth from the top of the stem. Gently tugging on a cutting should reveal resistance – they’re anchored!
Once rooted, slowly acclimate them to open air by gradually removing the plastic bag or opening the dome for longer periods over a week or two. Continue to keep them in bright, indirect light and water when the top inch of soil feels dry.
The most common problem you’ll encounter is rot. If you notice your cutting turning black and mushy, it’s usually a sign of too much moisture or poor drainage. If this happens, it’s best to discard the rotten cutting and perhaps reassess your watering and soil mix for the remaining ones. Sometimes, even with the best care, some cuttings just won’t take, and that’s okay.
A Encouraging Closing
Propagating Pedicularis leucodon is a journey, and like all good gardening adventures, it requires patience and observation. Don’t get discouraged if your first attempt isn’t a blockbuster success. Each time you try, you learn more. Enjoy the process of nurturing these delicate new plants, and soon you’ll be rewarded with more of their unique beauty gracing your garden. Happy growing!
Resource:
https://identify.plantnet.org/k-world-flora/species/Pedicularis%20leucodon%20Griseb./data