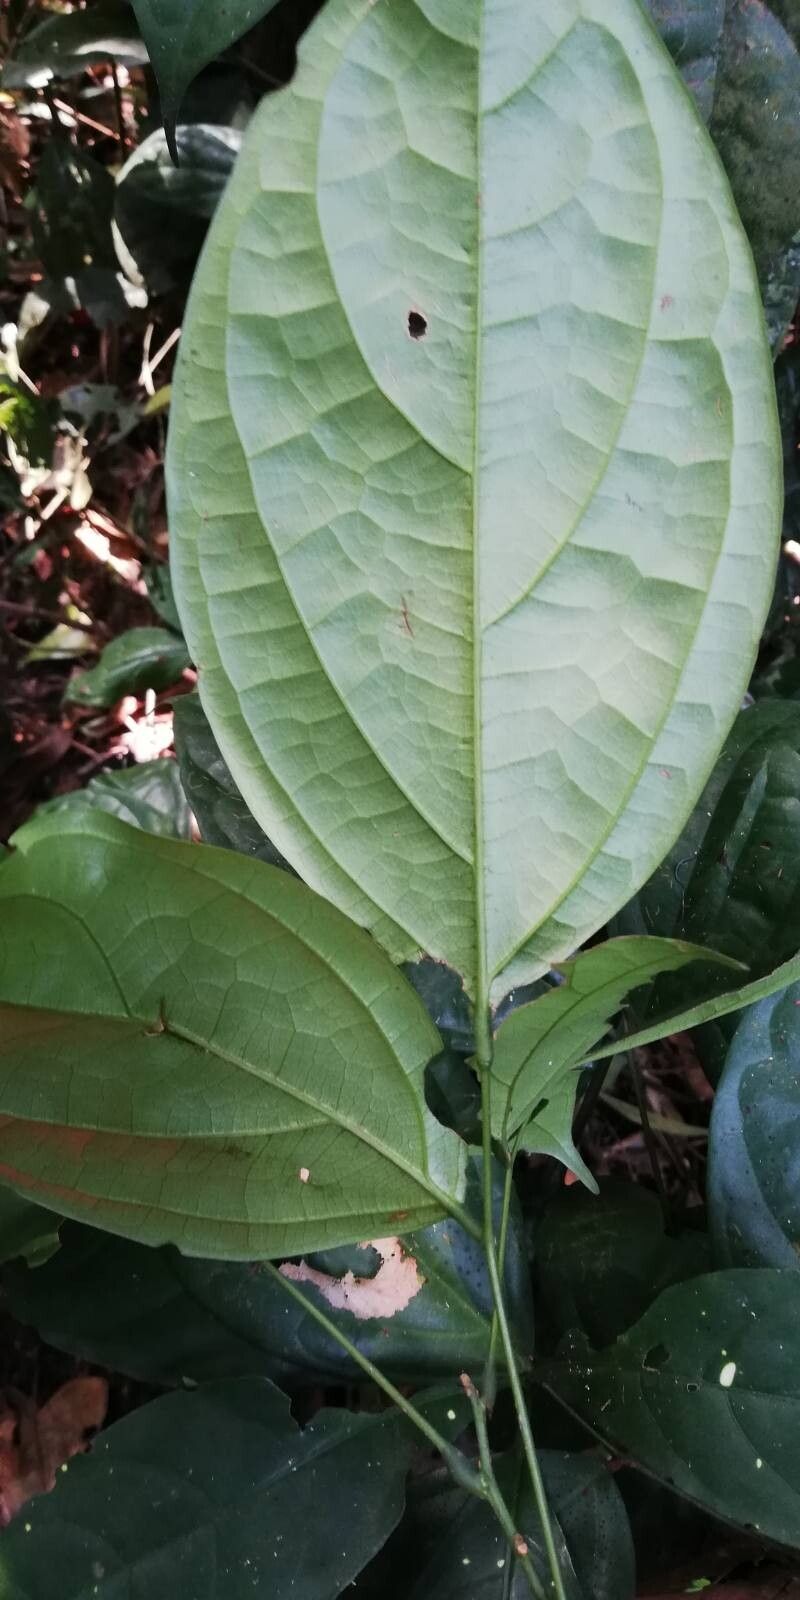
Oh, the Aglaea pentagyna! What a treasure to have in the garden. If you’re looking for a plant that brings a touch of the tropics with its lush, glossy leaves and often delicate, sweet-scented flowers, then this is it. I’ve spent many happy hours admiring mine, and the joy of growing more from a single plant? That’s where the real magic happens.
Propagating Aglaea pentagyna can be a wonderfully rewarding endeavor. For beginners, I’d say it’s moderately easy. It’s not quite as foolproof as some of the more common houseplants, but with a little attention and the right approach, you’ll be well on your way to success. The satisfaction of nurturing something new from a tiny piece is truly special.
The Best Time to Start
When I’m thinking about propagating Aglaea pentagyna, my go-to time is late spring through summer. This is when the plant is actively growing, full of energy, and most receptive to producing new roots. Look for healthy, semi-hardwood stems – those that have started to firm up but are still flexible. Avoid the very soft, new growth or the old, woody stems; the middle ground is usually best.
Supplies You’ll Need
Here’s what I always have on hand when I’m ready to get propagating:
- Sharp Pruning Shears or Knife: Cleanliness is key to preventing disease.
- Rooting Hormone: This isn’t strictly essential, but it can give your cuttings a significant boost. I prefer a powder or gel.
- Well-Draining Potting Mix: A mix of equal parts perlite and peat moss, or a good quality seed-starting mix, works beautifully.
- Small Pots or Trays: Clean, individual pots are ideal for cuttings, or a shallow tray if you’re doing many.
- Clear Plastic Bag or Dome: This creates a humid environment, which is crucial for rooting.
- Water: For misting and keeping things hydrated.
- Optional: Heat Mat: This can speed up rooting significantly, especially if your room is a little cool.
Propagation Methods
For Aglaea pentagyna, I’ve found stem cuttings to be the most reliable and straightforward method.
- Take Your Cuttings: With your clean shears, select healthy stems from your mature plant. Aim for cuttings about 4-6 inches long, ensuring each has at least two sets of leaves. Make your cut just below a leaf node, as this is where roots are most likely to form. Remove the lower leaves, leaving just a couple of sets at the top.
- Apply Rooting Hormone (Optional but Recommended): If you’re using rooting hormone, dip the cut end of the stem into the powder or gel. Tap off any excess.
- Prepare Your Potting Mix: Fill your clean pots with your well-draining potting mix. Moisten it thoroughly but ensure it’s not waterlogged – it should feel like a wrung-out sponge.
- Plant the Cuttings: Make a small hole in the center of the potting mix with a pencil or your finger. Gently insert the cut end of the stem into the hole, ensuring the node where you removed the leaves is buried. Firm the soil gently around the cutting.
- Create a Humid Environment: Place the potted cuttings under a clear plastic bag, a propagator lid, or a large plastic bottle cut in half. Ensure the leaves do not touch the plastic. If you’re using individual pots, you can place them in a tray and cover the entire tray.
- Provide Light and Warmth: Place the cuttings in a bright location out of direct, scorching sunlight. A warm spot is essential. If the room temperature is cooler than you’d like, a heat mat placed underneath the pots can make a real difference.
The “Secret Sauce” (Pro Tips)
Now, for a couple of things I’ve learned over the years that really seem to help:
- The “Air Pocket” Trick: When you water your cuttings, be careful not to overdo it. The biggest killer of cuttings is rot, which thrives in overly wet conditions. Instead of soaking the soil completely every time, I like to let the surface dry out just a touch, then water. Sometimes, I’ll even gently lift the pot to feel its weight. A lighter pot means it’s ready for a little more water.
- Don’t Strip All the Leaves: While it’s important to remove the lower leaves that will be submerged, don’t remove all the leaves from the top! These leaves are the plant’s energy factories, providing the food the cutting needs to develop roots. Just leaving a couple of healthy sets is perfect.
- Patience with the Heat: If you are using bottom heat via a mat, it’s a game-changer. It mimics the warmth of springtime soil and encourages root development from below. Just be sure your mat isn’t too hot; you don’t want to cook your little cuttings! A gentle warmth is what you’re aiming for.
Aftercare & Troubleshooting
Once you start to see new growth – a tiny leaf unfurling or a tiny shoot emerging – that’s a great sign that roots are forming! You can gently tug on the cutting; if there’s resistance, roots have likely developed.
Continue to keep the environment humid and the soil consistently moist but not soggy. Gradually acclimate your new plant to normal room conditions by opening the plastic cover for increasing periods over a week or so. Once established, you can pot it up into its own individual container with good quality potting soil.
The most common problem you’ll encounter is rot. If your cutting looks limp, mushy, or has developed dark, soft spots, it’s likely succumbed to rot. This is usually a result of too much moisture and poor air circulation. Don’t be discouraged; just discard the rotted cutting and try again. Ensure your soil is well-draining and your humidity isn’t excessive for too long.
A Gentle Encouragement
Propagating plants is a journey, and like all good journeys, it requires a bit of patience and a lot of observation. Don’t be afraid to experiment, and learn from each attempt. The reward of seeing a whole new plant flourish from a tiny snippet is truly immense. Happy propagating!
Resource:
https://identify.plantnet.org/k-world-flora/species/Agelaea%20pentagyna%20(Lam.)%20Baill./data