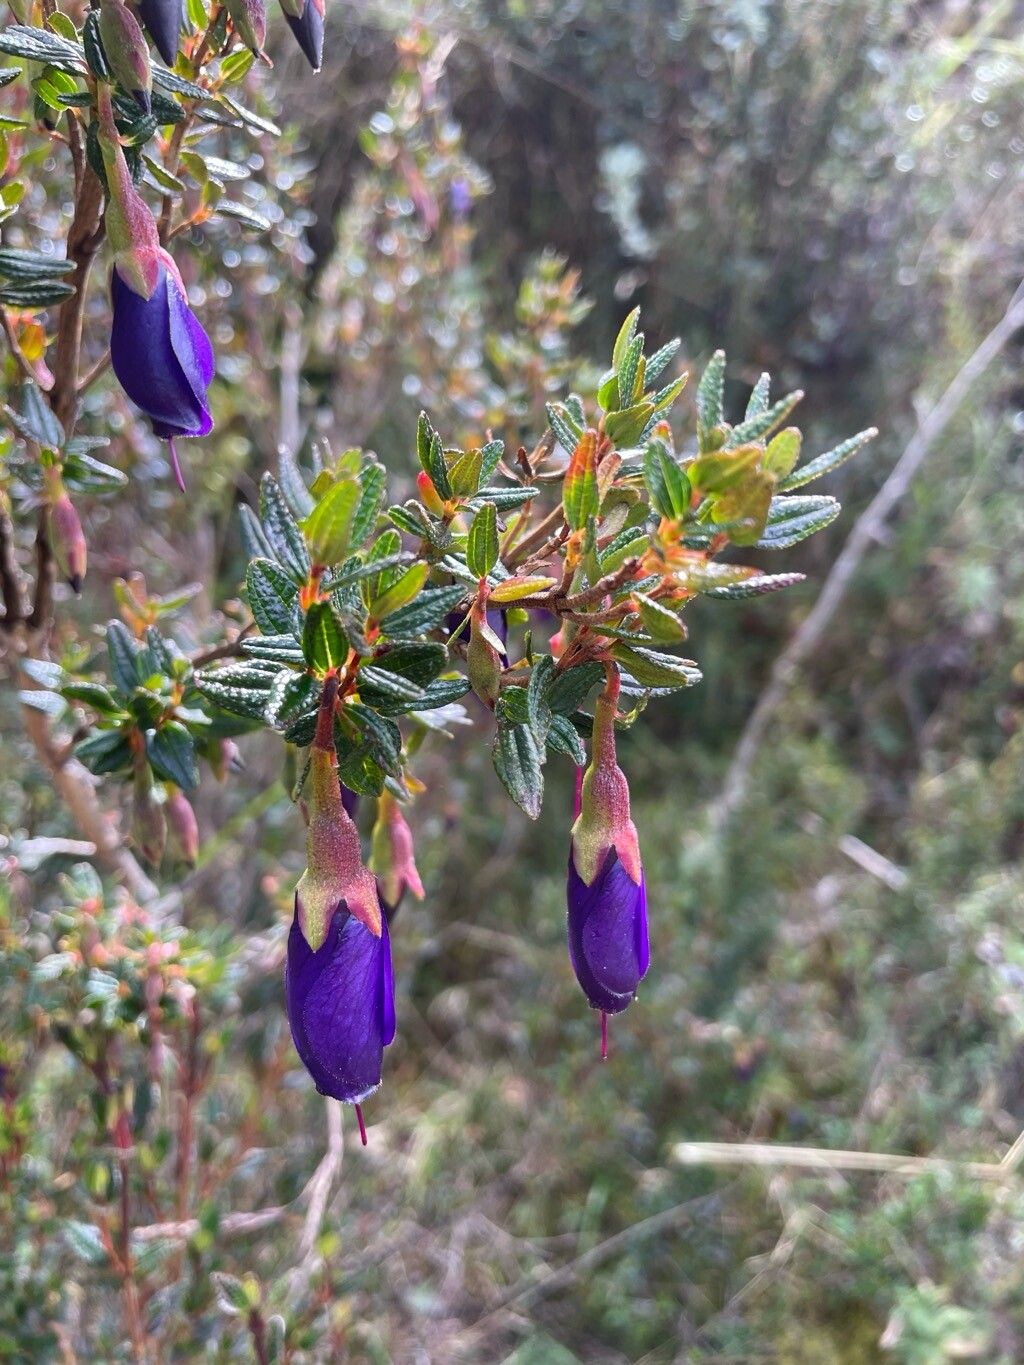
Oh, hello there, fellow plant lover! I’m so glad you’ve stopped by. Today, we’re diving into the delightful world of Brachyotum alpinum. If you’ve ever admired those charming, compact mounds of fuzzy, grey-green foliage and dainty little bell-shaped flowers, you know exactly why this plant is such a gem. It’s a real showstopper, especially in sunny, well-drained spots. And the best part? Propagating it is a wonderfully rewarding experience. For those of you just starting out on your propagation journey, I’d say Brachyotum alpinum falls right into the “moderately easy” category. With a little patience and the right approach, you’ll be multiplying your plants in no time.
The Best Time to Start
For the highest success rates, I always recommend starting your propagation efforts in late spring or early summer. This is when the plant is actively growing and has plenty of energy to put into developing new roots. You want to take cuttings from stems that are firm but not yet woody. Think of it as taking a snippet from a healthy, vigorous part of the plant – before it gets too old and tough.
Supplies You’ll Need
Before we get our hands dirty, let’s gather our tools. Having everything handy makes the whole process so much smoother!
- Sharp pruning shears or a clean knife: For taking clean cuts.
- Rooting hormone powder or gel: This isn’t strictly essential for Brachyotum alpinum, but it can give your cuttings a helpful boost.
- A well-draining potting mix: A good blend for this is usually equal parts peat moss or coco coir and perlite or coarse sand. You want to avoid anything that stays too soggy.
- Small pots or trays: Clean containers with drainage holes are a must.
- Plastic bags or a humidity dome: To create a humid environment for your cuttings.
- Watering can or spray bottle: For gentle watering.
Propagation Methods
Now, let’s get to the good stuff! Brachyotum alpinum is best propagated from stem cuttings. It’s straightforward and usually very successful if you follow a few key steps.
Stem Cuttings:
- Select Your Cuttings: As I mentioned, look for healthy, non-flowering stems in late spring or early summer. Choose stems that are about 4-6 inches long.
- Make the Cut: Using your clean shears or knife, make a cut just below a leaf node. This is the point where a leaf attaches to the stem, and it’s where roots are most likely to form.
- Prepare the Cutting: Gently remove the lower leaves from the cutting, leaving just a few at the top. This prevents the submerged leaves from rotting.
- Apply Rooting Hormone (Optional): If you’re using rooting hormone, dip the cut end of the stem into the powder or gel. Tap off any excess.
- Plant Your Cuttings: Fill your small pots with your prepared potting mix. Make a small hole in the center of the soil with your finger or a pencil. Insert the cut end of the stem into the hole, ensuring the leaf node is buried. Gently firm the soil around the stem.
- Water Gently: Give the soil a light watering to help settle the soil around the cutting.
- Create Humidity: This is crucial! You can cover the pot with a clear plastic bag (making sure it doesn’t touch the leaves) or place it under a humidity dome. If you’re doing multiple cuttings in a tray, a larger dome works wonderfully.
- Provide Light and Warmth: Place your pots in a bright location, but out of direct hot sun. They appreciate warmth, so a spot with consistent room temperature is ideal.
The “Secret Sauce” (Pro Tips)
Over the years, I’ve learned a few little tricks that really seem to make a difference. These aren’t in every book, but they’ve certainly helped me achieve better results.
- Bottom Heat is Your Friend: If you have an old propagator with a heat mat or can find a seedling heat mat online, using gentle bottom heat can significantly speed up root formation. It mimics the warmth of the soil from a sunny summer day.
- Don’t Overwater: This is probably the most common mistake! Once your cuttings are planted and covered, you only need to water when the soil surface feels dry to the touch. Too much moisture is the quickest way to invite rot.
- Air it Out: Even though you’re creating humidity, it’s a good idea to lift the plastic bag or dome for a few minutes each day to allow for some air circulation. This helps prevent fungal issues from developing.
Aftercare & Troubleshooting
Once your cuttings have been in their humid little homes for a few weeks, you’ll start to see signs of new growth. The real tell-tale sign that rooting has occurred, though, is when you give a gentle tug and feel resistance. You can also look for tiny white root nubs peeking out from the drainage holes.
As soon as you see evidence of roots, you can gradually acclimate your new plants to lower humidity. Start by removing the plastic bag or dome for longer periods each day. Once they’re robust enough, you can pot them up into their own individual, slightly larger pots with your regular well-draining potting mix.
Now, what if things aren’t going as planned? The most common failure is rot. This usually looks like a mushy, discolored stem. If you see this, it’s best to discard the cutting and start again, paying extra attention to watering and air circulation. Yellowing leaves can sometimes indicate a lack of light or too much water, while wilting might mean it’s too dry. Don’t get discouraged if a few don’t make it; it’s all part of the learning process!
A Encouraging Closing
Propagating Brachyotum alpinum is such a satisfying way to expand your collection or share these beautiful plants with friends. It takes a little patience, yes, but watching those tiny roots emerge and then seeing a brand new plant flourish is a reward all its own. So, gather your supplies, get your hands a little dirty, and enjoy the journey. Happy propagating!
Resource:
https://identify.plantnet.org/k-world-flora/species/Brachyotum%20alpinum%20Cogn./data