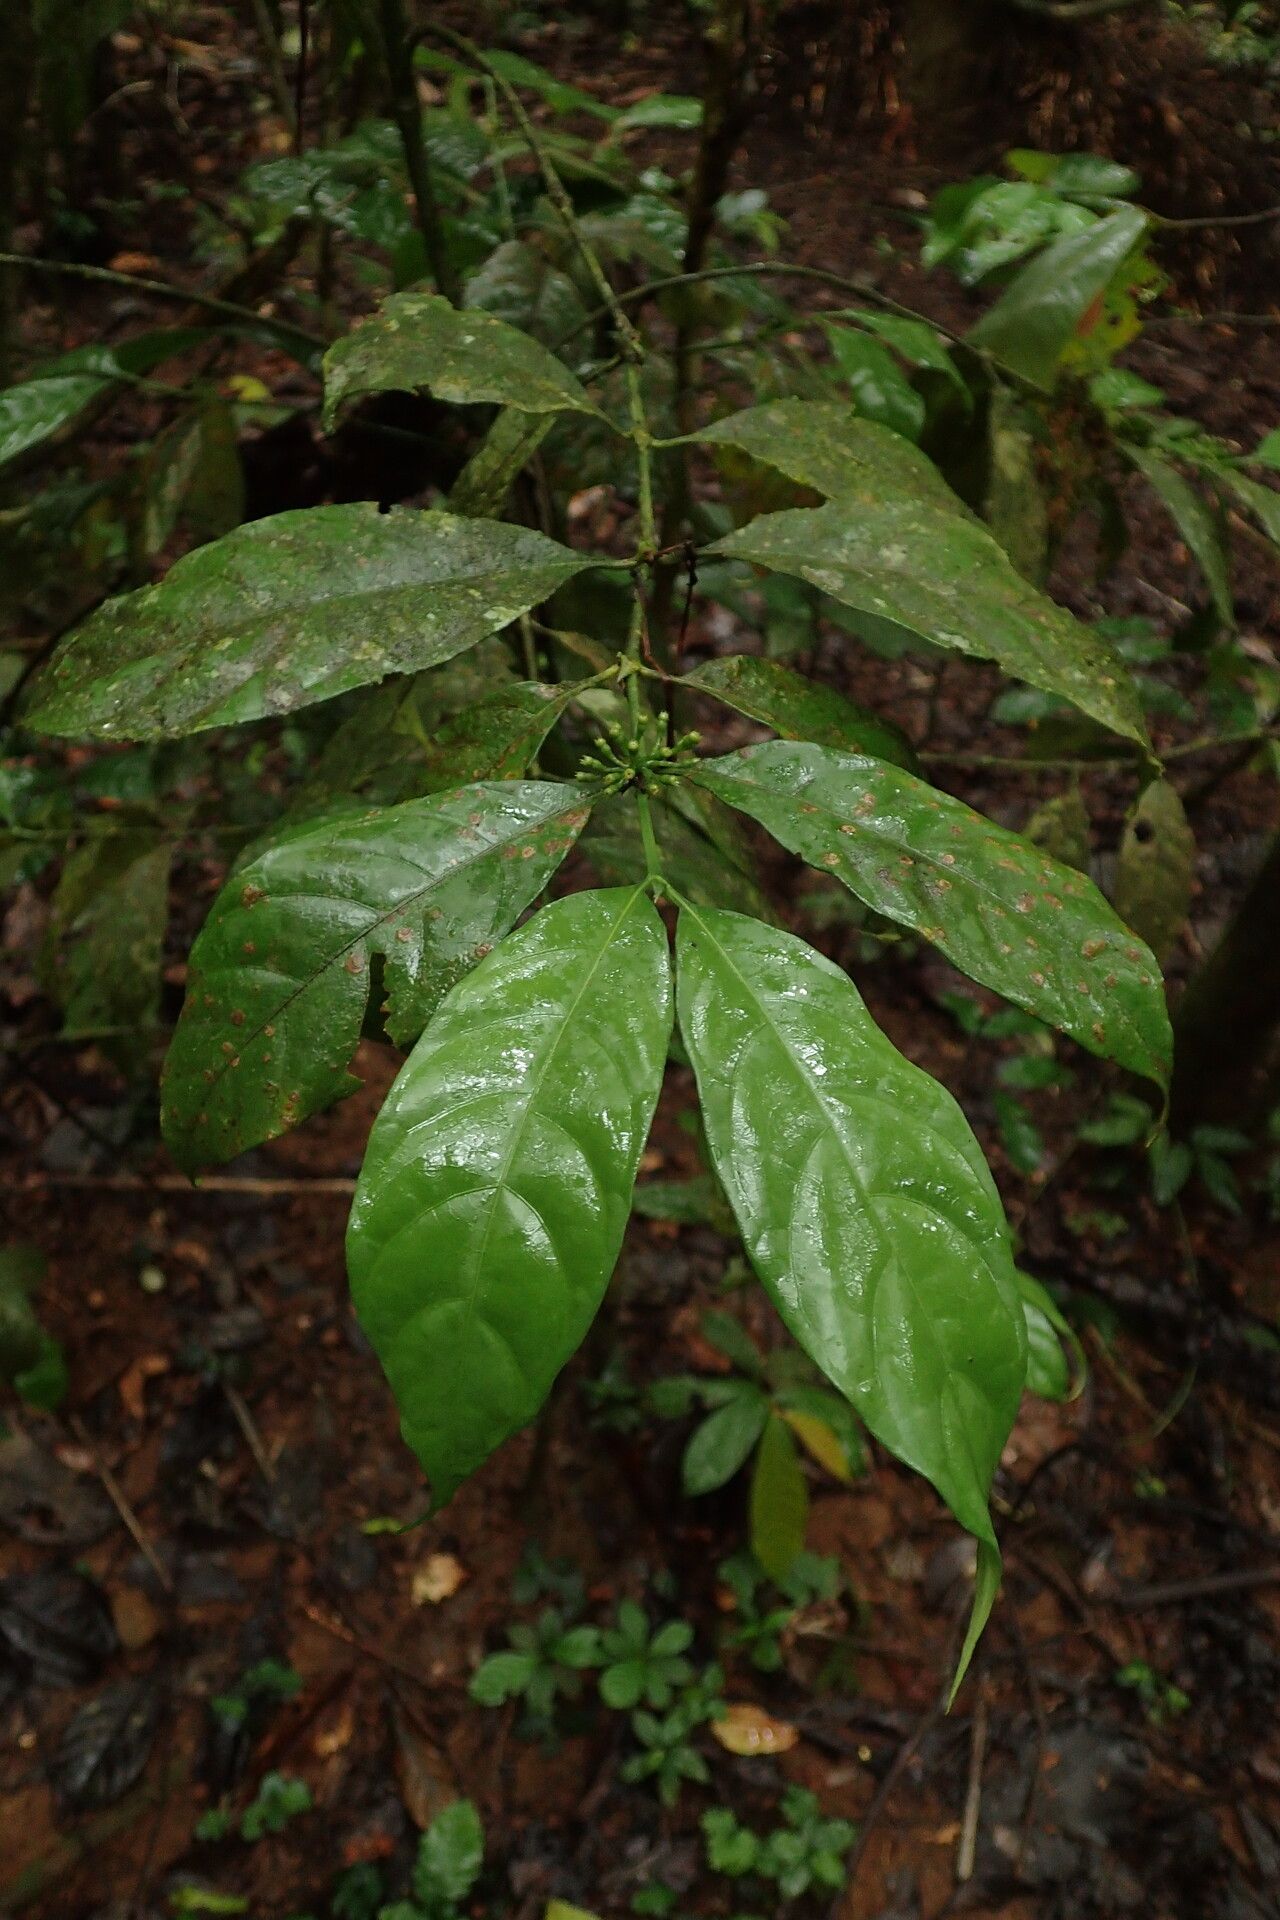
Oh, Oxyanthus gracilis! If you’re looking for a beautifully fragrant shrub that blooms prolifically, you’ve found a winner. I’ve grown this beauty for years, and honestly, the sweet scent that wafts through the garden on a warm evening is simply divine. And sharing that scent with friends by giving them a little plant you grew yourself? That’s pure gardening joy! Now, for the big question: is it easy for beginners? I’d say it’s moderately easy. It’s not quite as foolproof as, say, a spider plant, but with a little attention to detail, you’ll be well on your way.
The Best Time to Start
For Oxyanthus gracilis, the sweet spot for propagation is definitely late spring to early summer. This is when the plant is actively growing, and the stems have a good balance of softness and maturity. We’re looking for what we call “semi-hardwood cuttings.” That’s when a stem is no longer floppy and green, but not yet woody and hard. You’ll know it’s right when it snaps cleanly rather than bending.
Supplies You’ll Need
Gathering your tools beforehand makes the whole process so much smoother. Here’s what I always have on hand:
- Sharp pruning shears or a sharp knife: Clean cuts are key to preventing disease.
- Rooting hormone: I prefer a powder, but a gel works wonderfully too.
- Small pots or seed trays: Make sure they have good drainage holes.
- Well-draining potting mix: A 50/50 blend of perlite and seed-starting mix is my go-to. You can also use a mix specifically formulated for cuttings.
- Clear plastic bags or a propagator: This will create a humid environment.
- Watering can with a fine rose or spray bottle: Gentle watering is crucial.
- Labels and a marker: Don’t forget to label your cuttings!
Propagation Methods: Stem Cuttings
This is my preferred method for Oxyanthus gracilis. It’s reliable and yields great results.
- Take Your Cuttings: In late spring or early summer, using your clean shears, take stem tip cuttings that are about 4-6 inches long. Look for stems that are actively growing but have started to firm up a bit. Remove any flowers or flower buds – we want all the plant’s energy to go into making roots!
- Prepare the Cuttings: Gently strip off the lower leaves. On the remaining leaves, I often cut larger leaves in half horizontally. This reduces water loss through transpiration, which is a big help when the cutting can’t yet absorb much water from the roots.
- Apply Rooting Hormone: Dip the cut end of each stem into your rooting hormone, tapping off any excess.
- Plant Your Cuttings: Fill your pots with your prepared potting mix. Make a hole in the center using a pencil or your finger. Insert the cut end of the stem, ensuring the rooting hormone stays put. Firm the soil gently around the stem, making sure at least one leaf node is buried.
- Water and Cover: Water gently to settle the soil. Then, place your pots into clear plastic bags or a propagator. Seal the bags loosely to create a humid microclimate.
The “Secret Sauce” (Pro Tips)
Here are a few little tricks I’ve picked up over the years that really boost success:
- Bottom Heat is Your Friend: If you can, placing your pots on a heat mat designed for seedlings can make a huge difference. It encourages root development much faster by keeping the soil consistently warm, even if the air temperature fluctuates.
- Don’t Let Leaves Touch the Soil: When your cuttings start to grow, especially those with larger leaves, make sure the foliage doesn’t rest directly on the surface of the potting mix. This can invite fungal diseases and rot. I sometimes prop up the plastic bag with a twig or two to give the leaves more space.
- Patience with the Water: If you’re tempted to try water propagation (which is possible, but I find cuttings in soil more successful for Oxyanthus), remember the rule: never let the leaves touch the water. Only the stem should be submerged. Change the water every few days to keep it fresh.
Aftercare & Troubleshooting
Once your cuttings have rooted – and this can take anywhere from 4 to 8 weeks, sometimes longer – you’ll see new growth. That’s your cue!
- Acclimatize: Before removing the plastic bag entirely, start by opening it for a few hours each day to let the cuttings get used to the drier air.
- Potting Up: Once the roots have filled the pot or you see good, healthy new growth, it’s time to transplant your new Oxyanthus gracilis into their own, slightly larger pots with a good quality potting mix.
- Signs of Trouble: The most common issue is rot. If your cuttings look mushy, blackened, or are wilting inexplicably, it’s likely rot. This usually happens due to too much moisture, poor drainage, or lack of airflow. If you catch it early, you might be able to save the healthy part of the stem, but often it’s best to discard the affected cutting and start again, making sure your soil is airy and you’re not overwatering.
A Little Encouragement
Growing plants from cuttings is such a rewarding experience. It’s a wonderful way to learn more about your plants and to fill your garden – or share with friends – without spending a fortune. Be patient, observe your cuttings closely, and celebrate every little sign of success. You’ve got this!
Resource:
https://identify.plantnet.org/k-world-flora/species/Oxyanthus%20gracilis%20Hiern/data