Hello there, fellow garden lovers! It’s so lovely to connect with you today. If you’re anything like me, you’re always on the lookout for those special plants that add a touch of magic to the garden. Today, I want to chat about a real gem: Verbascum glandulosum, also known as Glandular Mullein.
Why You’ll Love Propagating Verbascum glandulosum
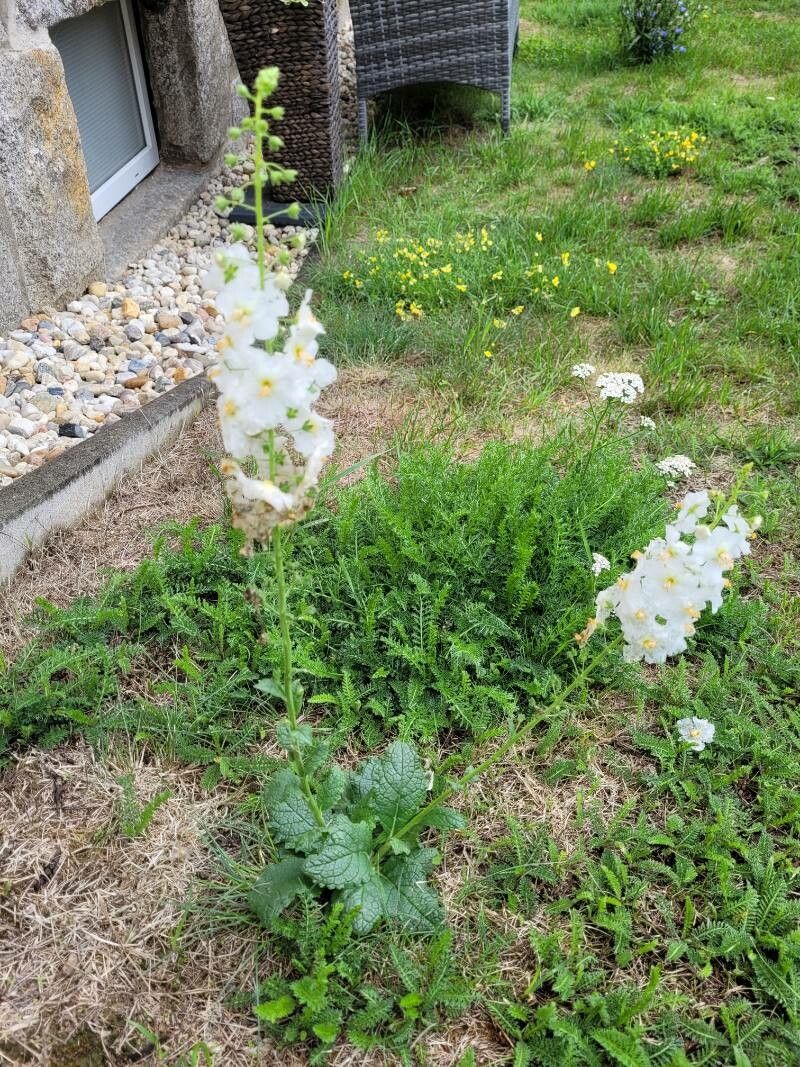
This plant is a showstopper. Its tall spires of fuzzy, often yellow flowers create such a beautiful vertical element, perfect for the back of a border or as a specimen plant. And the best part? Propagating it is incredibly rewarding. While it might seem a bit specialist, I’ve found Verbascum glandulosum to be surprisingly cooperative. It’s a great way to fill your garden with these beauties or share them with friends. Let’s get started on bringing more of them into the world!
The Best Time to Start
For the highest chance of success, I’ve found that taking cuttings in late spring or early summer, right after the plant has finished its main flowering flush, is ideal. The stems are firm but still pliable, and the days are getting longer and warmer, which the cuttings absolutely love. You can also attempt it in early autumn, but you’ll likely need to provide a bit more protection over winter.
Supplies You’ll Need
Gathering your supplies beforehand makes the whole process much smoother. Here’s what I usually have on hand:
- Sharp pruning shears or a clean knife: For taking neat cuts.
- Rooting hormone (optional but recommended): This really gives your cuttings a boost.
- Small pots or seed trays: Clean ones are crucial to prevent disease.
- A good potting mix: I like a mix of peat-free compost and perlite or coarse sand for excellent drainage. A 50/50 blend works wonders.
- Watering can with a fine rose attachment: Gentle watering is key.
- A plastic bag or propagator lid: To create a humid environment.
- Labels and a marker: So you don’t forget what you planted where!
Propagation Methods
Verbascum glandulosum is most successfully propagated from stem cuttings. It’s a straightforward process that yields fantastic results.
Taking Stem Cuttings:
- Find a healthy, non-flowering stem on your established plant. Aim for a stem that’s about 4-6 inches long.
- Using your clean secateurs or knife, make a clean cut just below a leaf node (the spot where a leaf joins the stem). This is where the magic of root development happens.
- Remove the lower leaves from the cutting, leaving just a few at the top. This prevents them from rotting once tucked into the soil.
- If you’re using rooting hormone, dip the cut end of the stem into the powder. Just a light coating is needed.
- Fill your small pots or trays with your prepared potting mix. Moisten it thoroughly so it’s damp but not soggy.
- Make a small hole in the soil with a pencil or your finger, then insert the cutting. Gently firm the soil around the base.
- Water gently again to settle the soil.
- Pop the pots into a plastic bag or cover them with a propagator lid. This creates that lovely humid microclimate cuttings crave. Place them in a bright spot, but out of direct sunlight.
The “Secret Sauce” (Pro Tips)
After years of gardening, you pick up a few tricks! Here are a couple that I swear by for Verbascum glandulosum cuttings:
- Don’t let the leaves touch the water if you’re experimenting with water propagation (though I prefer soil for this plant). While some plants root easily in water, Verbascum can be prone to rot if their leaves are submerged. If you do try water, ensure only the bare stem is in contact.
- A touch of bottom heat is a game-changer. If you have a heated propagator or even a warm windowsill, placing your pots on it can significantly speed up root formation. It mimics springtime soil temperatures, encouraging those roots to get a move on.
Aftercare & Troubleshooting
Once your cuttings are planted, patience is your best friend. Keep an eye on the soil moisture – you want it to be consistently slightly damp. Never let it dry out completely, nor should it be waterlogged.
You’ll start to see signs of new growth at the top of the cutting, which is a good indicator that roots are forming below. This usually takes 4-6 weeks. You can gently tug on a cutting; if there’s resistance, roots have taken hold.
The most common issue you might encounter is rot. If a cutting turns black and mushy, it’s usually a sign of too much moisture or insufficient drainage. The best thing to do is to remove it immediately to prevent it from spreading to other cuttings.
Once your cuttings have developed a good root system, you can carefully transplant them into individual pots. Continue to keep them moist and gradually acclimatize them to less humid conditions before planting them out in the garden.
Go Forth and Grow!
Propagating Verbascum glandulosum is such a satisfying way to expand your garden or share your love of these fabulous plants. Don’t be discouraged if you have a few failures here and there – it’s all part of the learning process. Just keep trying, enjoy the journey, and soon you’ll be surrounded by your own beautiful homemade mulleins. Happy gardening!
Resource:
https://identify.plantnet.org/k-world-flora/species/Verbascum%20glandulosum%20Delile/data