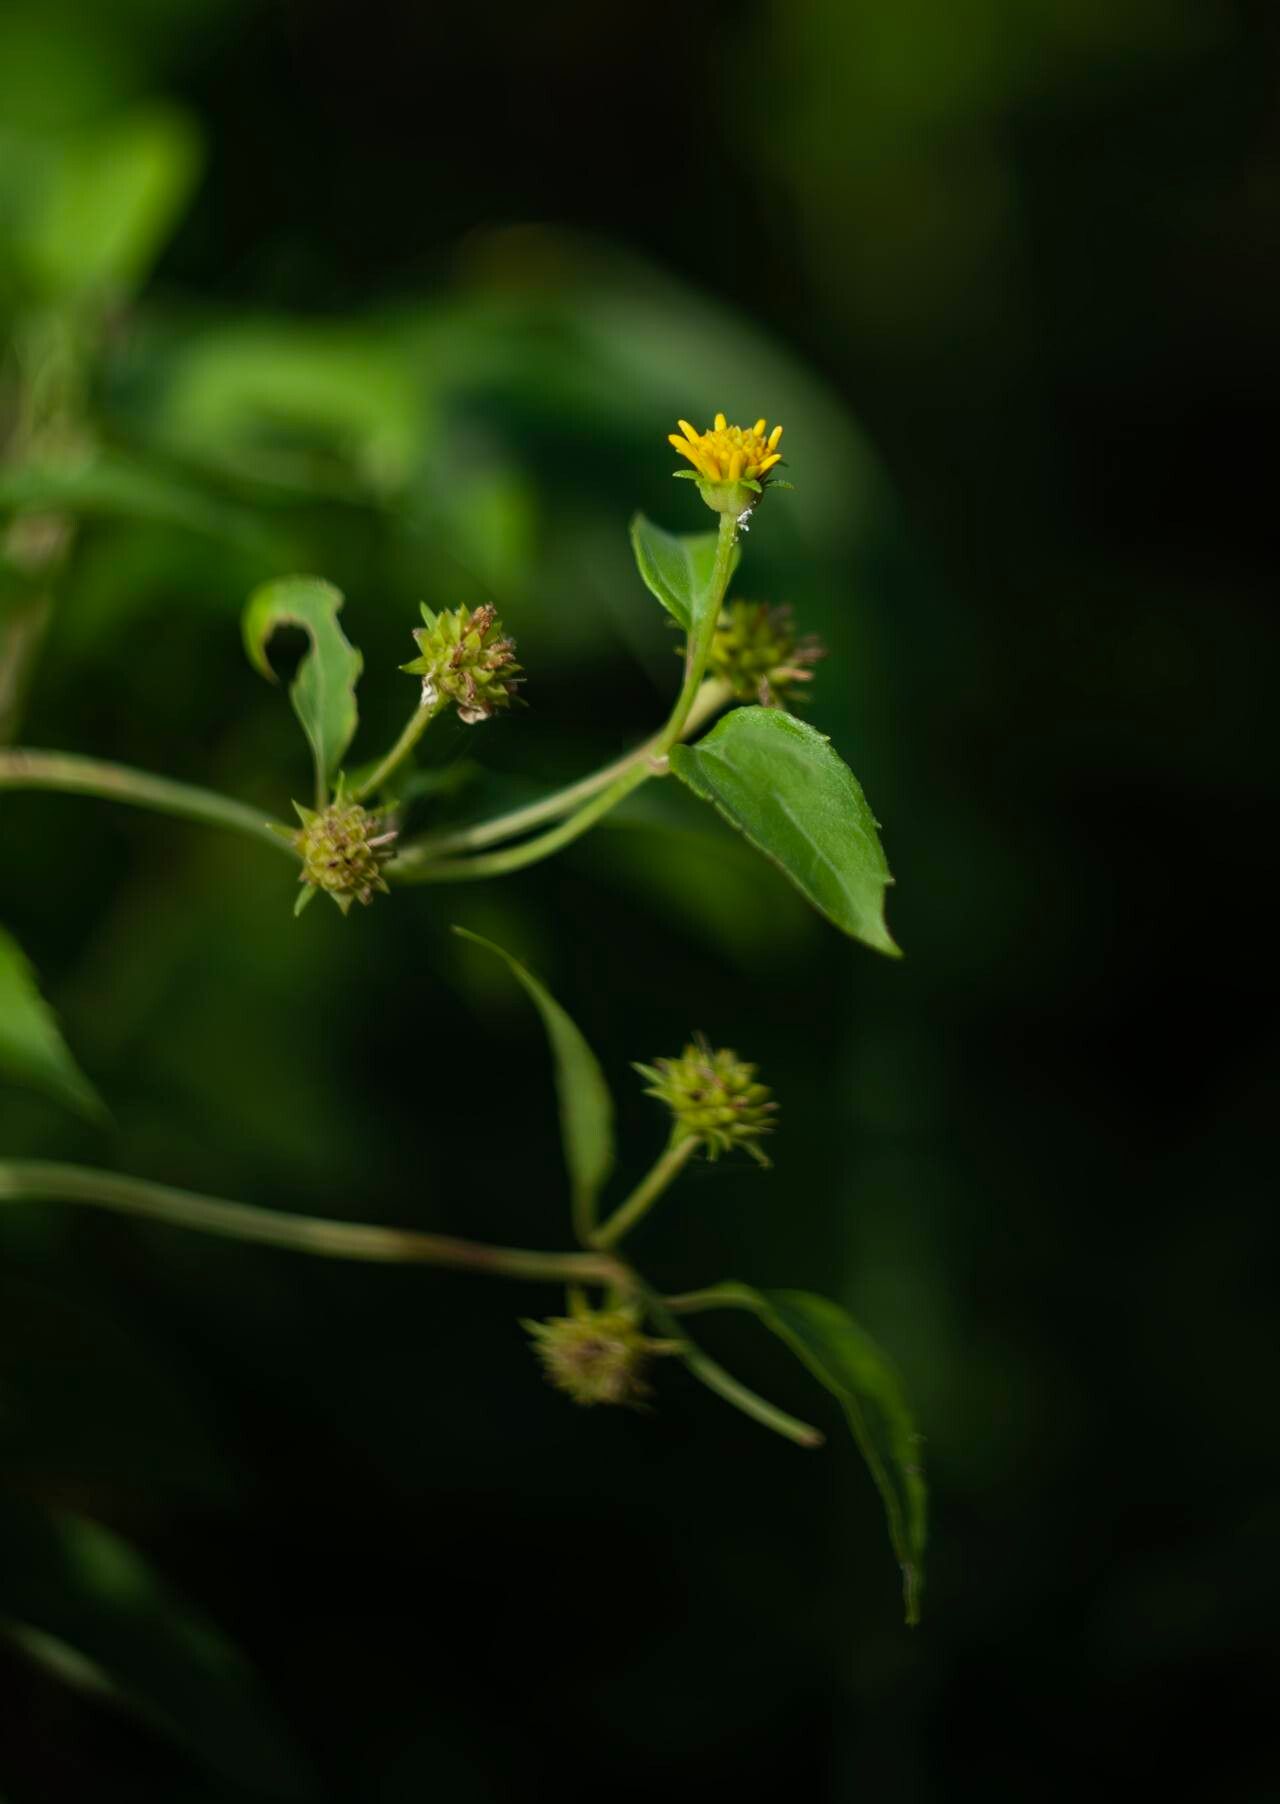
Hello fellow garden enthusiasts! Today, I want to talk about a really special plant that’s been a dear friend in my garden for years: Wollastonia biflora. You might know it by its common names, like beach sunflower or Scaevola. It’s that lovely, ground-covering plant with cheerful yellow blooms that just shouts “coastal charm!” It’s wonderfully low-maintenance once established and offers a beautiful burst of sunshine through much of the year.
If you’ve ever admired its sprawling habit and bright flowers, you’ll be pleased to know that propagating Wollastonia biflora is quite achievable, even for those of you just dipping your toes into the world of plant reproduction. It’s a very giving plant, and watching a tiny cutting transform into a thriving new specimen is one of the most satisfying parts of gardening, in my opinion.
The Best Time to Start
For the highest chance of success with Wollastonia biflora, I always advocate for late spring or early summer. This is when the plant is actively growing and has plenty of energy to dedicate to developing new roots. You’re essentially catching it at its most vigorous, which makes the propagation process much smoother. Avoid trying to propagate during periods of extreme heat or cold; your little cuttings will thank you for it.
Supplies You’ll Need
Before we get our hands dirty, let’s gather our tools. Having everything ready makes the process much less fiddly and more enjoyable.
- Sharp pruning shears or a clean knife: For taking clean cuttings.
- Rooting hormone powder or gel (optional but helpful): This encourages faster root development.
- Well-draining potting mix: I love a mix of equal parts peat moss, perlite, and a little compost. If your soil drains poorly, this is crucial!
- Small pots or trays: With drainage holes, of course.
- Clear plastic bags or a propagator: To create a humid environment for the cuttings.
- Spray bottle: For misting.
- Water-proof marker and tags: To label your precious new plants.
Propagation Methods
Wollastonia biflora is a champion of propagation, and stem cuttings are absolutely my go-to method. It’s straightforward and yields great results.
Stem Cuttings
- Select Healthy Stems: Look for healthy, non-flowering stems that are about 4-6 inches long. Gently bend a stem; if it snaps cleanly, it’s likely at a good stage. Avoid very woody or very soft, new growth.
- Make the Cut: Using your sharp pruning shears or knife, make a clean cut just below a leaf node. This is the point where a leaf attaches to the stem, and it’s where roots are most likely to form.
- Prepare the Cutting: Gently remove the lower leaves from the bottom 2-3 inches of the stem. This prevents them from rotting in the soil or water.
- Apply Rooting Hormone (Optional): If you’re using rooting hormone, dip the cut end into the powder or gel. Tap off any excess.
- Plant the Cuttings:
- For soil propagation: Fill your small pots with your well-draining potting mix. Make a small hole with your finger or a pencil. Insert the cutting, ensuring the leaf nodes you bared are below the soil line. Gently firm the soil around the stem.
- For water propagation: You can also try rooting these in a glass of water. Just make sure the water is clean and only the bare stem is submerged, not the leaves.
- Create Humidity: Lightly mist the cuttings with water. Then, cover the pot or glass with a clear plastic bag, or place it inside a propagator. This traps moisture and keeps the leaves from drying out. If you’re using a bag, you might want to leave it slightly open for a bit of air circulation.
The “Secret Sauce” (Pro Tips)
Here are a couple of things I’ve learned over the years that really make a difference:
- Bottom Heat is Your Friend: While not essential, placing your pots on a gentle heat mat specifically designed for propagation can significantly speed up root formation, especially in cooler weather. It mimics that warm soil feeling a mother plant enjoys.
- Don’t Over-Water, Ever! This is the most common mistake I see. Cuttings, especially those in soil, need to be kept evenly moist but never waterlogged. Soggy conditions are a fast track to rot. Feel the soil; if the top inch feels dry, it’s time for a light watering or misting. For water propagation, change the water every few days to keep it fresh and prevent bacterial growth.
Aftercare & Troubleshooting
Once your cuttings have taken, you’ll start to see signs of new growth – tiny leaves unfurling! This is your cue that roots have formed.
- Transitioning: If you rooted in water, it’s time to gently transplant them into that well-draining potting mix. They might look a bit delicate, but they’re surprisingly resilient. If they were in soil, you can start watering them a bit more regularly, but still, keep that “moist, not soggy” rule in mind.
- Acclimatize: Gradually remove the plastic bag or open the propagator vents over a few days to allow the new plants to adjust to normal humidity.
- Common Issues: The biggest culprit is rot. If your cuttings turn black and mushy, it’s usually a sign of too much moisture and poor air circulation. Sometimes, they just fail to root – don’t be discouraged! Not every cutting will succeed, and that’s perfectly normal. Discard any rotted bits immediately to prevent them from affecting healthy cuttings.
A Little Patience Goes a Long Way
Propagating Wollastonia biflora is a wonderfully rewarding journey. It’s a process that requires a bit of observation and patience, but the payoff – more of those cheerful yellow blooms gracing your garden – is absolutely worth it. So grab your tools, take some cuttings, and enjoy the magic of creating new life from an old friend. Happy gardening!
Resource:
https://identify.plantnet.org/k-world-flora/species/Wollastonia%20biflora%20(L.)%20DC./data