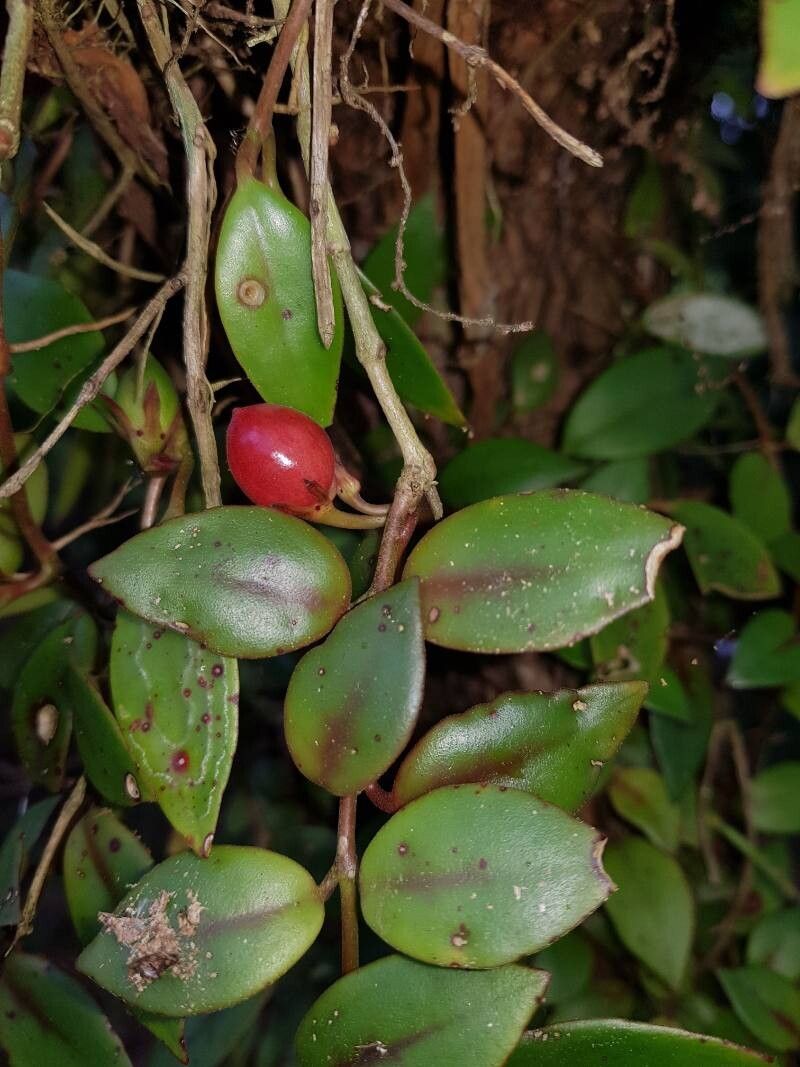
Hey there, fellow plant lovers! Today, we’re diving into something truly special: propagating Codonanthopsis crassifolia. This little charmer, often called the “bush ivy” or “cupid’s hedge,” has these delightful, almost succulent-like leaves on woody stems. They create a beautiful, lush cascade, making them a real showstopper in hanging baskets or as a trailing accent.
Propagating Codonanthopsis crassifolia is a wonderfully rewarding process. There’s a special kind of magic in watching a tiny cutting transform into a fully-fledged plant. And the best part? It’s surprisingly achievable! While no plant is always foolproof, I’d say this one leans towards being quite forgiving, making it a great choice for beginners looking to expand their green collection.
The Best Time to Start
For the highest chance of success, I find that spring and early summer are your golden windows. This is when your Codonanthopsis crassifolia is actively growing, feeling that surge of energy from longer days and warmer temperatures. They’re just itching to put out new roots and thrive. You can also have success with cuttings taken in late summer, but give yourself plenty of time before the cooler months set in.
Supplies You’ll Need
Here’s what you’ll want to have on hand:
- Sharp Pruning Shears or a Clean Blade: For taking nice, clean cuts.
- A Well-Draining Potting Mix: I like a blend of peat moss, perlite, and a bit of compost. A cactus or succulent mix can also work well.
- Small Pots or Seedling Trays: For rooting your cuttings.
- Rooting Hormone (Optional but Recommended): This is like a little boost for your cuttings to encourage root development.
- A Spray Bottle: For misting.
- A Clear Plastic Bag or Propagator Lid: To create a humid environment.
- A Heat Mat (Optional but a Game-Changer): This really speeds things up.
Propagation Methods
Let’s get our hands dirty! We’ll focus on the tried-and-true method of stem cuttings.
Stem Cuttings:
- Select Your Parent Plant: Look for a healthy, actively growing Codonanthopsis crassifolia. You want stems that are firm, not overly woody, but not too soft and leggy either. Think of a stem that feels substantial.
- Take Your Cuttings: Using your sharp shears or blade, take cuttings that are about 4-6 inches long. Make a clean cut just below a leaf node (that little bump where a leaf grows from the stem).
- Prepare the Cuttings: Gently remove the bottom 1-2 sets of leaves from each cutting. This exposes the nodes where roots will emerge and prevents leaves from rotting in the soil.
- Apply Rooting Hormone (If Using): Dip the cut end of the stem into your rooting hormone powder, tapping off any excess.
- Plant Your Cuttings: Stick the cut end of each prepared cutting about 1-2 inches deep into your moist potting mix. You can plant several cuttings in one pot if space allows, but make sure they’re not touching each other.
- Create a Humid Environment: Lightly water the soil. Then, cover the pot with a clear plastic bag or place it under a propagator lid. This traps moisture and creates the humid microclimate your cuttings need. Pop a couple of skewers or chopsticks into the soil to keep the bag from touching the foliage.
- Provide Light and Warmth: Place your pots in a spot with bright, indirect light. Avoid direct sun, which can scorch young cuttings. If you have a heat mat, place the pots on it. This gentle warmth from below is a real root-developer!
The “Secret Sauce” (Pro Tips)
Here are a few things I’ve learned over the years that make a big difference:
- Don’t Let the Leaves Touch the Water (If Water Propagating): While I mainly advocate for soil propagation for Codonanthopsis crassifolia, if you do try a few in water, be absolutely sure the leaves themselves aren’t submerged. They’ll rot quickly and can take your whole cutting down with them. Just the stem nodes should be in the water.
- Bottom Heat is Your Best Friend: I touched on this, but seriously, it’s a game-changer. That consistently warm soil temperature mimics ideal growing conditions and tells the plant, “Hey, it’s time to get roots going!” It speeds up the process dramatically compared to just ambient room temperature.
- Watch for the “Wiggle Test”: After a few weeks, give a gentle tug on a cutting. If you feel resistance, that’s a good sign roots are forming!
Aftercare & Troubleshooting
Once your cuttings have successfully rooted (you’ll see new leaf growth as a definitive sign!), it’s time to adjust their care.
- Acclimatize: If you’ve been using a plastic bag, gradually remove it over a few days to let the new plant get used to the change in humidity.
- Watering: Water when the top inch of soil feels dry. Avoid overwatering, which is the most common culprit for root rot. These plants prefer to dry out a bit between waterings.
- Light: Continue to provide bright, indirect light.
- Troubleshooting: Rot: The biggest enemy is rot. If your cuttings are wilting, turning mushy and black, or developing black spots on the stems, it’s usually a sign of too much moisture and not enough air circulation. Sometimes, you can salvage a cutting by cutting away the rotted parts and re-rooting the healthy bits in fresh, dry mix, but prevention is key. Make sure your soil is always well-draining!
A Little Bit of Patience Goes a Long Way
Growing new plants from cuttings is a journey, and like any good journey, it requires a bit of patience. Don’t get discouraged if the first batch doesn’t work out perfectly. Keep trying, observe your plants, and celebrate those little victories. Soon, you’ll have a whole new clan of beautiful Codonanthopsis crassifolia to admire! Happy propagating!
Resource: