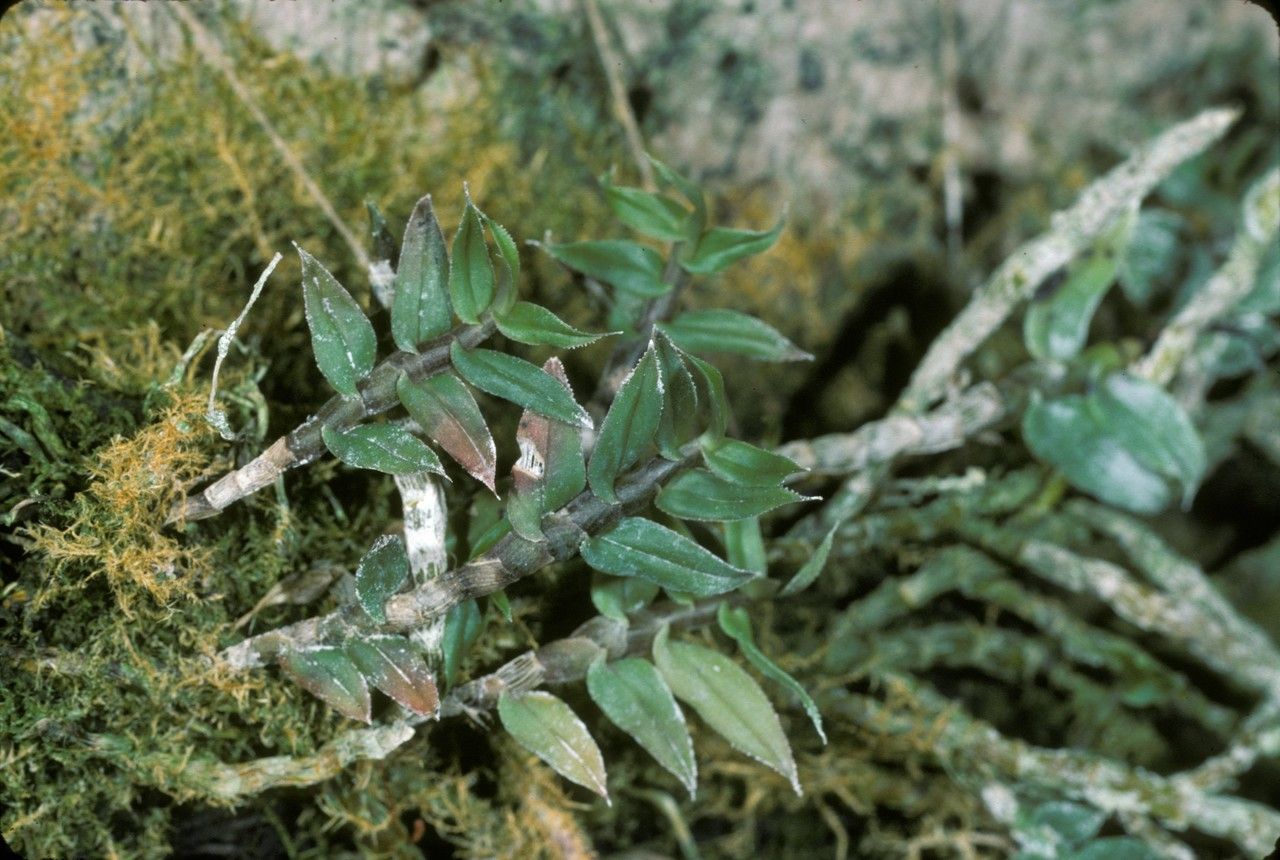
Oh, hello there! Pull up a chair and let’s chat about a truly special orchid: Dendrobium alaticaulinum. If you’ve ever admired its graceful, cane-like stems crowned with delicate, often spidery blooms, you know why it captures our hearts. It’s a creature of understated elegance, and the thought of bringing more of these beauties into your collection? Pure joy! Propagating it might sound a little advanced, and honestly, it can be a tad more involved than, say, popping a spider plant offshoot in water. But don’t let that deter you! With a little patience and a few key insights, you’ll be well on your way to success.
The Best Time to Start
For Dendrobium alaticaulinum, I’ve found the sweet spot is usually late spring or early summer. This is when the plant is actively growing and has stored up a good bit of energy from the brighter days. You’re looking to propagate from mature canes that have finished their blooming cycle or are showing signs of new growth – often what we call “keikis” – emerging from the leaf axils. Starting during its active growth phase gives the new cuttings the best chance to establish themselves before cooler weather sets in.
Supplies You’ll Need
Gathering your supplies beforehand makes the whole process so much smoother. Here’s what I keep on hand:
- Sharp, sterile pruning shears or a keen knife: For clean cuts that minimize damage and the risk of disease.
- Potting medium: A well-draining orchid bark mix is essential. I often use a blend of fine to medium bark, perlite, and a touch of charcoal. Some growers also swear by sphagnum moss, but just be sure it’s not packed too tightly.
- Small pots or community trays: Terracotta pots are great because they breathe, but plastic works too. Just make sure they have drainage holes!
- Rooting hormone (optional but recommended): A powdered or liquid rooting hormone can give your cuttings a nice boost.
- Plastic bags or a humidity dome: To create a humid environment for your cuttings while they root.
- Water: Clean, room-temperature water is your best friend.
Propagation Methods
Now, let’s get our hands dirty! Dendrobium alaticaulinum is most commonly propagated through stem cuttings, and sometimes you’ll be lucky enough to find a natural keiki.
Stem Cuttings
This is my go-to method when a cane has grown long and is healthy.
- Select a healthy cane: Look for a mature, woody cane that has at least two or three nodes (where the leaves emerge). Avoid any that look soft, yellowed, or unhealthy.
- Make clean cuts: Using your sterile shears, cut the cane into sections, each with at least two nodes. One node will be at the base where roots will form, and the other will be at the top, where new growth will emerge. Also, make sure to have at least one leaf attached to the top section!
- Dip in rooting hormone: If you’re using it, dip the cut end of each section into the rooting hormone powder or liquid, tapping off any excess.
- Plant the cuttings: Gently insert the cut end of each section into your prepared orchid mix, burying the bottom node. The top node should be just above the surface. You can plant multiple cuttings in a larger pot, but give them a little space.
- Provide humidity: Water the mix gently so it’s moist but not soggy. Then, cover the pot with a plastic bag or place it under a humidity dome. Make sure the leaves do not touch the inside of the plastic bag. You can use stakes to hold the bag away.
Keiki Propagation
Keikis are like little baby plants that grow from the nodes of the mother plant. If you’re fortunate enough to spot one on your Dendrobium alaticaulinum:
- Wait for roots: The most crucial step is to wait until the keiki has developed its own roots, usually at least an inch or two long. Don’t be tempted to rush this!
- Carefully detach: Once it has roots, using your sterile knife, carefully cut the keiki away from the mother plant, ensuring you get the base where the roots attached.
- Pot it up: Plant the keiki in a small pot with your well-draining orchid mix, just as you would a stem cutting with a developed base. Water gently.
The “Secret Sauce”
Here are a couple of my little tricks that have really helped me boost success rates:
- Bottom heat is your friend: Orchids love a bit of warmth for rooting. I’ve found placing pots with cuttings or keikis on a gentle seedling heat mat really speeds up root development. Just a low setting will do the trick.
- Don’t overwater, ever: This is probably the biggest mistake I see newbies make. Orchids, especially when trying to root, hate soggy feet. They need moisture, yes, but excellent drainage and good air circulation are paramount. If you mist the leaves regularly and keep the potting medium only slightly moist, you’ll be much more successful than drowning them.
Aftercare & Troubleshooting
Once you see signs of new roots (usually tiny white nubs) or new leaf growth on your cuttings, congratulations! You’re on your way.
- Gradually reduce humidity: As the new plant establishes, you can slowly start to acclimate it to lower humidity levels by poking a few holes in your plastic bag or lifting the dome for longer periods each day.
- Watering: Continue to water when the potting mix starts to dry out. You can gently fertilize with a very diluted orchid fertilizer once you see consistent new growth.
- Common problems: The most common issue you’ll face is rot. If a cutting turns mushy, black, or smells foul, it’s likely rotted. This is almost always due to too much moisture and poor air circulation. If you catch it early, you might be able to cut away the rotted portion using sterile tools and try to re-root the healthy part, but sometimes it’s best to just start again. Yellowing leaves on an otherwise healthy cane can also be a sign of stress or improper watering.
A Encouraging Closing
Propagating orchids is a journey, and Dendrobium alaticaulinum is a lovely plant to practice on. There will be moments of doubt, and perhaps a cutting or two that doesn’t make it. That’s all part of the learning curve! Don’t get discouraged. Be patient, observe your plants, trust your instincts, and most importantly, enjoy the process of nurturing new life. Happy growing!
Resource:
https://identify.plantnet.org/k-world-flora/species/Dendrobium%20alaticaulinum%20P.Royen/data