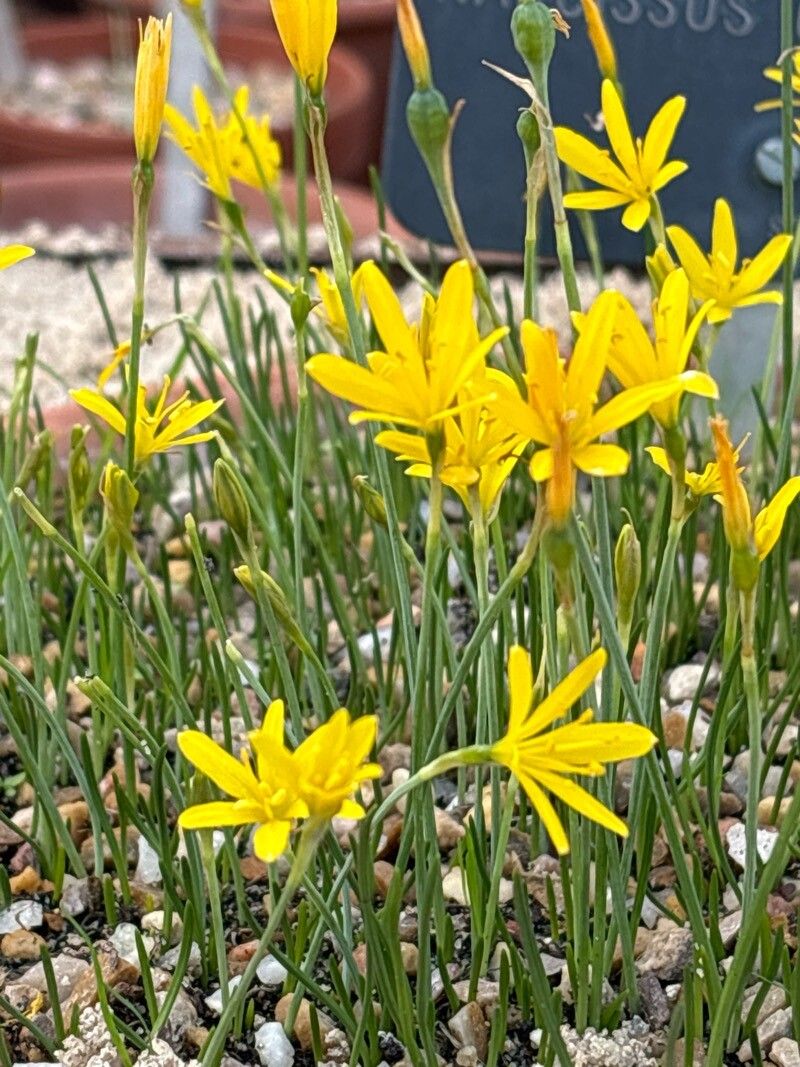
Oh, Narcissus cavanillesii! What a joy to welcome this little gem into our gardens. Those delicate, golden trumpets are just pure sunshine, aren’t they? And seeing them multiply, knowing you helped create them, that’s a truly special kind of magic. If you’re new to the gardening scene, I’d say propagating these beauties is moderately challenging, but definitely achievable with a bit of patience and care. It’s a delightful project that really deepens your connection to these cheerful blooms.
The Best Time to Start
For Narcissus cavanillesii, the absolute best time to get started is right after flowering has finished, typically in late spring or early summer. This is when the bulbs have stored up the most energy from the sun and are ready to put it into producing new growth. Waiting until the foliage has started to naturally die back is also a good indicator that the bulb is in a dormant phase, making it less stressed by the process.
Supplies You’ll Need
Here’s what you’ll want to have on hand:
- Sharp, clean pruning shears or a small knife: For making precise cuts.
- Well-draining potting mix: A blend of compost, perlite, and sharp sand works wonders. You want good aeration.
- Small pots or seed trays: Something clean and appropriately sized for your divisions.
- Gloves: To keep your hands clean.
- Watering can with a fine rose: For gentle watering.
- (Optional but helpful) Rooting hormone powder: This can give a slight boost, especially if you’re a bit nervous.
- (Optional for enthusiasts) Heated propagator mat: For consistent warmth.
Propagation Methods
For Narcissus cavanillesii, division is your go-to method. These bulbs naturally produce offsets, and gently separating them is the most successful way to propagate.
- Gentle Excavation: Carefully dig up the entire bulb clump using your pruning shears or a trowel. Try not to damage the bulbs or their roots. Shake off any excess soil.
- The Separation: You’ll see that the main bulb often has smaller bulbs attached, like little baby bulbs snuggled up close. Gently tease apart these offsets from the mother bulb. If they’re really stuck, use your clean knife to make a careful cut. Be sure each offset has at least one small bulb and some healthy-looking roots.
- Inspection Time: Take a moment to inspect each bulb for any signs of damage or disease. Discard anything that looks suspect.
- Potting Up: Fill your small pots or trays with your well-draining potting mix. Make a small indentation in the soil for each bulb. Plant the offsets so that the tip of the bulb is just barely below the soil surface. If you’re using rooting hormone, dip the basal plate (the bottom part where the roots grow) in the powder before planting.
- Watering In: Water the newly potted bulbs gently. You want the soil to be moist but not soggy.
The “Secret Sauce” (Pro Tips)
Now, for a couple of things I’ve learned over the years that make a difference:
- Don’t Over-crowd: Resist the urge to cram too many offsets into one pot. Each new bulb needs ample space to grow and store energy for its first season. Give them room to breathe!
- Mimic Natural Conditions: After planting, I like to place my pots in a cool, shaded spot outdoors, perhaps under a dense shrub. They don’t need direct sun at this stage, and consistent, cool temperatures are key for them to establish. If you’re in a very hot climate, even more so! While bottom heat can be beneficial for some propagations, for daffodil divisions, I find cooler is usually better to prevent overheating and potential rot.
Aftercare & Troubleshooting
Once your Narcissus cavanillesii offsets are potted, keep the soil consistently moist but never waterlogged. Think of it as a gentle drink, not a drowning. You’ll notice new green shoots appearing in the coming weeks and months.
The biggest challenge you might face is rot. This usually happens if the bulbs are sitting in too much moisture. If you see a bulb looking mushy and discolored, it’s best to remove it immediately to prevent it from affecting others. Also, ensure good air circulation around your pots.
A Encouraging Closing
Watch them grow! It might take a season or two before your new Narcissus cavanillesii start to put on a really good show, but the patience is so worth it. Enjoy the journey of nurturing these tiny bulbs into future blooms. Happy gardening!
Resource: