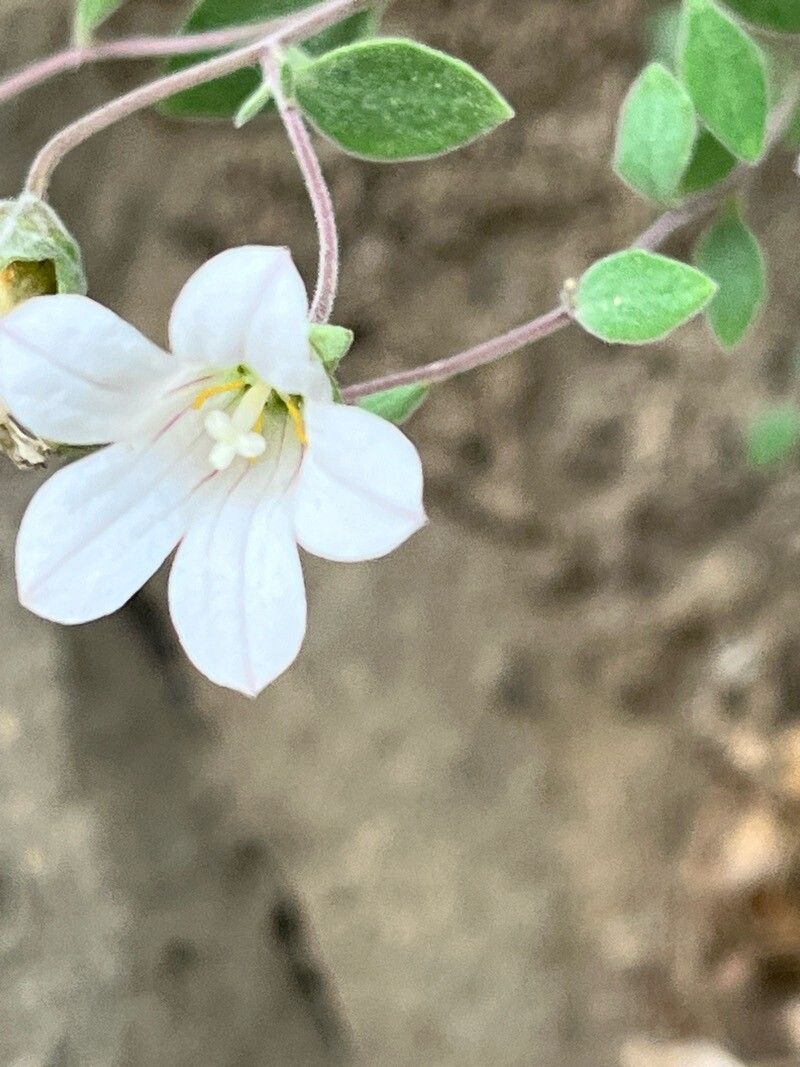
Hello, fellow plant enthusiasts! Today, we’re diving into the wonderful world of Campanula cashmeriana, or the Kashmir Bellflower. I’ve had the pleasure of growing these beauties for a long time, and I can tell you, their delicate, nodding bells are just enchanting. They bring a touch of elegance to any garden border or container. And the best part? They’re not as fussy as some might think, and propagating them yourself is incredibly rewarding. If you’re looking for a plant that offers a good chance of success for newcomers to propagation, this is a lovely one to try.
The Best Time to Start
For Campanula cashmeriana, spring and early summer is your golden window. Think of it as when the plant is really bursting with energy. This is when it’s producing plenty of fresh, vigorous growth that will be most receptive to rooting. You’re essentially tapping into that natural surge of life.
Supplies You’ll Need
Before we get our hands dirty, let’s gather our tools. It’s always best to be prepared!
- Sharp pruning shears or a clean knife: For making precise cuts.
- A light, well-draining potting mix: I like to use a blend of equal parts peat moss, perlite, and a little coco coir.
- Small pots or trays: Clean ones are important to prevent disease.
- Rooting hormone powder (optional but recommended): This can give your cuttings an extra boost.
- A spray bottle: For gently misting your cuttings.
- Clear plastic bags or a propagator: To create a humid environment.
- Perlite or gravel (for water propagation): To keep your cuttings upright.
Propagation Methods
Let’s get propagating! Here are a couple of my favorite ways to multiply these lovely campanulas.
Stem Cuttings
This is my go-to method for Campanula cashmeriana. It’s reliable and gives you a great chance of success.
- Take your cuttings: In spring or early summer, look for healthy, non-flowering shoots. You want pieces that are about 3-4 inches long. Using your sharp shears or knife, make a clean cut just below a leaf node (where a leaf attaches to the stem).
- Prepare the cuttings: Gently remove the lower leaves from the bottom half of the cutting. This prevents them from being submerged in the soil and rotting. If you’re using rooting hormone, lightly dip the cut end into the powder.
- Pot them up: Fill your small pots with your prepared potting mix. Make a small hole in the center with your finger or a pencil. Insert the cutting into the hole, ensuring the leaf nodes are buried. Gently firm the soil around the base.
- Create a humid environment: Water the soil lightly. Then, cover the pots with a clear plastic bag or place them in a propagator. Ensure the leaves don’t touch the plastic.
Water Propagation
This method is a bit more visual and quite satisfying to watch!
- Select and cut: Similar to stem cuttings, choose healthy, non-flowering shoots about 3-4 inches long. Cut just below a leaf node.
- Prepare your container: Grab a small jar or glass. Fill it with water. You can add a small amount of perlite or gravel to the bottom of the jar to help keep your cuttings upright.
- Place your cuttings: Remove the lower leaves and place the cuttings in the water. Make sure only the leafless part of the stem is submerged, and crucially, don’t let any leaves touch the water.
- Find a good spot: Place the container in a bright location, but out of direct sunlight. You’ll want to change the water every few days to keep it fresh.
The “Secret Sauce” (Pro Tips)
Over the years, I’ve picked up a few tricks that make a real difference.
- Bottom Heat is Your Friend: If you can, place your pots on a heated propagator mat. This gentle warmth encourages root development significantly. It’s like giving your little cuttings a cozy, underground spa treatment!
- Don’t Overwater: It’s a common mistake, but overwatering is the enemy of cuttings. The soil should be consistently moist, not soggy. You want to mimic a damp sponge.
- Patience, My Dears: Some plants root quickly, others take their time. Don’t give up too soon! For Campanula cashmeriana, you might start to see signs of root development in 3-6 weeks.
Aftercare & Troubleshooting
Once you see those little white roots emerging from the drainage holes, or tiny leaves beginning to sprout from your water cuttings, it’s time for a change of scenery!
- Transplanting: For water-propagated cuttings, wait until the roots are at least an inch long before carefully transplanting them into small pots filled with your well-draining potting mix. For cuttings that have rooted in pots, you can usually tell when they’re ready by gently tugging on them – if there’s resistance, they’ve rooted!
- Gradual Acclimation: For cuttings that were under plastic, slowly introduce them to the open air over a week or so. Gradually lift the plastic for longer periods each day before removing it entirely.
- Watering Newbies: Water them gently but thoroughly, and then allow the top inch of soil to dry out before watering again.
- Troubleshooting: The most common issue is rot. This is usually due to overwatering or poor drainage. If your cuttings look limp and mushy, and have a foul smell, it’s likely rot. Unfortunately, these are often beyond saving. If you see some wilting but no mushiness, check your watering and humidity.
A Encouraging Closing
So there you have it, a little guide to multiplying your beloved Kashmir Bellflowers. Remember, gardening is a journey, and propagation is a rewarding part of that journey. Be patient, enjoy the process, and celebrate every little success. Soon, you’ll have more of these delightful campanulas to share, to fill your own garden, or to give as thoughtful, handmade gifts. Happy growing!
Resource:
https://identify.plantnet.org/k-world-flora/species/Campanula%20cashmeriana%20Royle/data