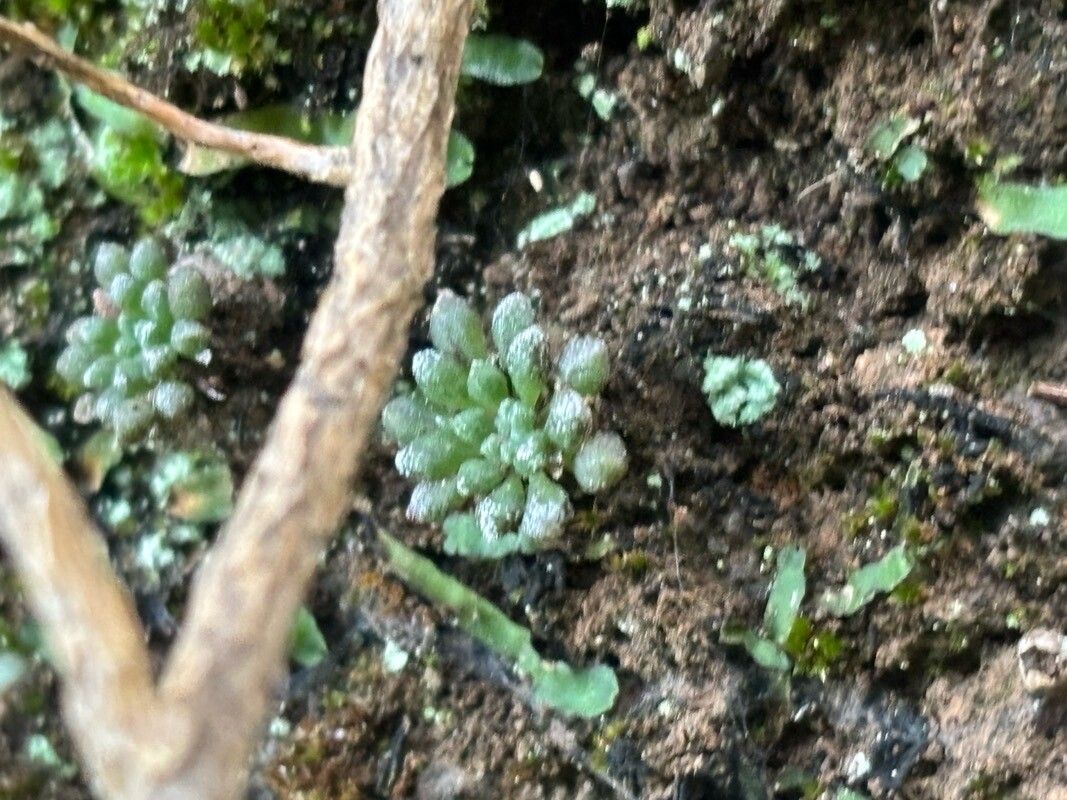
Hello plant friends! If you’re anything like me, you’ve probably fallen head over heels for the miniature marvel that is Monanthes minima. These tiny succulents, with their rosettes of delicate leaves, are just about the cutest things to grace a windowsill. And the best part? They’re surprisingly easy to share! Propagating Monanthes minima is a truly rewarding experience. Watching a new little plant spring to life from just a tiny piece of the parent plant always gives me such a thrill. Honestly, it’s a fantastic project for beginners, so don’t be shy!
When Does it All Begin?
The sweet spot for propagating Monanthes minima is during its active growing season. For most of us, this means spring and early summer. The warmer temperatures and longer daylight hours give your cuttings the best chance to establish roots quickly. You can try it in fall, but the progress will be slower, and the risk of rot increases a bit.
What’s in Your Propagation Palette?
Before we get our hands dirty, let’s gather our tools.
- Well-draining soil mix: I swear by a mix of cactus and succulent soil with a good amount of perlite or pumice added. Aim for about a 50/50 ratio.
- Sharp, clean pruning shears or a craft knife: A clean cut is crucial to prevent disease.
- Small pots or trays: Yogurt cups with drainage holes poked in the bottom work perfectly in a pinch!
- Watering can or spray bottle: Gentle watering is key.
- Rooting hormone (optional but helpful): I sometimes use it, especially if I’m propagating a larger piece.
- Patience: This is the most important tool!
How to Grow a Tiny Army: Propagation Methods
Monanthes minima is super obliging and can be propagated in a couple of easy ways. The most common and successful is through stem cuttings.
- Take Your Cuttings: Gently twist or snip off a healthy stem tip from your established plant. Aim for a piece that has at least a few sets of leaves. It doesn’t need to be long; even an inch or two will do.
- Let it Callus: This is a very important step! Lay your cuttings on a dry surface, away from direct sun, for about 2-7 days. You want the cut end to dry and form a callus, which is like a little protective scab. This prevents rot when you plant it.
- Plant Your Cuttings: Once callused, gently press the cut end into your prepared well-draining soil mix. Don’t bury it too deeply – just enough to stand upright. If you’re using rooting hormone, dip the cut end in it before planting.
- Water Sparingly: After planting, give the soil a very light misting. You want the soil to be barely moist, not wet. Overwatering at this stage is the quickest way to kiss your new plant goodbye!
Another method, though I find it slightly less reliable for Monanthes minima, is leaf propagation. It’s more of a “fingers crossed” approach with these guys.
- Select Healthy Leaves: Carefully pluck a few healthy, plump leaves from the stem. Again, ensure they look robust.
- Callus Time: Just like stem cuttings, lay the leaves on a dry surface for a few days to callus over at the base.
- Place on Soil: Once callused, lay the leaves on top of your well-draining soil. Don’t bury them.
- Misting Magic: Mist lightly every few days, only when the soil surface looks dry. You’re looking for the leaf to eventually sprout tiny roots and a new rosette at its base. This can take weeks, so be patient!
The “Secret Sauce” — Insider Tips!
- Don’t let those leaves touch the water! If you’re doing leaf propagation, it’s tempting to stick them into water. For Monanthes minima, this is a recipe for rot. Keep them sitting proudly on dry, well-draining soil.
- A little bottom heat goes a long way. If you have a propagation mat or can place your pots on top of a device that emits gentle warmth (like an old router you’re not using), it can really speed up root development. Think of it as tucking your little ones into a cozy bed!
- Give them breathing room. Don’t overcrowd your pots or trays. Good air circulation helps prevent fungal issues.
Life After the Roots Appear & When Things Go Wrong
Once you see new growth or tug gently on a cutting and feel resistance (that’s roots!), you’re officially in successful propagation territory! From here, treat your new plant like a miniature version of its parent. Water only when the soil has dried out completely. Keep it in bright, indirect light.
What if things don’t go as planned? The most common culprit is rot. If your cuttings turn mushy, black, or slimy, it’s a sign of too much moisture. Sadly, this is usually the end of the line for that particular cutting. A pale, yellowing appearance without rot can sometimes indicate not enough light, but rot is the bigger enemy to watch out for.
Keep Growing, Keep Smiling
Propagating Monanthes minima is such a delightful journey. It requires a little patience but offers immense satisfaction. Don’t be discouraged if not every single cutting makes it – that’s part of learning and growing (pun intended!). Enjoy the process, celebrate your successes, and soon you’ll have a windowsill full of these charming little succulents to admire and share. Happy propagating!
Resource:
https://identify.plantnet.org/k-world-flora/species/Monanthes%20minima%20(Bolle)%20Christ/data