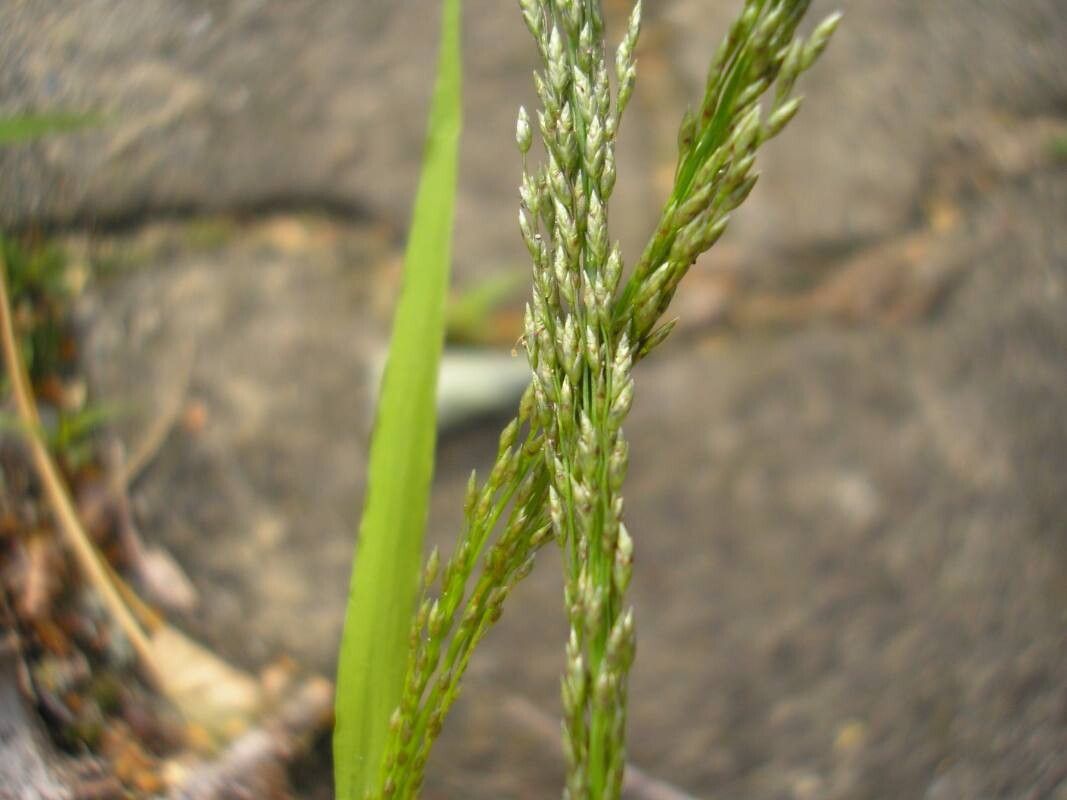
Oh, hello there! Pull up a chair and let’s chat about one of my absolute favorite grasses, Eragrostis mexicana. You might know it by its common name, Mexican lovegrass, though I affectionately call it “Sparklegrass” because, well, it truly sparkles in the right light. It’s got this lovely, airy texture and a delicate, almost ethereal beauty that makes any garden space feel special. Plus, it’s a fantastic choice for attracting beneficial insects.
Why propagate it? Because once you have one, you’ll want more! It’s like collecting little pieces of sunshine for your garden. And honestly, seeing a tiny seedling emerge or a cutting sprout roots is one of the most rewarding gardening experiences there is. For beginners, I’d say Eragrostis mexicana is a pretty welcoming plant to start with. It’s not overly fussy, which is music to my ears!
The Best Time to Start
The sweet spot for propagating Eragrostis mexicana is definitely spring. As the weather warms up and your plants are bursting with new growth, that’s when they have the most energy to dedicate to making new babies. Aim for after your last frost, when things are actively growing. You can try later in the season, but you might find the success rate isn’t quite as high.
Supplies You’ll Need
Here’s what I always have on hand when I’m ready to get my propagation on:
- Sharp, clean pruning shears or a sharp knife: A clean cut is a healthy cut, folks!
- Well-draining potting mix: I like a blend of peat moss, perlite, and a little bit of compost. You want something that won’t hold onto excess moisture.
- Small pots or trays: Clean containers are key to preventing disease.
- Watering can with a fine rose or a spray bottle: Gentle watering is essential.
- Rooting hormone (optional but helpful): A little boost never hurts.
- Labels: Trust me, you’ll forget what you planted where!
Propagation Methods
Eragrostis mexicana is wonderfully versatile, and you can propagate it a few ways. The easiest and most common for this grass is division.
Division
This is my go-to method for mature clumps.
- Dig up the clump: In spring, carefully dig around the base of a healthy, established plant. Gently lift the entire clump out of the soil.
- Inspect the roots: You’ll see the root system. Look for natural divisions or sections where the plant seems to be separating on its own.
- Divide the roots: You can use your hands for this, gently pulling the root ball apart into smaller sections. If it’s a bit stubborn, your clean pruning shears or knife can help you make precise cuts. Make sure each section has plenty of healthy roots and some foliage.
- Replant: Pot up each division into its own container filled with your well-draining potting mix. Water gently.
For smaller, younger plants, stem cuttings can also work, though it’s less common for this particular ornamental grass and can be a bit trickier to get the same success as division. If you do want to try cuttings:
- Take cuttings: In spring or early summer, select healthy, non-flowering stems. Cut about 6-8 inches from the tip.
- Prepare the cuttings: Remove the lower leaves, leaving just a few at the top. If you’re using rooting hormone, dip the cut end into it now.
- Plant the cuttings: Insert the cut end into a pot filled with your well-draining potting mix.
- Water and cover: Water gently and then cover the pot with a clear plastic bag or a dome to create a humid environment. This is crucial for cuttings.
The “Secret Sauce” (Pro Tips)
After years of getting my hands dirty, I’ve learned a few little tricks.
- Don’t be afraid to get a little dirty with division. Gently teasing apart the roots is better than hacking away. The plant will thank you for it by establishing faster.
- If you’re doing cuttings and using that plastic bag trick, make sure the leaves aren’t touching the soil inside the bag. They’ll be more prone to rot or mildew if they’re constantly damp.
- For divisions, a light watering is all they need initially. You don’t want to drown them. Let the soil dry out slightly between waterings as they re-establish.
Aftercare & Troubleshooting
Once your divisions are planted or your cuttings have rooted (you’ll see new growth!), it’s time for a little TLC. Keep them in a bright spot, but avoid direct, harsh sun for the first few weeks. Water them whenever the top inch of soil feels dry.
The main thing you’ll be watching out for is rot. If you see mushy stems or leaves turning yellow and dropping off, it’s usually a sign of overwatering. If that happens with a cutting, unfortunately, it’s probably a goner. For divisions, you might be able to salvage a healthier part, but be sure to repot it in fresh, drier soil.
A Encouraging Closing
Propagating plants is a journey, not a race. Sometimes things don’t work out, and that’s perfectly okay. Learn from it, try again, and most importantly, enjoy the process! Seeing your Eragrostis mexicana spread and thrive, knowing you helped it along, is a joy that never gets old. Happy gardening!
Resource:
https://identify.plantnet.org/k-world-flora/species/Eragrostis%20mexicana%20(Hornem.)%20Link/data