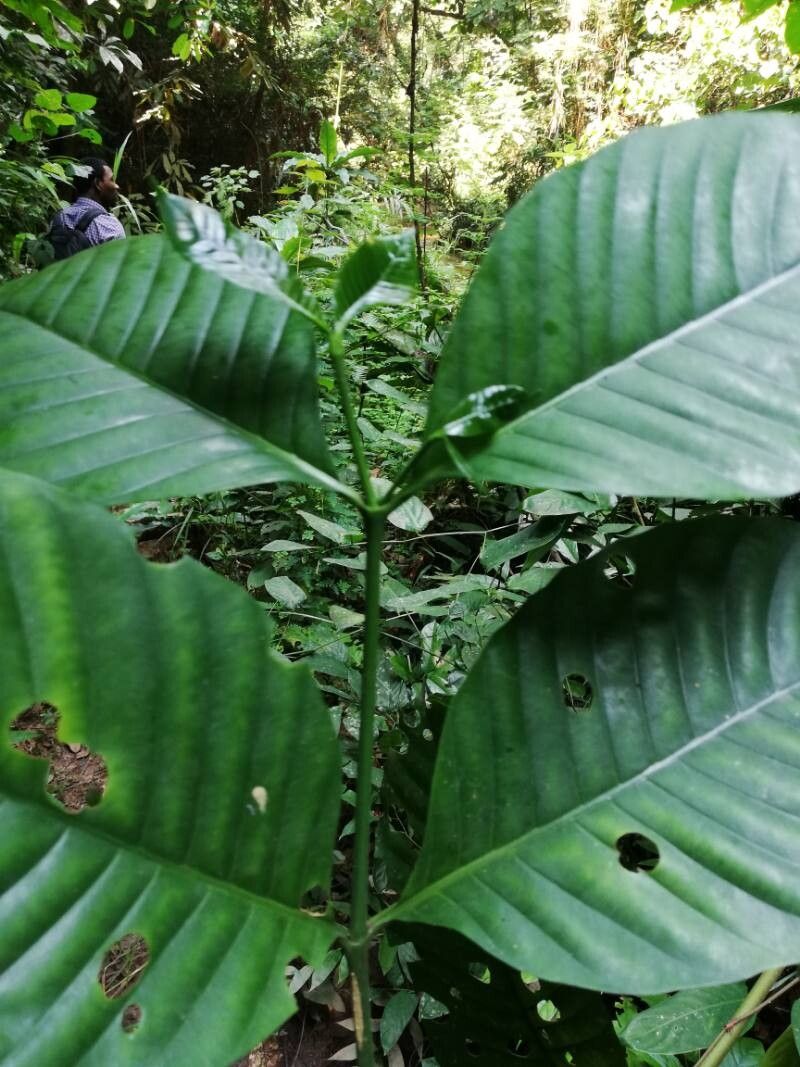
Oh, hello there! So glad you stopped by my little corner of the garden today. We’re going to talk about a plant I’m particularly fond of – the gorgeous Tabernaemontana crassa, or as many of us affectionately call it, the “Crape Jasmine.” If you’ve seen its glossy, deep green leaves and dreamt of those fragrant, pinwheel-shaped white flowers, then you’re in for a treat. Actually growing more of them from your existing plant? That’s where the real magic happens, and let me tell you, it’s incredibly rewarding. Now, is it a breeze for absolute beginners? I’d say moderately easy, but with a few little secrets, you’ll be a pro in no time.
The Best Time to Start
For Tabernaemontana crassa, your best bet is to take cuttings in late spring or early summer. Think of it as when the plant is really hitting its stride, pushing out fresh, vibrant growth after a period of rest. This active growth phase means the stems have plenty of stored energy to develop roots. You can also have some luck in late summer, but spring is usually a surer bet for robust results.
Supplies You’ll Need
Gathering your tools beforehand makes the whole process feel much calmer, don’t you think? Here’s what I always have on hand:
- Sharp pruning shears or a clean, sharp knife: For making those crucial, clean cuts.
- Rooting hormone powder or gel: This is a game-changer, giving cuttings that extra boost.
- A well-draining potting mix: I like a blend of about 50% peat moss or coco coir and 50% perlite or coarse sand. You want good aeration.
- Small pots or seed trays: Clean ones are a must!
- A plastic bag or propagator lid: To create that cozy, humid environment.
- Water: For, well, watering!
- Optional: A heat mat: If your home tends to be on the cooler side.
Propagation Methods
We’ll focus on the most reliable method for Tabernaemontana crassa: stem cuttings.
- Select Your Cuttings: Look for healthy, non-flowering stems from your mature plant. These should be about 4-6 inches long. Gently bend a stem; if it snaps cleanly, it’s ready. Avoid the very soft, new growth or old, woody stems.
- Make the Cut: Using your clean shears or knife, make a clean cut just below a leaf node (where a leaf attaches to the stem). This is where the magic of root development really happens.
- Prepare the Cutting: Remove the lower leaves, leaving just two or three at the top. If any of these remaining leaves are very large, I like to simply halve them. This reduces water loss while still allowing for photosynthesis.
- Apply Rooting Hormone: Dip the cut end of the stem into your rooting hormone powder or gel. Tap off any excess. This step is so important for encouraging quick and strong root formation.
- Plant Your Cuttings: Fill your small pots with your prepared potting mix. Make a small hole in the center with a pencil or your finger. Gently insert the hormone-coated end of the cutting into the hole, ensuring it’s firm. Press the soil gently around the stem.
- Create Humidity: Water the soil lightly until it’s moist but not soggy. Then, cover the pot with a clear plastic bag or a propagator lid. Poke a few small holes in the bag to allow for some air circulation, or ensure your propagator lid has vents.
The “Secret Sauce”
Now, for those little tricks I’ve picked up over the years that make a big difference:
- The Leaf-to-Water Rule: If you decide to try a few in water (which I find less reliable for this particular plant but some people have luck!), NEVER let the leaves touch the water. They’ll rot faster than you can say “root rot”! Only the stem should be submerged. For soil propagation, though, this isn’t an issue.
- Bottom Heat is Your Friend: If you have a heat mat, place your pots on it. This gentle warmth from below mimics spring soil temperatures and significantly speeds up root development. It’s a real game-changer, especially if your home environment isn’t consistently warm.
- Don’t Be Afraid to Mist (Lightly!): While the plastic bag creates humidity, I occasionally like to give the inside of the bag a very light mist of water if it looks dry or the leaves seem to be wilting a bit. Too much moisture can encourage fungal issues, so be judicious!
Aftercare & Troubleshooting
Once your cuttings are planted, place them in a bright spot with indirect light. Direct sun will scorch those tender new plants. Keep the soil consistently moist but never waterlogged.
You’ll start seeing roots develop in about 4-8 weeks, though sometimes it can take a bit longer – patience is key! You can gently tug on a cutting; if there’s resistance, you have roots! You’ll also see new leaf growth, which is a fantastic sign. Once established, you can slowly acclimate them to lower humidity by gradually opening the plastic bag over a week or so before removing it entirely.
The most common issue you might encounter is stem rot. This usually happens if the soil is too wet or there isn’t enough air circulation. If you see a cutting turning black and mushy at the base, sadly, it’s usually best to discard it to prevent it from spreading to others. If the leaves start to yellow and drop, it could be a sign of too much light or the soil being too dry.
A Encouraging Closing
Watching a tiny cutting transform into a full, beautiful plant is one of the most satisfying joys of gardening. Don’t get discouraged if your first few attempts aren’t perfect. Learn from each one, be patient with your little green charges, and most importantly, enjoy the process of bringing more beauty into your world. Happy propagating!
Resource:
https://identify.plantnet.org/k-world-flora/species/Tabernaemontana%20crassa%20Benth./data