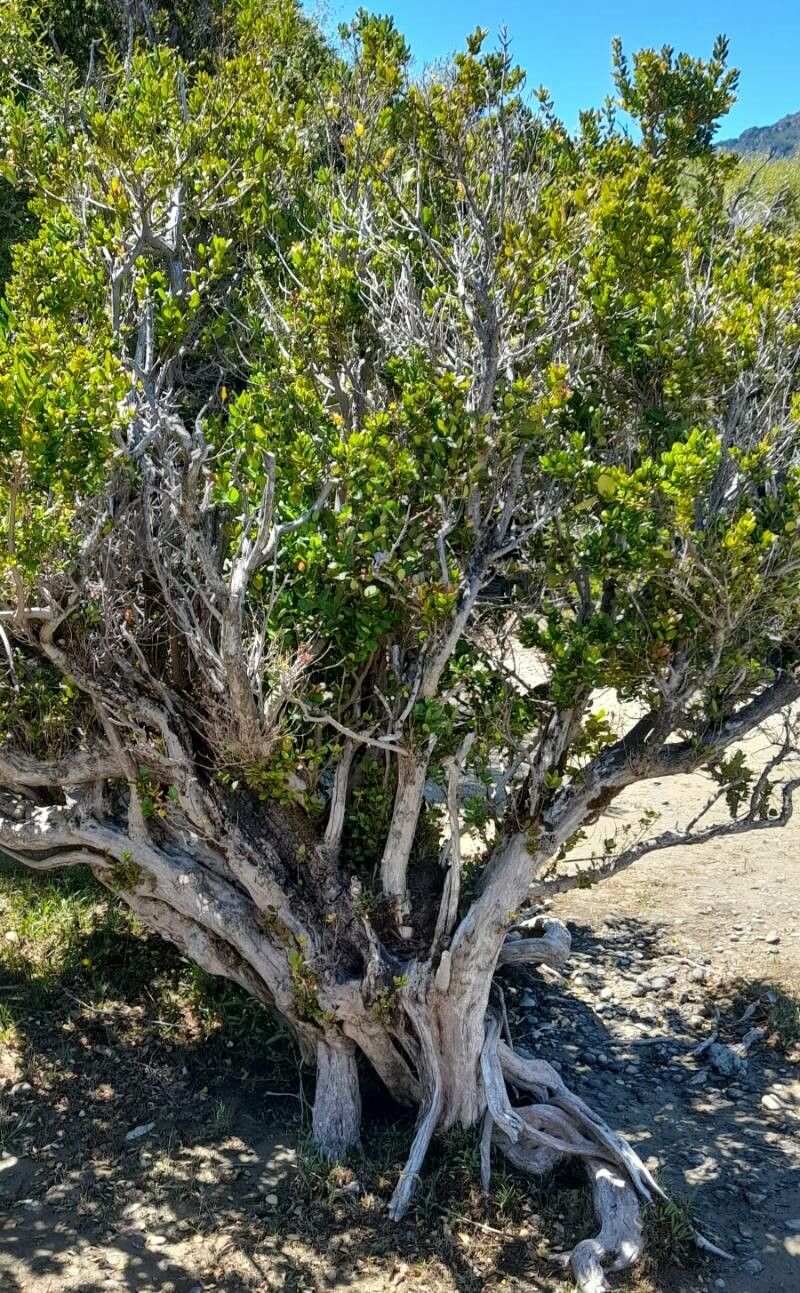
Oh, hello there, fellow plant enthusiast! Grab your mug, settle in, and let’s chat about a truly delightful gem: Myrceugenia exsucca. You know the one – those glossy, deep green leaves and the delightful, often fragrant, small white flowers that eventually give way to tiny, edible berries. It’s a plant that just brings a touch of the Mediterranean sunshine, or perhaps a bit of South American flair, right into our gardens or homes. And the best part? You can quite enjoyably grow more of these beauties yourself! Propagating Myrceugenia exsucca can be a really satisfying journey, and while it’s not quite as simple as sticking a twig in the ground, it’s absolutely achievable with a little patience. I’d say for the absolute beginner, it might present a few gentle learning curves, but for anyone with a bit of gardening under their belt, it’s a wonderfully rewarding project.
The Best Time to Start
When it comes to getting the best bang for your propagation buck, late spring to early summer is your golden window. This is when the plant is actively growing, pushing out new, tender shoots. These are the ones that have the most energy and are most likely to root successfully. Think of it as catching the plant at its most vibrant and optimistic!
Supplies You’ll Need
Here’s your handy shopping list for success:
- Sharp, clean pruning shears or a sharp knife: You want a clean cut to prevent disease.
- A well-draining potting mix: I like a blend of equal parts peat moss or coco coir and perlite or coarse sand. This ensures plenty of aeration.
- Small pots or propagating trays with drainage holes: Cleanliness is key here.
- Rooting hormone (optional but recommended): A powder or gel can significantly boost your success rate.
- A clear plastic bag or a propagator lid: To create a humid environment.
- Spray bottle filled with water: For misting.
- Optional: Bottom heat source: A heating mat can speed up root development.
Propagation Methods
Alright, let’s get our hands dirty! Stem cuttings are our go-to method for Myrceugenia exsucca.
- Taking the Cuttings: Head out to your healthy Myrceugenia exsucca plant. Look for semi-hardwood cuttings. These are stems that are no longer floppy and soft, but also not old and woody. They should be pencil-thick and about 4-6 inches long. Use your sharp shears to make a clean cut just below a leaf node (where a leaf attaches to the stem). Remove a few of the lower leaves, leaving about two to three sets at the top.
- Preparing the Cuttings: If you’re using rooting hormone, dip the cut end of the stem into the powder or gel. Tap off any excess.
- Planting the Cuttings: Fill your small pots with your prepared potting mix. Make a hole in the center of the soil with your finger or a pencil. Gently insert the base of the cutting into the hole, ensuring the leaf nodes you removed are below the soil surface. Firm the soil gently around the cutting to ensure good contact.
- Creating the Humid Environment: Water your potted cuttings lightly. Then, cover the pot with a clear plastic bag, making sure the leaves don’t touch the plastic if possible, or use a propagator lid. This traps moisture and creates that essential humid microclimate.
The “Secret Sauce” (Pro Tips)
Now, for a couple of tricks I’ve picked up over the years that really help:
- Don’t let those precious leaves touch the water (if you were to try water propagation, which is trickier for this one): This is more crucial for cuttings in soil. If the leaves are constantly wet and enclosed, they’re far more prone to fungal issues and rot. Ensure there’s good air circulation, even within the humidity dome.
- Bottom heat is your friend! If you have a heating mat, placing your pots on it can make a world of difference. It encourages root formation from below, much like nature intended. Aim for a consistent temperature of around 70-75°F (21-24°C).
- Don’t crowd your cuttings: Give them a little space in their pots. Overcrowding can lead to competition for resources and an increased risk of disease spreading.
Aftercare & Troubleshooting
Once your cuttings are planted, place them in a bright location that receives indirect sunlight. Direct sun will scorch those tender new leaves. Mist the cuttings lightly every few days to keep the humidity up.
You’ll know your cuttings are rooting when you see new leaf growth emerging from the tips or sides. This can take anywhere from 4 to 12 weeks, so patience is key! Once they have a good root system, you can gradually remove the plastic bag over a week or so to acclimate them to normal humidity. Then, repot them into slightly larger containers with fresh potting mix.
The most common problem you’ll encounter is rot. If you notice your cutting turning black and mushy, or the leaves wilting drastically and not perking up, it’s usually a sign of too much moisture and not enough air circulation, or a fungal infection. Sadly, at that point, it’s often best to start again with fresh cuttings, ensuring your soil is well-draining and you’re not overwatering.
A Encouraging Closing
So there you have it! Propagating Myrceugenia exsucca is a delightful way to expand your collection and share these lovely plants with friends. Remember to be patient, observe your cuttings, and don’t be discouraged if your first attempt isn’t perfect. Every gardener learns by doing, and the joy of nurturing a new plant from a tiny cutting is truly special. Happy propagating!
Resource:
https://identify.plantnet.org/k-world-flora/species/Myrceugenia%20exsucca%20(DC.)%20O.Berg/data