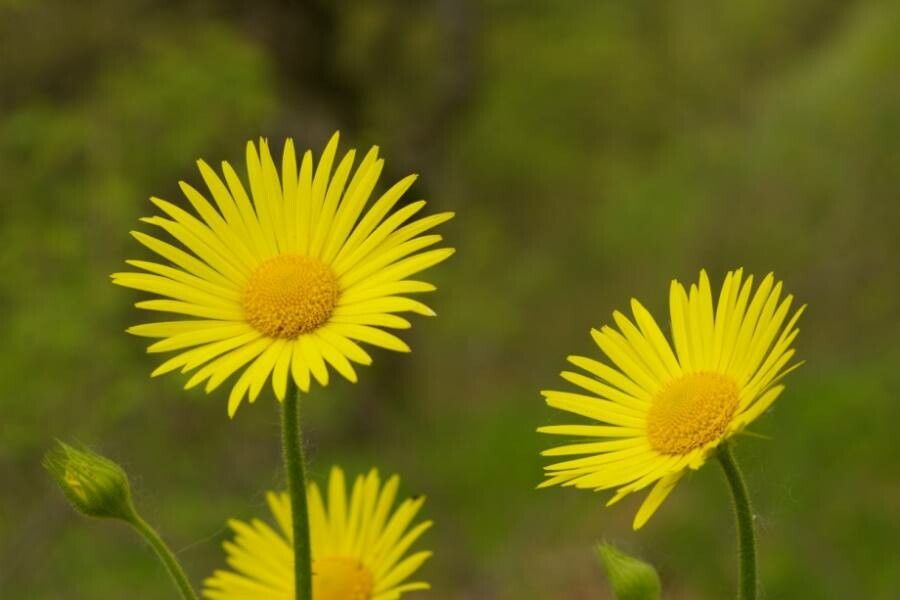
Oh, hello there, fellow plant lover! I’m so glad you’ve stopped by. Today, we’re going to talk about a really cheerful plant: Doronicum hungaricum, often called Leopard’s Bane. If you love bright, sunny yellow blooms that pop in the garden, you’re going to adore this one. Propagating it yourself is incredibly rewarding, and honestly, it’s quite forgiving, even for those of you just dipping your toes into the world of plant propagation. You’ll feel like a wizard watching those new plants emerge!
The Best Time to Start
For Doronicum hungaricum, I find the early spring is your golden ticket. Think March or April, just as things are starting to wake up and the plant is putting on new, vigorous growth. You can also have success with late summer or early autumn after the main blooming flush has passed and the plant has had a chance to recover a bit. The key is working with healthy, active growth.
Supplies You’ll Need
Gathering your tools beforehand makes the whole process so much smoother. Here’s what I usually have on hand:
- Sharp pruning shears or a clean knife: For making precise cuts.
- Small pots or seed trays: With drainage holes, of course!
- Propagating mix or well-draining potting soil: A good blend of peat moss and perlite works wonders.
- Rooting hormone powder (optional but helpful): Especially for stem cuttings.
- Watering can with a fine rose: To avoid disturbing your precious cuttings.
- Clear plastic bags or a propagator: To create a humid environment.
- Labels and a marker: To keep track of what you’ve planted.
Propagation Methods
There are a couple of ways you can go about creating more Doronicum hungaricum. Division is generally the easiest, but cuttings can also be very successful.
Division
This is my go-to method for Doronicum because the plants form nice clumps.
- Dig it Up: In early spring or fall, gently dig up the entire plant. You don’t need to be super aggressive.
- Shake Away Excess Soil: Gently brush off as much of the soil as you can so you can see the root structure clearly.
- Divide the Clumps: Look for natural divisions where the roots and shoots are already separate. You can usually pull these apart with your hands. If a division is a bit stubborn, use your clean knife or trowel to cut through the roots. Aim for pieces that have at least a few buds or shoots and some healthy roots.
- Replant: Immediately replant your divisions in their new spots in the garden or into pots. Make sure they are planted at the same depth they were previously growing. Water them in well.
Stem Cuttings
This method is a bit more hands-on but can yield a good number of new plants.
- Take Cuttings: In spring, select a healthy, non-flowering stem that’s about 4-6 inches long. Make a clean cut just below a leaf node (where a leaf attaches to the stem).
- Prepare the Cuttings: Remove the lower leaves from the cutting, leaving only the top couple of leaves. This is important to prevent them from rotting in the soil. If you’re using rooting hormone, dip the cut end into the powder.
- Plant Your Cuttings: Fill your pots with your propagating mix. Make a small hole with your finger or a pencil and insert the cutting, ensuring the leaf nodes are buried. Gently firm the soil around the base.
- Water and Cover: Water them gently to settle the soil. Then, cover the pot with a clear plastic bag or place it in a propagator. This creates a humid environment that helps prevent the cuttings from drying out. Position them in a bright spot out of direct sunlight.
The “Secret Sauce” (Pro Tips)
Here are a few little tricks I’ve picked up over the years that make a difference:
- Think “Breathable”: Don’t completely seal your plastic bags. Poke a few tiny holes or loosen them slightly every few days to allow for some air circulation. This helps prevent fungal issues.
- Bottom Heat is Your Friend: While not strictly necessary for Doronicum, if you’re struggling or want to speed things up, placing your pots on a heated propagator mat in early spring can give your cuttings a real boost. It encourages root development.
- Patience is a Virtue (Especially with Cuttings): When you think your stem cuttings might be rooting, give them a gentle tug. If you feel resistance, congratulations! Roots are forming. Don’t be discouraged if it takes 3-6 weeks.
Aftercare & Troubleshooting
Once you see signs of new growth on your stem cuttings or your divisions are settled, that’s your cue! Gradually acclimate your new plants to normal conditions by removing the plastic cover for increasing periods over a week or so. Continue to water them consistently, keeping the soil moist but not waterlogged.
The most common issue you might encounter is rot. This usually happens if the cuttings are kept too wet or don’t have enough air circulation. If you see a cutting turning black and mushy, it’s best to remove it and discard it to prevent it from spreading. Don’t be too hard on yourself; it happens to the best of us! For divisions, if they look a bit wilted after planting, a good watering and some dappled shade should help them bounce back.
So there you have it! Propagating Doronicum hungaricum is a wonderful way to fill your garden with those sunny blossoms and share them with friends. Be patient, enjoy the process of nurturing these new lives, and remember, every successful propagation is a little victory in itself. Happy gardening!
Resource:
https://identify.plantnet.org/k-world-flora/species/Doronicum%20hungaricum%20Rchb.f./data