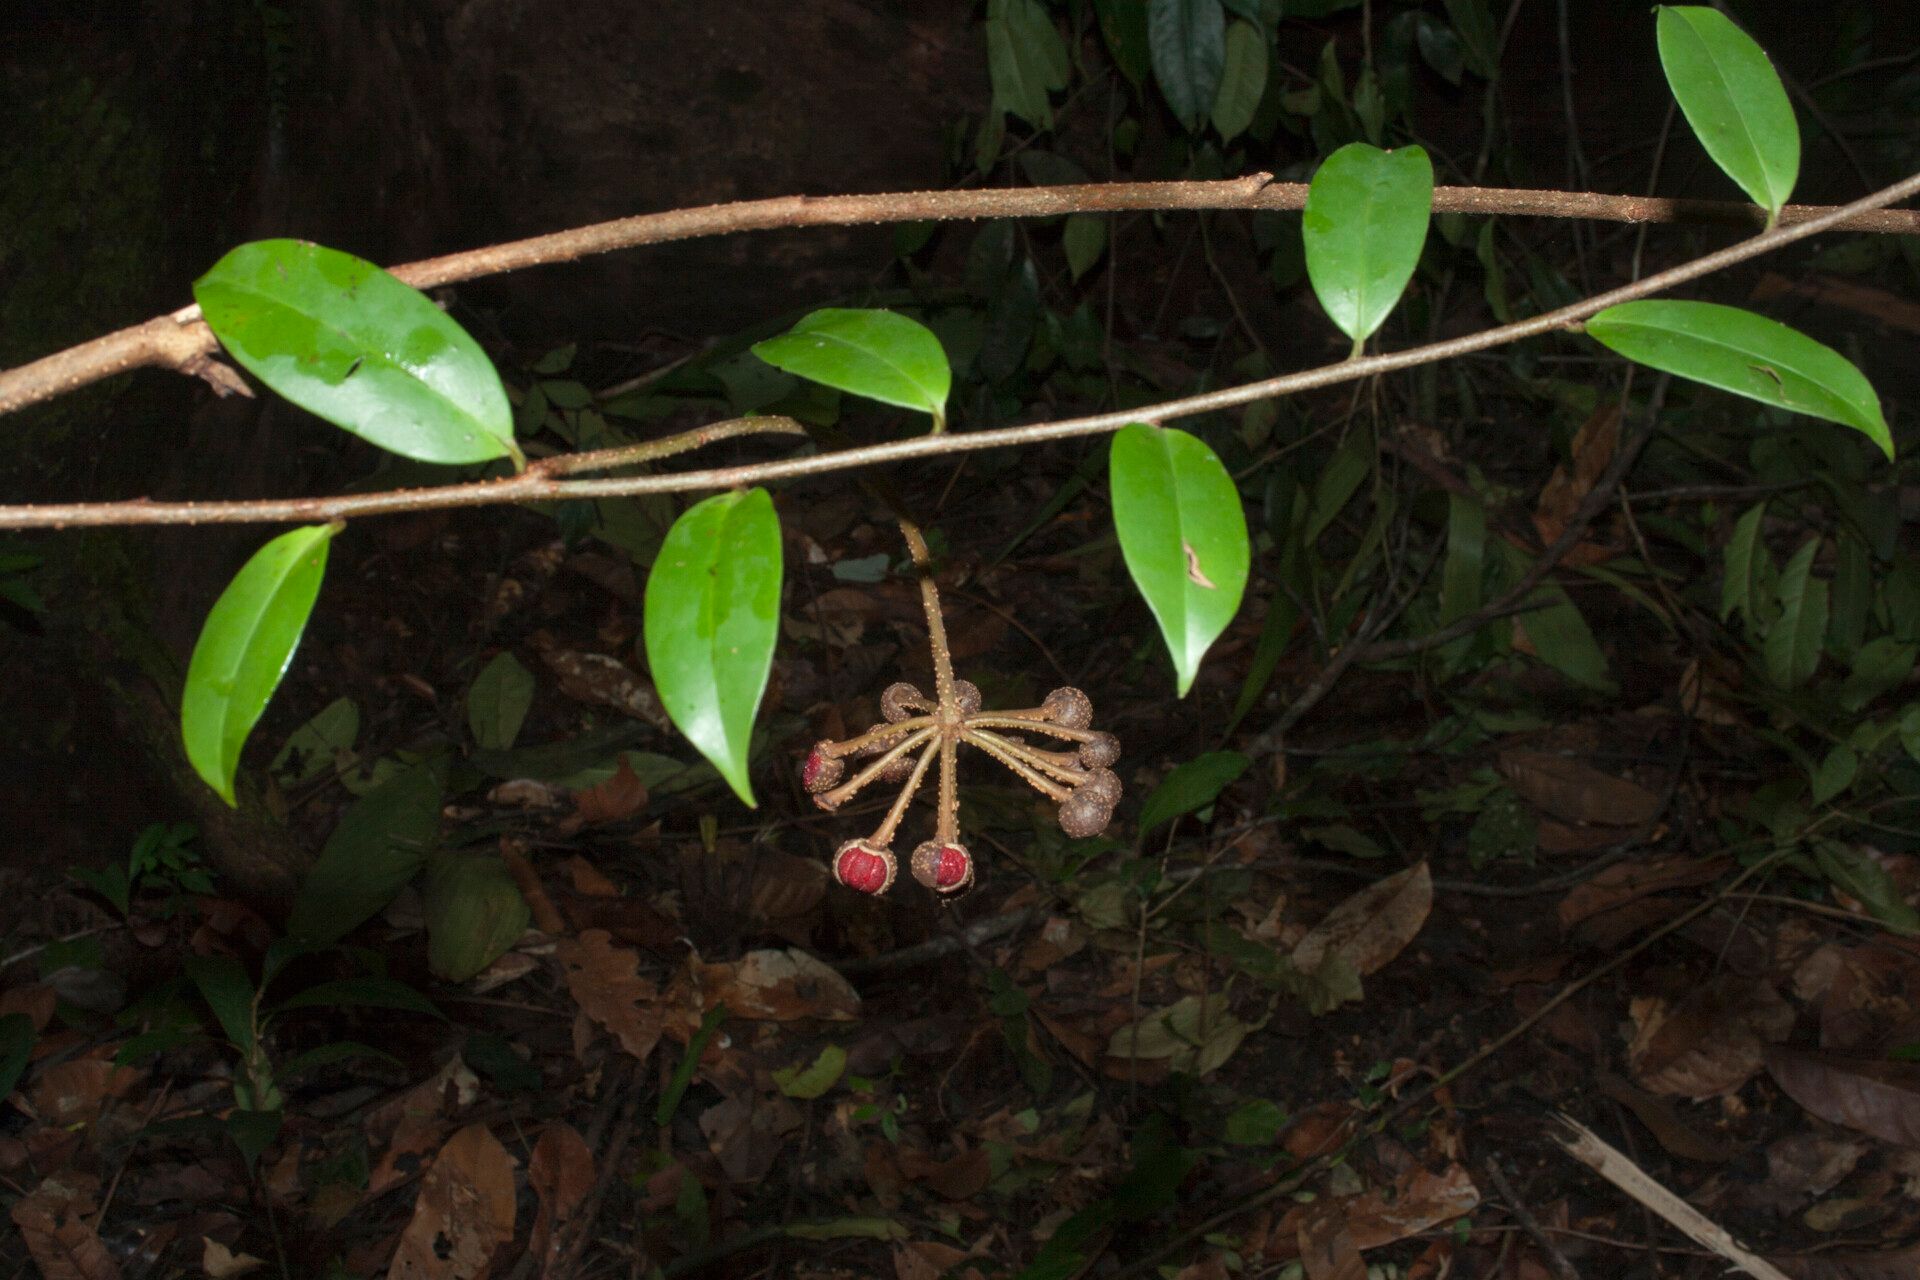
Oh, Marcgravia pedunculosa! If you’re in love with those darling, dangling aerial roots and the way they create such a unique, naturalistic vibe in a terrarium, then you’re in for a treat. Getting more of these beauties is totally doable, and honestly, it’s one of the most satisfying things you can do in the plant world. Watching a tiny bit of stem unfurl into a whole new plant? Pure magic. Now, I won’t lie to you – Marcgravia can be a tad finicky, but with a little patience and the right approach, you’ll be a pro in no time. It’s not exactly beginner-level easy, but it’s incredibly rewarding once you get the hang of it.
The Best Time to Start
For Marcgravia, aim for spring or early summer. This is when the plant is in its active growth phase, meaning it’s got the energy to put into rooting and developing new leaves. You’ll want to propagate from healthy, actively growing stems. Avoid trying this when the plant is dormant or stressed.
Supplies You’ll Need
Gathering your tools before you start is always the smartest move. Here’s what I usually have on hand:
- Sharp Pruning Shears or a Clean Knife: For making clean cuts. Sterilize them first with rubbing alcohol to prevent disease.
- Rooting Hormone Powder or Gel: This isn’t strictly essential for Marcgravia, but it can give your cuttings a significant boost in rooting success.
- Well-Draining Potting Mix: I love a mix of orchid bark, perlite, and a bit of sphagnum moss. You want something airy that won’t hold too much moisture.
- Small Pots or Propagation Trays: Clean ones, of course!
- Clear Plastic Bags or a Humidity Dome: To keep humidity levels high, which is crucial for new cuttings.
- Watering Can or Spray Bottle: For gentle watering.
Propagation Methods
There are a couple of ways to go about this, but my favorite and most reliable method is stem cuttings.
Stem Cuttings:
- Select a Healthy Stem: Look for a piece of stem that has at least two to three nodes (the points where leaves attach to the stem). These nodes are where the magic happens and roots will form.
- Make Your Cut: Using your sterilized shears or knife, make a clean cut just below a node. You can take cuttings of varying lengths, but generally, 3-5 inches is a good starting point.
- Prepare the Cutting: Gently remove any leaves from the bottom node. This prevents them from rotting in the soil or water. You can leave one or two small, top leaves on to help the cutting photosynthesize.
- Apply Rooting Hormone (Optional but Recommended): Dip the cut end of the stem into your rooting hormone powder or gel. Tap off any excess.
- Plant Your Cuttings:
- In Pots: Fill your small pots with your well-draining mix. Make a small hole with your finger or a pencil and insert the cutting, ensuring the node(s) are buried in the soil. Gently firm the soil around the stem.
- In Water: If you prefer water propagation, place the prepared cutting in a small container of clean water so that the nodes are submerged.
Don’t overcrowd your pots! Give each cutting a little space.
The “Secret Sauce” (Pro Tips)
Here are a couple of things I’ve learned over the years that really make a difference:
- High Humidity is King: This is non-negotiable for Marcgravia. Once your cuttings are planted, cover the pots loosely with a clear plastic bag or place them under a humidity dome. You want to create a mini greenhouse effect. Ensure there’s still some airflow to prevent mold.
- Warm Feet, Happy Roots: While not absolutely necessary, placing your propagation pots on a heat mat can significantly speed up root development. Marcgravia just loves a little extra warmth from below.
- Don’t Drown Those Leaves: If you’re water propagating, make absolutely sure that no leaves are touching the water. They will rot and take your cutting with them. Only the leaf stems or bare nodes should be submerged.
Aftercare & Troubleshooting
Once your cuttings are planted and nestled in their humid environment, it’s time for patience.
- Watering: Water sparingly but consistently. The goal is to keep the soil moist but not waterlogged. A good way to check is to feel the weight of the pot. If it feels light, it’s probably time for a gentle watering. Avoid water sitting in the saucer.
- Light: Place your propagating cuttings in a spot with bright, indirect light. Direct sun will scorch them, while too little light will stunt their growth.
- Rooting Time: It can take anywhere from 4–8 weeks (or even longer) for roots to develop. Don’t be discouraged if you don’t see immediate results! You can gently tug on a cutting to feel for resistance, or look for new leaf growth as a sign of successful rooting.
- Troubleshooting Rot: The most common sign of failure is rot, which looks like a mushy, blackened stem. This is usually due to too much moisture and poor air circulation. If you see this, unfortunately, that cutting is likely lost. Discard it and try again with better drainage and airflow. Another issue can be a cutting simply shriveling up – this usually means it’s too dry, or the environment isn’t humid enough.
A Encouraging Closing
So there you have it! Propagating Marcgravia pedunculosa is a journey, and like all good gardening projects, it’s about learning and observing. Don’t be afraid to experiment a little. Every plant is a little different, and you’ll develop your own feel for what yours needs. Be patient, be observant, and most importantly, enjoy the process of bringing new life into your home. Happy propagating!
Resource: