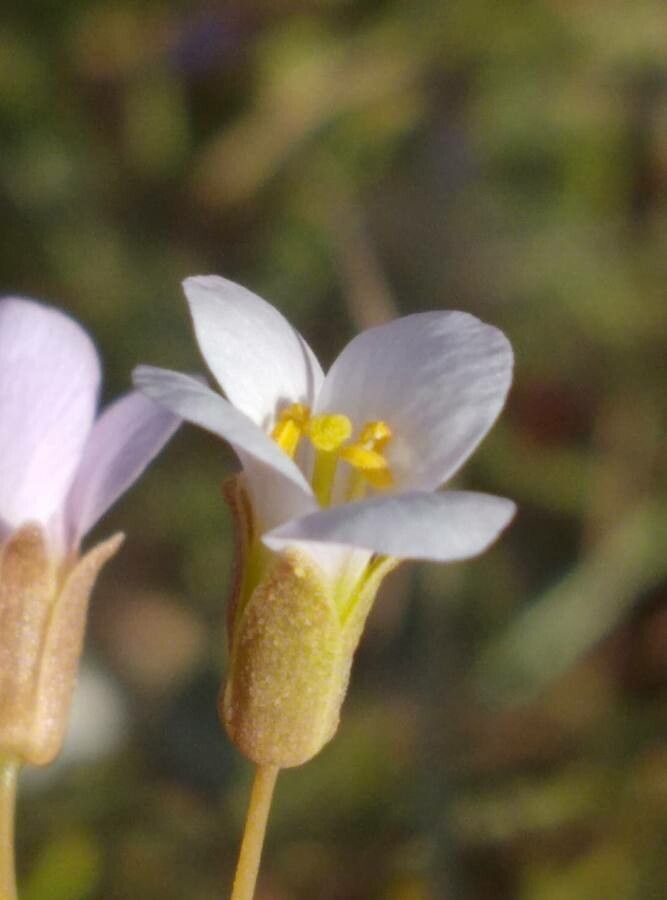
Hello, fellow garden enthusiasts! Today, we’re diving into the wonderful world of Savignya parviflora, a plant that brings such delicate charm to any space. If you, like me, are captivated by its fine foliage and graceful growth, you’re in for a treat. Propagating this beauty yourself is incredibly rewarding. You get more plants to share (or keep all to yourself – no judgment here!), and it’s a fantastic way to deepen your connection with your green companions. While Savignya parviflora can be a tad particular, it’s not at all out of reach for a keen beginner. A little patience goes a long way!
The Best Time to Start
For the highest success rate with Savignya parviflora, I always reach for my secateurs in spring or early summer. This is when the plant is actively growing and has the most energy to put into forming roots. You’re looking for stems that are slightly firm but not woody – often referred to as “semi-hardwood” cuttings. Think about the new growth that’s elongated a bit but still has some flexibility.
Supplies You’ll Need
Here’s what I usually gather before I start:
- Sharp, clean pruning shears or a sharp knife: Essential for making clean cuts without damaging the plant.
- Rooting hormone (optional, but helpful): Talc or gel formulas work well.
- Well-draining potting mix: A good blend of peat moss, perlite, and a bit of sharp sand is ideal. You can also buy a specialized seed-starting or propagation mix.
- Small pots or seedling trays: Clean ones are crucial to prevent disease.
- A plastic bag or propagator lid: To create a humid environment.
- Watering can or spray bottle: For gentle watering.
- Labels: To keep track of what you’ve propagated!
Propagation Methods
Let’s get our hands dirty with a couple of reliable methods for Savignya parviflora:
Stem Cuttings
This is my go-to method for this plant.
- Take Cuttings: Select healthy stems that are about 4-6 inches long. Make a clean cut just below a leaf node (the point where leaves attach to the stem).
- Prepare the Cuttings: Gently remove the lower leaves, leaving just a few at the top. If your cuttings are particularly large, you can even ‘pinch’ back the top leaves to reduce water loss.
- Apply Rooting Hormone (Optional): Dip the cut end into the rooting hormone, tapping off any excess.
- Plant the Cuttings: Make a small hole in your prepared potting mix with a pencil or your finger, and carefully insert the cut end of the stem. Firm the soil gently around it.
- Water Gently: Water the potting mix thoroughly, but avoid soggy soil. A good spray from your spray bottle is often enough to start.
- Create Humidity: Cover the pot or tray with a plastic bag or a propagator lid. Make sure the leaves aren’t touching the plastic if possible.
- Place in Bright, Indirect Light: Find a warm spot, but keep it out of direct sunlight, which can scorch the tender cuttings.
Water Propagation
This method is so satisfying to watch!
- Select and Cut Stems: Similar to stem cuttings, choose healthy stems, about 4-6 inches long, and cut just below a leaf node.
- Remove Lower Leaves: Take off all the leaves that would be submerged in water.
- Place in Water: Put the cuttings in a clean jar or glass of water.
- Change Water Regularly: This is key! Change the water every 2-3 days to keep it fresh and prevent bacteria from developing.
- Location: Place the jar in bright, indirect light, just like with stem cuttings. You’ll start to see tiny white roots emerge from the nodes.
The “Secret Sauce” (Pro Tips)
After years of coaxing stubborn plants into rooting, here are a few things I’ve learned that make a difference:
- Don’t Let the Leaves Touch the Water: In water propagation, if the leaves are submerged, they’re much more likely to rot quickly. I always make sure my cuttings have only the stem ends in the water.
- Bottom Heat is Magic: If you have space, using a heated propagator mat under your pots can significantly speed up root development. It mimics the warmth of spring soil and gives those developing roots a real boost.
- Cleanliness is Next to Godliness: I cannot stress this enough. Sterilize your tools and pots before you begin. A diluted bleach solution or even just hot, soapy water can do wonders to prevent fungal diseases that can wipe out your little propagations before they even start.
Aftercare & Troubleshooting
Once you see those little roots starting to peek out (you’ll see them in the water, or you can gently tug on a cutting to feel resistance), it’s time to move them.
- For Water Cuttings: Once the roots are about an inch long, it’s time to pot them up into your well-draining potting mix. Treat them as you would a very young seedling – keep the soil lightly moist and continue with bright, indirect light.
- For Cuttings in Pots: You’ll know they’re ready when you see new leaf growth. You can also gently tug – if there’s resistance, they’ve rooted. Gradually acclimate them to lower humidity by opening the plastic bag or propagator lid a little more each day over a week.
Common Signs of Trouble: The biggest culprits are usually rot and dehydration. If your cuttings turn black or mushy, it’s likely rot, often due to too much moisture and not enough air circulation. If they start to wilt dramatically and look dry, despite your watering efforts, they might be suffering from dehydration. In this case, you can try increasing humidity again, but sometimes it’s a sign they just didn’t take. Don’t be disheartened!
A Encouraging Closing
So there you have it! Propagating Savignya parviflora is a wonderful journey. Be patient; sometimes it takes a few weeks, or even longer, to see those roots appear. Don’t be afraid to experiment, and celebrate every little success. Watching a tiny cutting unfurl its first new leaves is one of the most satisfying rewards of gardening. Happy propagating!
Resource:
https://identify.plantnet.org/k-world-flora/species/Savignya%20parviflora%20(Delile)%20Webb/data