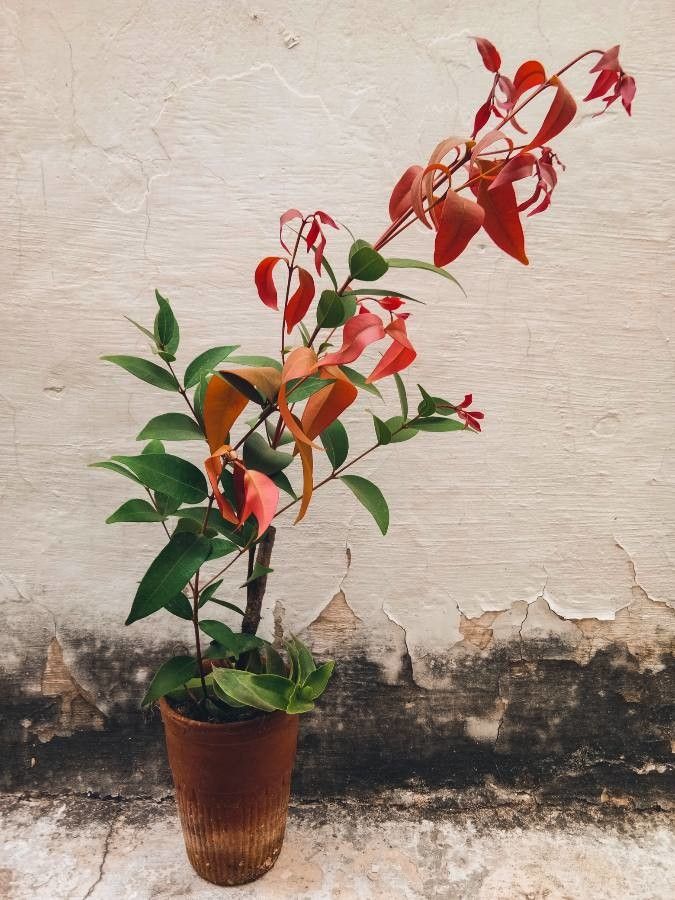
Hello, fellow plant lovers! Today, I want to talk about a truly delightful plant that’s been bringing so much joy to my garden: Syzygium abbreviatum. It’s a fantastic choice, especially if you appreciate having a bit of the tropics in your life. Its glossy leaves and potential for beautiful flowering make it a real showstopper. Best of all, it’s quite rewarding to propagate! For beginners, I’d say it’s moderately easy. A little patience goes a long way.
The Best Time to Start
For a truly stellar success rate, I always recommend starting your Syzygium abbreviatum propagation efforts in the late spring or early summer. This is when the plant is in its most vigorous growth phase, meaning cuttings have a better chance of taking root quickly and healthily. Look for new, semi-hardened growth – it’s often a lighter green than the older, woodier stems.
Supplies You’ll Need
Before we dive in, let’s gather our tools. Think of this as prepping for a little gardening adventure!
- Sharp pruning shears or a clean, sharp knife: For making clean cuts.
- Rooting hormone (optional but recommended): I like to use a powdered version.
- Small pots or seed trays: Clean ones are key!
- A well-draining potting mix: I usually use a blend of perlite, peat moss, and a bit of coarser sand. A good commercial seed starting mix works wonders too.
- Plastic bags or a propagator lid: To create a humid environment.
- Watering can with a fine rose or a spray bottle: Gentle watering is best.
- Labels: So you don’t forget what you’ve planted where!
Propagation Methods
There are a few ways to encourage new Syzygium abbreviatum life, but my go-to is stem cuttings. It’s straightforward and usually yields the best results for me.
Stem Cuttings
- Take Your Cuttings: First, select a healthy stem with at least two or three sets of leaves. Using your sharp shears or knife, make a clean cut just below a leaf node (where a leaf attaches to the stem). You’re aiming for cuttings that are about 4-6 inches long. Remove the lower leaves, leaving just the top two or three. This prevents them from rotting in the soil.
- Prepare the Cuttings: If you’re using rooting hormone, dip the cut end of each stem into the powder, tapping off any excess. This little boost can really help those roots form.
- Potting Up: Fill your small pots or trays with your well-draining potting mix. Use your finger or a pencil to create a small hole in the center of each pot.
- Planting: Gently insert the cut end of your Syzygium abbreviatum cutting into the hole, making sure the nodes where you removed the leaves are buried in the soil. Firm the soil gently around the stem to ensure good contact.
- Create Humidity: Water the soil lightly. Then, cover the pots with a plastic bag or propagator lid. This traps moisture and creates a mini greenhouse effect, which is crucial for cuttings to root. If using a plastic bag, you might need a few small stakes to keep it from touching the leaves.
The “Secret Sauce” (Pro Tips)
Over the years, I’ve learned a few little tricks that make a big difference.
- Bottom Heat is Your Friend: If you have a seedling heat mat, pop your cuttings on it. Even a little warmth from below can significantly speed up root development. It mimics the natural warmth of the soil in warmer seasons.
- Ditch the Dull Blade: Seriously, a clean, sharp cut is non-negotiable. A dull tool will crush the stem’s vascular tissue, making it harder for it to heal and for roots to form. Think of it like surgery – precision matters!
- Patience, Young Grasshopper: Don’t be tempted to keep pulling your cuttings up to check for roots! I know it’s tempting, but you’ll just disturb any developing root system. Give them at least 4-6 weeks before you even think about gently tugging.
Aftercare & Troubleshooting
Once you see new growth emerging from your Syzygium abbreviatum cuttings – a tiny leaf unfurling, for instance – it’s a good sign that roots have formed! Now it’s time for a bit of tender loving care.
Gradually acclimate your new plants to normal humidity. Open the propagator lid or the plastic bag for an hour or two each day, slowly increasing the time over a week. Continue to water gently when the top inch of soil feels dry.
The most common issue you might encounter is rot. This usually happens if the environment is too wet and lacks airflow, or if your potting mix isn’t draining well. You’ll see the stem turn mushy and brown, often near the soil line. If this happens, sadly, that cutting is lost. The best prevention is a well-draining mix and good airflow once roots have developed.
A Encouraging Closing
Propagating plants is one of my favorite ways to connect with nature. It’s a process of hope and patience, and seeing a tiny cutting transform into a beautiful new plant is truly magical. Don’t get discouraged if every cutting doesn’t make it; that’s all part of the learning curve. Keep trying, enjoy the journey, and soon you’ll have a whole new family of Syzygium abbreviatum to admire! Happy gardening!
Resource:
https://identify.plantnet.org/k-world-flora/species/Syzygium%20abbreviatum%20Merr./data