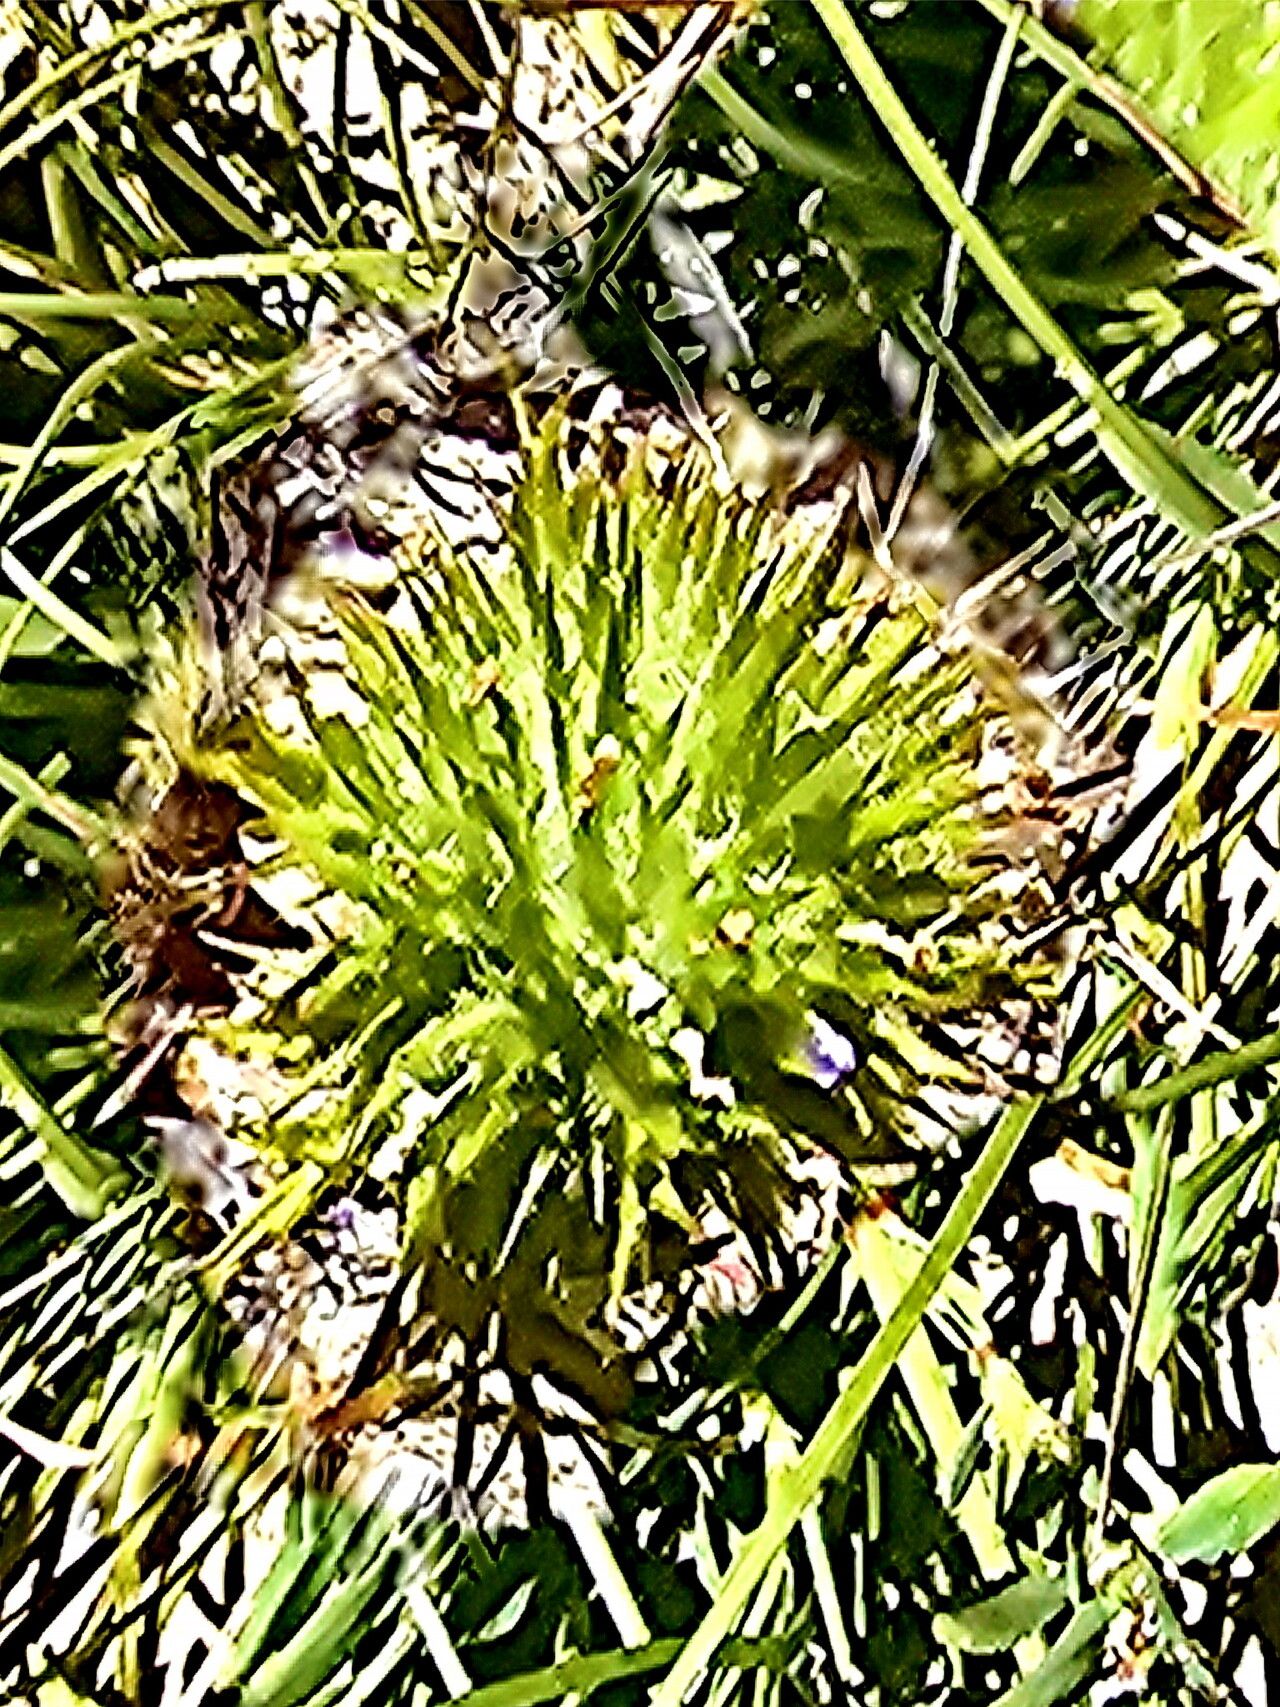
Hello fellow garden enthusiasts! Today, I want to chat about a little charmer that’s been brightening my garden for years: Navarretia squarrosa, also known commonly as Skunkweed or Tartarian Sumac. Now, don’t let that common name fool you! While it might have a reputation for its scent, this delicate bloom, with its intricate clusters of lavender-blue flowers, is a real showstopper. It’s a native wildflower that attracts all sorts of beneficial insects, and coaxing new life from it is incredibly satisfying. If you’re new to propagation, I’d say Navarretia falls into the intermediate category. It’s not impossible, but it does require a bit of finesse and attention to detail.
The Best Time to Start
For Navarretia squarrosa, the sweet spot for propagation, especially from seed, is late winter to early spring. Think of it as mimicking nature’s timing. You want to sow your seeds when they’ve had their chill period and are ready to sprout as the days begin to lengthen and the soil warms up. If you’re aiming for vegetative propagation, like taking cuttings, doing so in late spring or early summer, when the plant is actively growing, will give you the best chance of success.
Supplies You’ll Need
Before we get our hands dirty, let’s gather our tools:
- Seed-starting trays or small pots: Clean and ready to go.
- Seed-starting mix: A light, airy, and sterile blend is crucial. I often use a mix of coco coir, perlite, and a little bit of sterile compost.
- Gravel or grit: For drainage if you’re using deeper pots.
- Fine-tipped tweezers: Handy for placing tiny seeds.
- Spray bottle: For gentle watering.
- Rooting hormone (optional, but helpful for cuttings): A powder or gel form.
- Sharp, clean pruners or a craft knife: For taking cuttings.
- A warm, bright location: But out of direct, scorching sun.
- Labels: To keep track of what you’ve planted!
Propagation Methods
Navarretia squarrosa is most commonly propagated by seed, and it’s honestly the most reliable method for most gardeners.
1. From Seed:
This is where the magic truly begins!
- Collect Mature Seeds: Wait until the seed pods have dried on the plant. They’ll typically turn brown and brittle. You can collect them by carefully snipping off the entire seed head and placing it upside down in a paper bag to dry completely. Shake the bag gently over a clean surface to release the tiny seeds.
- Stratification (if needed): Many native plants, including Navarretia, benefit from a period of cold, moist stratification to break dormancy. This mimics winter. Simply mix your seeds with a bit of dampened sphagnum moss or vermiculite in a sealed plastic bag and pop it in the refrigerator for 4-6 weeks. Check it periodically to ensure the moss stays slightly moist, not wet.
- Sowing: Once stratified (or if you’re skipping this step, and your seeds are fresh), fill your seed trays or pots with the seed-starting mix. Lightly dampen the mix.
- Planting: Navarretia seeds are tiny! Use your tweezers to carefully scatter them over the surface of the soil. They don’t need to be buried deeply; a light dusting of the seed-starting mix or vermiculite over the top is sufficient.
- Watering: Gently mist the surface with your spray bottle. You want the soil to be consistently moist, but not waterlogged.
- Germination: Place the trays in a warm, bright spot, but away from harsh direct sunlight. Germination can be a bit variable, sometimes taking a few weeks. Be patient!
2. Stem Cuttings (Intermediate)
While less common, you can try propagating Navarretia from stem cuttings, particularly from younger, actively growing plants.
- Take Cuttings: In late spring or early summer, select healthy, non-flowering stems. Using your sharp pruners, take cuttings about 3-4 inches long. Make a clean cut just below a leaf node (where a leaf meets the stem).
- Prepare Cuttings: Gently remove the lower leaves, leaving just a few at the top. If you’re using rooting hormone, dip the cut end into it, tapping off any excess.
- Plant Cuttings: Fill small pots or cell trays with your well-draining seed-starting mix. Make a small hole with a pencil or your finger.
- Insert and Water: Gently insert the base of each cutting into the hole, firming the soil around it. Water gently to settle the soil.
- Provide Humidity: Cuttings need high humidity to root. You can achieve this by covering the pots with a clear plastic bag or a propagator lid. Ensure the leaves don’t touch the plastic. Place them in a warm, bright location, out of direct sun.
The “Secret Sauce” (Pro Tips)
Here are a couple of tricks I’ve learned over the years that can really boost your success:
- Don’t Sow Too Deeply: I can’t stress this enough with tiny seeds like Navarretia. They need light to germinate. Just a whisper of soil on top is all they need. Too deep, and they’ll exhaust their energy reserves before reaching the surface.
- Consider Bottom Heat (for cuttings): If you’re struggling with cuttings, a seedling heat mat can be a game-changer. It provides gentle warmth to the base of the cutting, encouraging root development. Just be sure to check it doesn’t dry out your soil too quickly.
Aftercare & Troubleshooting
Once your seeds have germinated or your cuttings have rooted (you might see new growth or feel a bit of resistance when gently tugging a cutting), it’s time for a little extra care.
- Hardening Off: This is crucial for seedlings. Gradually expose your young plants to outdoor conditions over a week or two before transplanting. Start with an hour or two in a sheltered spot, increasing the time each day.
- Transplanting: Once seedlings are strong enough to handle, carefully transplant them into larger pots or directly into your garden, spacing them according to their mature size.
- Watering: Keep the soil consistently moist, but not soggy, especially for young plants. As they mature, Navarretia can tolerate drier conditions, but consistent moisture is key during establishment.
- Troubleshooting: The most common issue you’ll face is damping off. This is a fungal disease that attacks seedlings at the soil line, causing them to rot and collapse. It’s usually caused by overwatering and poor air circulation. If you see this, remove the affected seedlings immediately and try to improve air flow and reduce watering frequency. For cuttings, signs of failure usually manifest as wilting, yellowing leaves, or no new growth after a prolonged period. This could be due to lack of rooting, rotting from too much moisture, or insufficient light.
Keep Growing!
Propagating Navarretia squarrosa is a journey, and like any good garden endeavor, it requires a little patience. Don’t be discouraged if your first attempt isn’t a wild success. Each seed you sow and each cutting you take is a learning experience. Enjoy the process, celebrate every little sprout, and soon you’ll have a delightful patch of these charming native blooms to share! Happy gardening!
Resource: