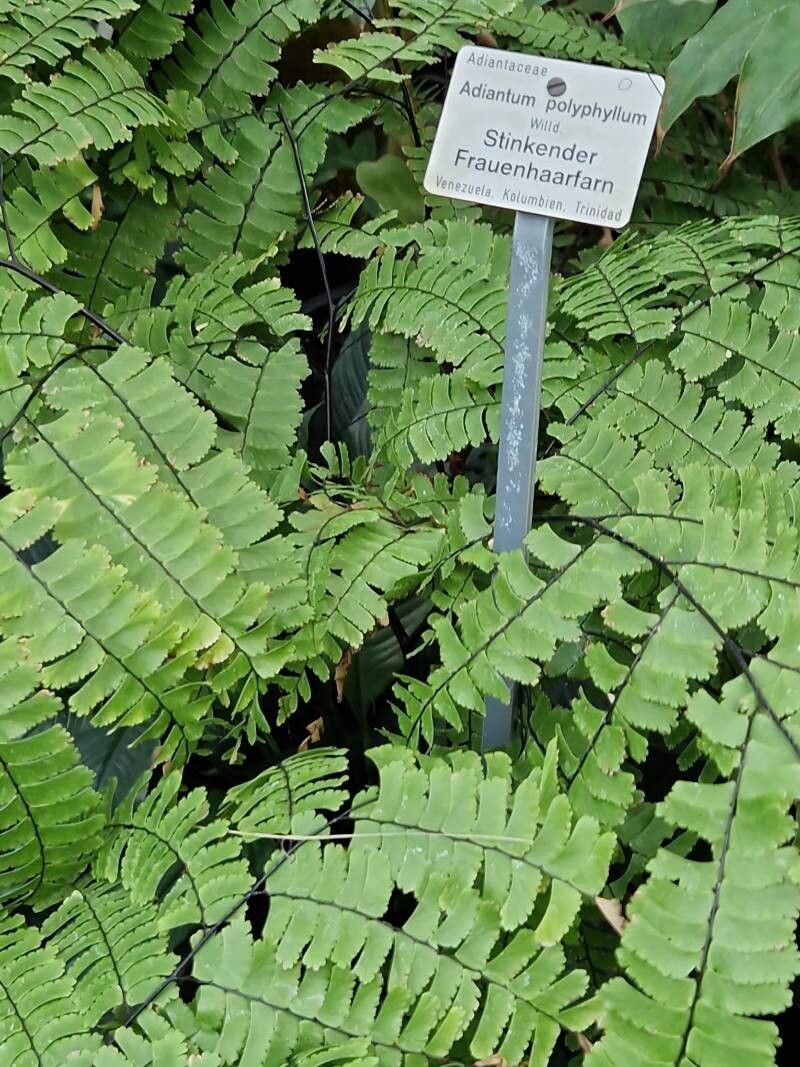
Oh, Adiantum polyphyllum! Isn’t it just a dream of a fern? Those delicate, feathery fronds, the way they seem to just dance in the slightest breeze… it’s no wonder why so many of us fall head over heels for this beauty. And the joy of bringing another one to life from a tiny piece of the original? Pure magic!
Now, about propagating Adiantum polyphyllum. Is it a walk in the park? I’d say it’s more like a gentle stroll. It’s not the absolute easiest fern to start from scratch, but it’s certainly achievable for a motivated beginner. With a little patience and the right approach, you’ll be enjoying new ferns in no time. It’s a rewarding journey, for sure.
The Best Time to Start
My favorite time to get busy with propagation is when things are really humming in the garden, and that typically means late spring into early summer. Our plants are bursting with energy then, pushing out new growth that’s full of life. You’ll see those brand-new fronds unfurling, and that’s your cue – these are usually the healthiest and most responsive parts to work with. Waiting until you see signs of vigorous new growth will give you the best shot at success.
Supplies You’ll Need
Before we dive in, let’s gather our little helpers. It’s always handy to have these at the ready:
- Sharp Pruning Shears or a Clean Knife: For making neat cuts. Dull tools can crush delicate tissues.
- Well-Draining Potting Mix: A good fern mix or a blend of peat moss, perlite, and a bit of orchid bark works wonders. Adiantum hates soggy feet!
- Small Pots or Trays: Clean containers are a must to prevent disease. Make sure they have drainage holes.
- Plastic Bags or a Propagator: To create that humid environment our ferns crave.
- Rooting Hormone (Optional but helpful): A powdered hormone can give cuttings a little boost.
- Watering Can with a Fine Rose: For gentle watering.
- Spray Bottle: For misting.
Propagation Methods
There are a couple of ways we can coax new ferns into existence from our beloved Adiantum polyphyllum. I find division to be the most straightforward for this particular fern, especially if you have a mature, healthy specimen.
Method 1: Division
This is like giving your fern a little haircut and a new home.
- Gently Remove from Pot: Carefully take your Adiantum polyphyllum out of its current pot. It’s often easier to do this when the soil is slightly dry.
- Inspect the Root Ball: Look for natural divisions. These are sections of the plant where there are distinct crowns and root systems. You might be able to see where one plant seems to end and another begins.
- Clean the Roots (Optional): You can gently wash away some of the soil from the root ball. This helps you see the divisions more clearly and remove any potential pests or diseases.
- Separate the Divisions: Using your clean pruning shears or a sturdy knife, carefully cut or tease apart the sections. Aim for divisions that have healthy roots and at least one or two fronds.
- Pot Up: Pot each division into its own small pot filled with fresh, well-draining potting mix. Make sure the top of the root ball is level with the soil surface.
- Water Gently: Water thoroughly, allowing excess water to drain away.
- Create Humidity: Place the newly potted divisions in a plastic bag or a propagator to maintain high humidity. You can also loosely cover them with a clear plastic dome.
Method 2: Stem Cuttings (More Advanced)
This is a bit trickier with Adiantum, as they don’t always root as readily from stem cuttings as some other plants. Success here relies heavily on humidity and timing.
- Select a Healthy Stolon/Rhizome Section: Look for a healthy, actively growing part of the rhizome (the creeping underground stem) that has a frond emerging from it. You want a section that’s at least an inch or two long and still connected to the main plant.
- Make a Clean Cut: Using your sharpest, cleanest tool, sever the identified section, ensuring it has a good length of rhizome attached.
- Prepare the Cutting: You can dip the cut end into rooting hormone if you like.
- Planting: Lightly press the rhizome portion into the surface of your pre-moistened, well-draining potting mix in a small pot. The frond should be above the soil.
- Provide High Humidity: This is key! Cover the pot with a clear plastic bag, a propagator lid, or keep it inside a terrarium.
- Bright, Indirect Light: Place the pot in a bright location but out of direct sunlight, which can scorch the delicate fronds.
The “Secret Sauce” (Pro Tips)
Alright, let’s get into a couple of things that I’ve learned over the years that really make a difference for these delicate ferns.
- Don’t Let the Fronds Touch the Water: If you’re using the cutting method and things are a bit moist, try to ensure the fronds aren’t sitting directly in water. This can lead to rot very quickly. Sometimes, gently propping them up can help.
- Bottom Heat is a Game Changer: For cuttings, a gentle warmth from below can significantly speed up root development. A seed-starting mat set on a low setting can be your best friend here. It encourages those roots to get going without cooking the top of the plant.
Aftercare & Troubleshooting
Once your divisions have settled in or your cuttings show signs of life (like new frond buds appearing), you’ll want to gradually acclimate them to less humid conditions.
- Slowly Reduce Humidity: Over a week or two, start to open the plastic bag or propagator a little more each day. This prevents shock.
- Water Consistently, but Don’t Drown: Keep the soil evenly moist but never waterlogged. You’ll get a feel for it, but it should feel like a wrung-out sponge.
- Continue Bright, Indirect Light: They still love that gentle light.
- Watch for Rot: This is the biggest hurdle. If your cuttings go limp, blacken, and seem to disintegrate, it’s usually a sign of too much moisture and not enough air circulation. If a division starts to look sickly, check the roots for mushiness – that’s rot. You might need to repot with fresh, dry soil and revise your watering habits.
- Patience is Key: It can take several weeks, sometimes even a couple of months, for new roots to develop robustly or for divisions to start sending up new fronds. Don’t get discouraged!
A Encouraging Closing
Growing new plants, especially beautiful ones like Adiantum polyphyllum, is a practice in patience and observation. Don’t be afraid to experiment a little. Celebrate the successes, and learn from the challenges. Enjoy the process, and soon you’ll have twice the frilly joy to admire! Happy gardening!
Resource:
https://identify.plantnet.org/k-world-flora/species/Adiantum%20polyphyllum%20Willd./data