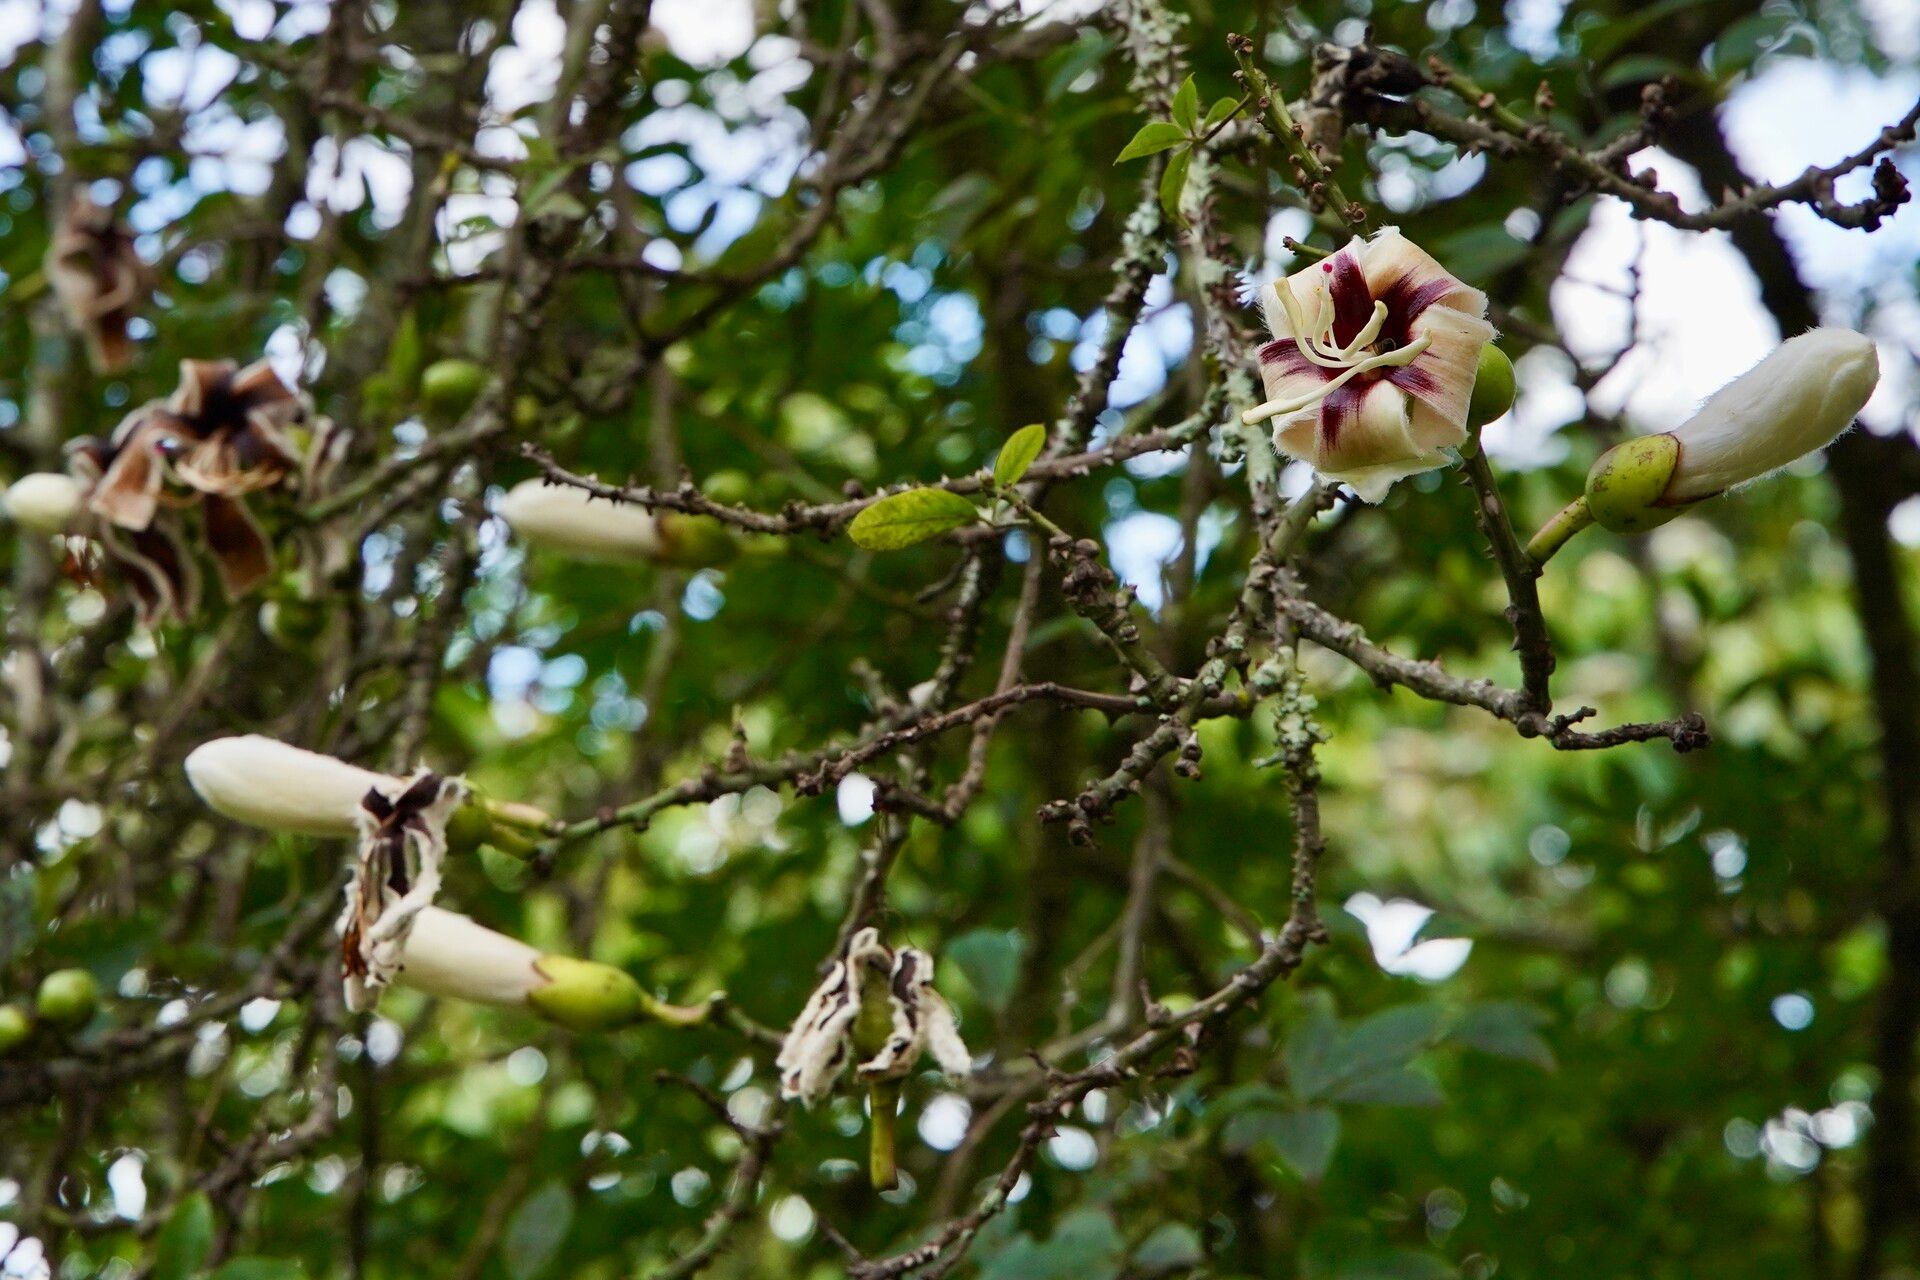
Oh, hello there, fellow plant lover! Grab a mug, settle in. Today, we’re diving into the wonderful world of Ceiba erianthos, or as some of us affectionately call it, the floss silk tree. Isn’t it just a marvel? With those show-stopping, vibrant blossoms that seem to erupt out of nowhere, and that lovely, airy canopy… it’s a true statement piece in any garden. And guess what? Propagating your own beauty is not only doable, but it’s such a rewarding journey. For the beginner gardener, I’d say it’s moderately challenging, but with a little patience and the right know-how, you’ll be well on your way.
The Best Time to Start
When it comes to Ceiba erianthos, spring is truly your golden ticket. As the plant wakes up from its winter slumber and begins its vigorous growth, it’s most receptive to propagation. Aim for the period after the last frost has passed, but before the heat of summer really kicks in. This gives your new cuttings ample time to establish before facing extreme temperatures.
Supplies You’ll Need
Alright, let’s get our toolkit ready. Here’s what you’ll want to have on hand:
- Sharp, clean pruning shears or a sturdy knife: Essential for making clean cuts. Sterilize them with rubbing alcohol before and after use!
- A well-draining potting mix: I like to use a blend of equal parts peat moss or coco coir, perlite, and a bit of compost. This ensures good aeration and moisture retention.
- Rooting hormone powder or gel: This really gives your cuttings a boost, though it’s not always strictly necessary for Ceiba.
- Small pots or propagation trays: Clean pots are key to preventing diseases.
- Plastic bags or a propagator lid: To create a humid environment for your cuttings.
- Watering can with a fine rose attachment: For gentle watering.
Propagation Methods
While there are a few ways to go about it, I find stem cuttings to be the most reliable method for Ceiba erianthos.
- Take Your Cuttings: In late spring, when the new growth is semi-hardwood (meaning it’s starting to firm up but still has a bit of flexibility), select a healthy, vigorous stem.
- Make the Cut: Using your sterilized shears or knife, make a clean cut just below a leaf node (where a leaf attaches to the stem). Aim for cuttings that are about 6-8 inches long.
- Prepare the Cutting: Carefully remove the lower leaves from the cutting, leaving just two or three at the very top. This prevents them from rotting in the soil and encourages the plant to direct its energy towards root formation.
- Apply Rooting Hormone: Dip the cut end of the stem into your rooting hormone powder or gel, tapping off any excess.
- Plant the Cuttings: Fill your small pots or trays with your prepared potting mix. Make a hole in the center of the soil with your finger or a pencil. Gently insert the cutting into the hole, ensuring the base of the stem is well-covered by the soil. Firm the soil gently around the cutting to ensure good contact.
- Water and Cover: Water the soil thoroughly but gently. Then, cover the pots with plastic bags or place them in a propagator lid. This traps humidity, which is crucial for cuttings to root.
The “Secret Sauce” (Pro Tips)
You asked for insider tips, and I’m happy to share! These little tricks have saved me many a propagation attempt.
- Bottom Heat is Your Friend: If you have an old heat mat designed for seedlings, use it! Placing your pots on a gentle heat source can significantly speed up root development. It mimics the warmth of spring soil and gives those roots a real nudge.
- Don’t Overwater: I know it’s tempting to keep things perpetually moist, but let the top inch of soil dry out slightly between waterings. Soggy soil is a recipe for rot, and we want healthy roots, not soggy stems!
- Location, Location, Location: Place your cuttings in a bright spot, but out of direct, hot sunlight. Too much sun and your cuttings will fry; too little and they won’t have enough energy. A bright window with indirect light is often perfect.
Aftercare & Troubleshooting
Once you see signs of new growth emerging from the top of your cutting – a little leaf unfurling, perhaps – that’s a good indicator that roots are forming! At this point, you can gradually begin to acclimate your new plant to the outside air by opening the plastic bag a little each day.
Keep the soil consistently moist but not waterlogged. You can gently tug on a cutting after a few weeks; if there’s resistance, congratulations, you have roots! If you notice your cuttings wilting excessively, turning black and mushy at the base, or just looking generally sad and refusing to sprout, it’s likely due to overwatering, lack of humidity, or poor air circulation. Don’t be disheartened if a few don’t make it. It happens to all of us! Just clean up any rotted material and try again.
A Encouraging Closing
Propagating Ceiba erianthos is a delightful way to connect more deeply with these magnificent trees. It requires a touch of patience, a sprinkle of observation, and a whole lot of belief in your green thumb. Enjoy the process, celebrate each little success, and soon you’ll have a new floss silk tree to admire, share, or plant in your own garden. Happy gardening!
Resource:
https://identify.plantnet.org/k-world-flora/species/Ceiba%20erianthos%20(Cav.)%20K.Schum./data