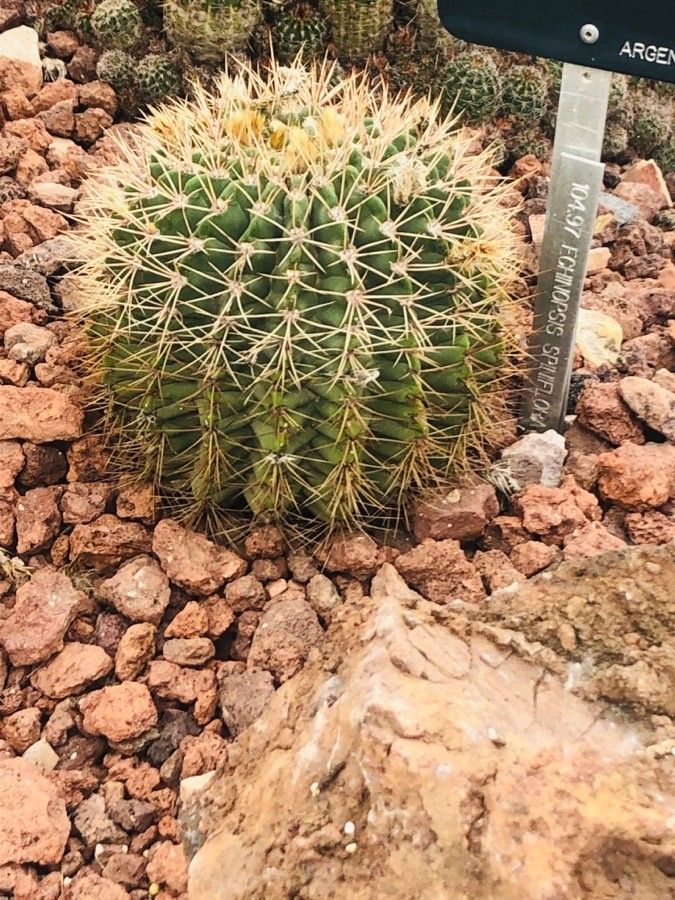
Oh, hello there! Come on in, grab a cuppa. Today, we’re going to chat about a little cactus that’s absolutely delightful: Acanthocalycium spiniflorum.
Why You’ll Love Propagating Acanthocalycium spiniflorum
These aren’t your average spiky plants. Acanthocalycium spiniflorum often sports lovely, vibrant flowers, making them a real showstopper in any collection. Propagating them is incredibly rewarding. You get to watch new life emerge from something you nurtured yourself, and it’s a fantastic way to expand your cactus family without breaking the bank.
Now, are they easy for absolute beginners? I’d say they’re moderately easy. You won’t be pulling your hair out, but there are a few little tricks to learn. Nothing a little patience and my guidance can’t get you through!
The Best Time to Start
For Acanthocalycium spiniflorum, spring is your golden ticket. When the days start to lengthen and the temperatures warm up, the plant is actively growing. This means it’s eager to produce new roots and establish itself. Aim for late spring or early summer.
Supplies You’ll Need
Gathering your tools beforehand makes the whole process smoother. Here’s what you should have on hand:
- Sharp, Clean Pruning Shears or a Knife: For making clean cuts. Sterilize them with rubbing alcohol before you begin.
- Potting Mix: A well-draining cactus or succulent mix is crucial. You can also make your own by combining equal parts potting soil, coarse sand, and perlite or pumice.
- Pots or Trays: Shallow pots or seed trays work well. Make sure they have drainage holes.
- Rooting Hormone (Optional but Recommended): A powder or gel that encourages root development.
- Gravel or Small Stones: For topping the soil and helping with drainage.
- A Spray Bottle: For misting.
- Gloves: To protect your hands from those spines!
Propagation Methods
Acanthocalycium spiniflorum is primarily propagated by stem cuttings (offsets, really) or sometimes by seed, though offsets are far simpler for home gardeners.
Propagating from Offsets:
This is the most common and successful method. Acanthocalycium spiniflorum often produces little baby cacti, called offsets, at its base or along its sides.
- Wait for Them to Grow: Look for offsets that are at least an inch or two in diameter. They’ll usually have their own distinct root structure developing.
- Make the Cut: Gently twist or carefully cut the offset away from the parent plant. Use a clean, sharp knife or shears. Try to get a bit of the parent plant’s stem attached if possible, as this often helps with rooting.
- Let It Callus: This is a really important step! Place the offset in a dry, airy spot away from direct sunlight for a few days to a week, or even longer. The cut end needs to dry out and form a callus. This prevents rot when you plant it. You’ll see the cut surface turn leathery and dry.
- Planting Time: Once callused, you can plant your offset. Fill your small pot with the well-draining cactus mix. Make a small indentation in the soil and gently place the callused end of the offset into the soil. You want it to stand up on its own. Don’t bury it too deep; just enough to keep it stable. You can add a few small stones around the base for support.
- Don’t Water Immediately: Resist the urge to water! Wait at least a week or two after planting before giving it its first light watering. This allows any tiny, freshly broken roots to heal.
The “Secret Sauce” (Pro Tips)
Here are a couple of things I’ve learned over the years that can really boost your success:
- Bottom Heat is Your Friend: If you’re propagating in a cooler spring, placing your pots on a gentle bottom-heat mat can significantly speed up root development. Cacti love being warm from below! Just make sure it’s not too hot – think bathwater temperature.
- When in Doubt, Less is More with Water: Overwatering is the number one killer of young cactus cuttings. It’s always better to err on the side of too dry. When you do water, water thoroughly but allow the soil to dry out completely between waterings.
Aftercare & Troubleshooting
Once your offset is planted and has callused, it’s time for patient observation.
- Watering: After that initial waiting period, water lightly. Then, check the soil moisture. Only water again when it’s bone dry. You can test this by sticking your finger a couple of inches into the soil or by lifting the pot to feel its weight.
- Light: Place your new cutting in a bright spot, but out of harsh, direct midday sun. Gradually acclimate it to more light as it grows.
- Signs of Trouble: The most common issue is rot. If the offset starts to look mushy, discolored (brown or black), or collapses, it’s likely rotting. This usually means it got too wet or didn’t callus properly. Unfortunately, once rot sets in, it’s very difficult to save. If you catch it early, you might be able to cut away the rotten parts and let the healthy section callus again, but often it’s best to start over. A lack of growth for a very long time might mean it hasn’t rooted, but as long as it’s firm and not showing signs of rot, give it more time!
Keep Nurturing
Propagating Acanthocalycium spiniflorum is a journey. It might take a few weeks, or even a couple of months, before you see active new growth, which is a sure sign that it has rooted. Be patient, enjoy the process of nurturing these little desert gems, and before you know it, you’ll have a whole new bunch of these beautiful cacti thriving under your care. Happy gardening!
Resource: